10 IDEAS FOR SUMMER DIY ACTIVITIES FOR KIDS!
Discover the 10 DIY ideas we've selected, which are easy to do at your holiday destination and require very little equipment. We've also selected 10 Instagram accounts for you to follow for lots of creative ideas for kids!
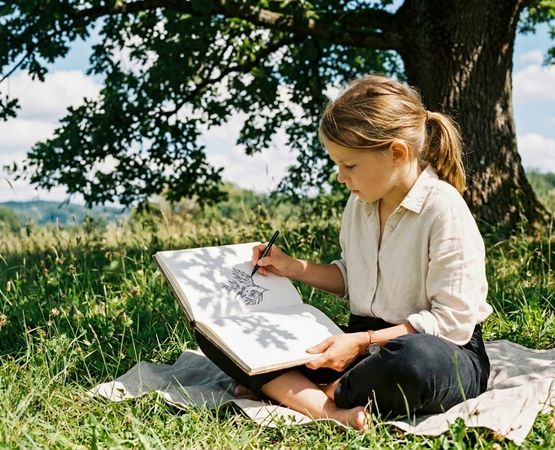
1° Drawing with shadows
Take advantage of a sunny day to sit under a tree with a sketchbook. Open the notebook to a blank page and place it flat on the ground or in your lap, sitting cross-legged, so that the shadows of the tree branches filtering the sun are projected onto the blank page. Using a pencil, felt-tip pen or watercolour, draw the foliage by following the shadows.
You can repeat this principle with a bouquet of flowers or objects placed on a table. Depending on the time of day, the shadows projected onto the notebook on the table will change.
This fun exercise helps children understand the path of the sun and the appearance of plants.
Image generated by AI
2° Creating a paper cut-out doll
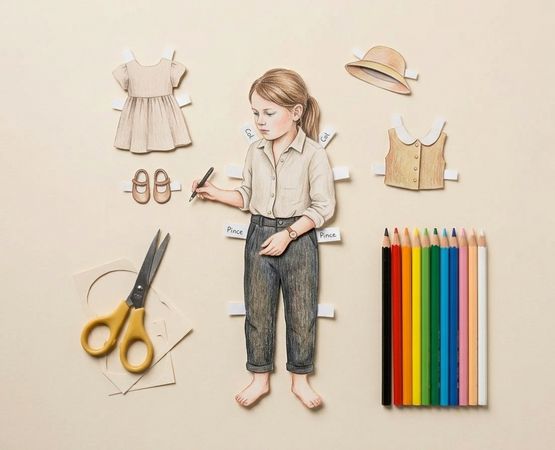
Ask an adult or have fun drawing the silhouette of a character about 25 cm high on thick paper. Then come and colour this character, draw his face, his clothes... Then carefully cut out his outline.
Using a piece of adhesive tape, carefully stick the silhouette against a window. Place a blank sheet of paper on top. Use transparency to design new clothes for this character. Colour them and then cut them out, adding tabs for the shoulders, arms and legs...
Now you've got a paper doll ready to change outfits to suit your every whim!
Image generated by AI
3° Make a wreath from flower boxes
To make a pretty paper flower crown, you'll need :
- Paper boxes of different sizes for chocolate truffles or muffins
- Coloured inks
- Glass yoghurt pots
- Tweezers
- Kraft paper
- Embroidery thread and needle
- Pearls and sequins
- 1m wide ribbon
Pour a little ink in the colour of your choice into a glass jar. Dilute with a little water.
Dip a paper box into the ink, ruff side down. Pick it up with tweezers to avoid getting ink all over your fingers.
Place the tinted box on absorbent paper to dry.
Repeat the operation with other boxes and other colours of ink. Dye around 30 boxes with 3 to 5 different colours. Leave to dry.
To form a flower, insert one box into another and then a third into the first two, in the same colour or different colours as you like.
Thread a thread onto the needle and tie a knot. Pass the needle through the centre of the flower, from the outside inwards. Thread a few pearls and sequins onto the thread, then prick out the flower.
Make a dozen flowers in paper boxes with pearls and sequins in the centre.
Take the wide ribbon and sew on the flowers one by one, starting in the centre and working your way down both sides, pulling the flowers tight. You'll have a garland of 10 flowers in the centre of the ribbon.
Tie the ribbon around your head with a knot at the back. Now you've got a pretty paper flower crown!
 Image generated by AI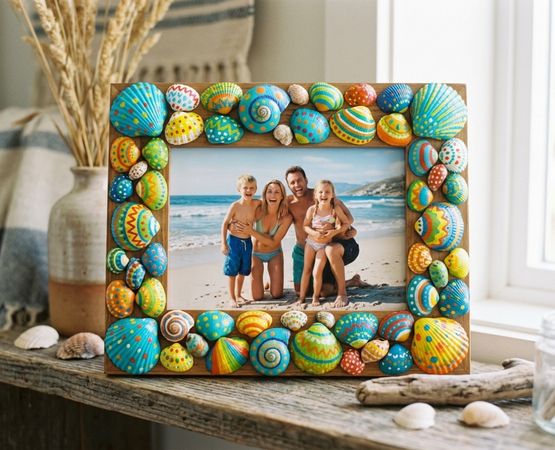
4° Making a painted shell frame
Collect some pretty shells on the beach. Have fun painting them with acrylic paint, using bright colours, polka dots, stripes, etc. Then ask an adult to help you stick them around a wooden frame using a hot glue gun.
Here's an original frame to show off your best holiday snaps!
Image generated by AI
5° Making a windsock
To find out which way the wind is blowing, make a windsock and plant it in the garden.
To make your own bubble machine, you'll need :
- A 1.50 metre high bamboo stake
- String
- A wooden camembert box
- A thin piece of polyester or nylon fabric
- Scissors
- Textile glue
- Textile markers
- A punch
- A cutter or small saw
- Textile glue
- A rubber band
Start by carefully dismantling the lid of the Camembert box to remove only the wooden ring. Don't hesitate to ask an adult to help you remove the staples.
Measure the circumference of the wooden circle and write down the number.
From the thin fabric, cut out an isosceles triangle whose base is equal to the circumference of the circle + 2 cm and whose other two sides are each 40 cm long.
Using the textile markers, draw two eyes near the base of the triangle, equidistant from the centre, then draw fish scales on 2/3 of the triangle.
Using the textile glue, stick the base of the triangle around the circumference of the wooden circle, folding 5mm towards the inside of the circle.
Close the fish by gluing the other two sides of the triangle together.
Using the awl and asking an adult for help, punch three holes at equal distances in the fabric-covered wooden circle.
Cut three pieces of string, each 25cm long.
Using a small knot, fix a string in each hole of the wooden circle, then join these 3 strings at the other end with a knot 10 cm from the edge.
Ask an adult to make a 5 cm high slit in the bamboo stake.
Slide the 10cm of string through the slot and tie a knot at the end of the three strings.
Put wood glue in the slit in the bamboo and hold it tight with a rubber band while the glue dries.
Plant the bamboo stake in the ground, with your windsock at the top. As soon as the wind blows, it'll get caught in the fish's fabric cylinder and tell you which way it's blowing!
 Image generated by AI
1° Making a sun catcher
Summer is the perfect time to make a sun catcher! You can test it to see how well it works as soon as you've built it.
To make a sun catcher, you need :
- 1 pouch of CANSON stained glass paper sheets
- 2 scraps of cardboard, taken from packaging for example
- Scissors, or even a box cutter if a grown-up is there to help you
- Adhesive tape
- Liquid glue
- 1 ribbon or string
On one of the cardboard scraps, draw the general shape of your sun catcher. Here we're talking about a rainbow, so draw a large arch.
Cut out this shape and then draw the patterns to be hollowed out inside. For the rainbow, we draw smaller concentric arches to be hollowed out.
Use scissors or a cutter to cut out the shapes inside, with the help of an adult.
Place your sun catcher shape on the second piece of card and redraw the contours and inner designs.
Cut out and hollow out this second shape.
Cut out pieces of stained glass paper in different colours to cover the hollowed-out motifs inside the shape.
To do this, place the cardboard shape on the stained glass paper. Draw the hollowed-out interior you want to dress. Cut the stained glass paper, adding a 1 cm margin all around your design.
Once you've cut out all the pieces of stained glass paper, place them on the first cardboard shape and attach the pieces of stained glass paper with small pieces of adhesive tape.
When you're happy with your composition, apply liquid glue all around the cardboard outline of the first shape and stick the second shape on top.
Place your sun catcher under a pile of books while the glue dries.
Once the glue has dried, cut a hole in the top of your sun catcher using the tip of scissors, a cutter or a large needle.
Slide a string or ribbon through the hole to hang your sun catcher.
Hang your sun catcher where it can catch the sun's rays and let the magic happen!
 iStock
2° Making a giant bubble machine
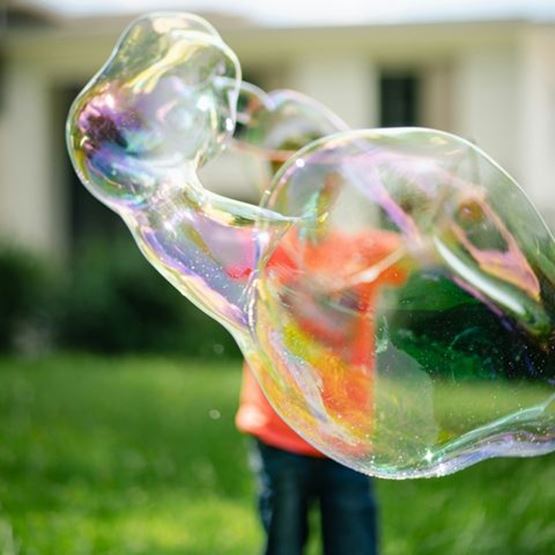
Take advantage of being on holiday in a large garden or on the beach to create XXL-sized soap bubbles!
To make your own bubble machine, you'll need :
- 2 round wooden chopsticks, each about 40 or 50 cm long
- 1 metre of cotton cord
- 1 litre warm water
- 100 ml washing-up liquid
- 50 ml corn syrup or glycerine
Tie each end of the cord to one end of a wooden stick, tying a tight double knot. To prevent the string from slipping, you can add a rubber band or a dot of glue.
In a bucket or salad bowl, gently mix the water and washing-up liquid, without creating a foam. Add the corn syrup or glycerine and leave the mixture to stand for 24 hours.
Soak the string in the soapy mixture and then gently pull the sticks apart, walking backwards so that the string forms a "U" shape. The bubbles are forming!
© John / Unsplash
3° Create a flower press for a herbarium
Have fun picking flowers from the fields, then drying them in a press so that you can use them to decorate your notebooks when you return to school, for example.
To build a flower press easily without using a drill, you need :
- 2 A5 plywood boards
- 3 pieces of A5 corrugated cardboard, taken from packaging for example
- 4 sheets of A5 blotting paper or, alternatively, 4 sheets of absorbent paper
- 2 large elastic bands
Line up the following items in the right order: a sheet of plywood + cardboard + blotting paper + the flower you want to dry + blotting paper + cardboard + blotting paper + another flower + blotting paper + cardboard + the other sheet of plywood.
Tighten these layers together by wrapping the two elastic bands around them: one at the top and one at the bottom.
Leave your flowers to dry for between 1 and 3 weeks, depending on their thickness. Ideally, change the blotting paper or absorbent paper regularly to avoid mould.
To make sure you compress the flowers properly, you can place your press under a stack of books.
Have fun decorating the top board of your press with paint, a felt-tip drawing, a dried flower, pyrography...
 Olga Nayda / Unsplash
4° Making a fan
Is it very hot? Make pretty fans for all the family!
To make 2 paper fans, you need :
- 1 sheet of 160g A3 paper
- 1 pair of scissors
- Felt-tip pens, coloured pencils, paint, etc.
- 1 roll of coloured masking tape
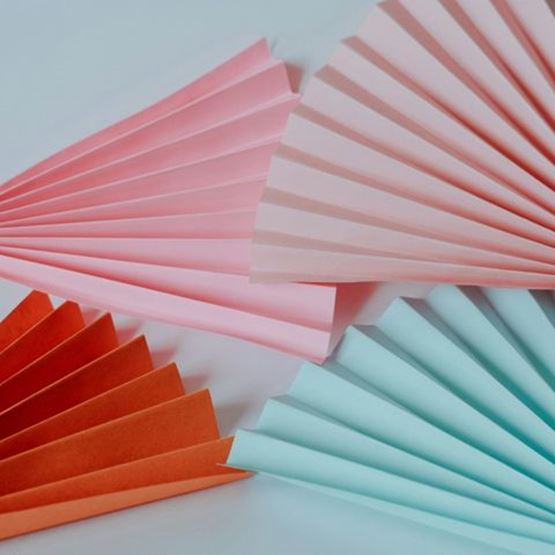
Start by folding the sheet of paper in half lengthways. Open the sheet and cut out the fold.
You get 2 rectangles measuring approximately 42 x 15 cm.
Decorate each rectangle, front and back, with the designs of your choice drawn with coloured pencils, felt pens, stencils, paint, etc.
Fold each rectangle carefully in an accordion shape, widthways, with folds measuring 2cm wide.
Wrap masking tape around one end of the accordion to make the handle of your fan.
Gently open the folds of paper at the other end: your fan is ready to serve!
©Beyza Yutkuran / Unsplash
5° Making a lemonade stand
Refresh family and friends with tall glasses of lemonade!
To make 1.5 litres of lemonade, you will need :
- 4 to 6 organic lemons
- About 150g sugar (more or less depending on your taste)
- 1.2 litres of cold water
- Ice cubes
- A few mint leaves
Squeeze the lemons to obtain around 250 ml of juice. You can choose to keep or remove the pulp, depending on what you prefer.
With the help of an adult, melt the sugar in a saucepan with 200 ml of water. Leave to cool.
Mix the lemon juice and sugar in a large jug, then add the remaining litre of cold water.
Add ice cubes, lemon slices and mint.
Taste and adjust the sugar or lemon juice to taste.
A lemonade stand
To offer your homemade lemonade, build a little improvised stand. For this stand, you need :
- 1 table
- 2 fairly large broom handles or wooden strips
- 4 self-locking plastic ties
- String
- Scraps of fabric
- Serrated scissors
- Textile glue
- 1 textile felt
- 1 parasol (optional)
Place the table in the garden in a shady spot, or alternatively, put the parasol next to it for shade.
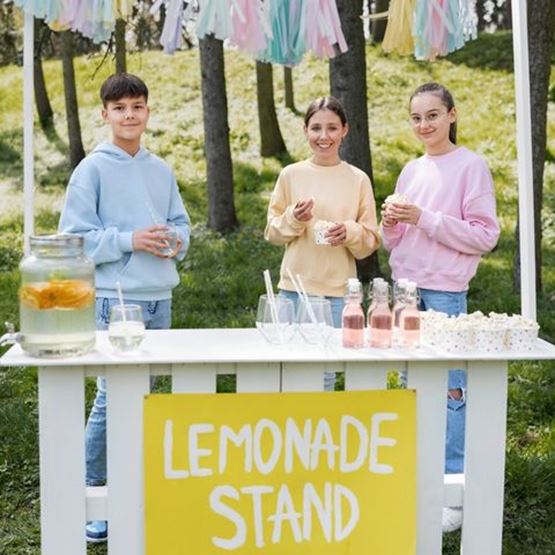
Using 2 self-locking ties, attach a broom handle to one of the legs of the table, so that it rises quite high - at least 30 cm higher than your head!
In the same way, attach the other broom handle to the opposite leg of the table. These two broomsticks will support the banner on your stand.
Stretch a string across the top, between the two broomsticks. Measure the length and add some margin so that you can tie knots later. Cut this length of string.
From the fabric scraps, cut out triangles about 15 cm high. Cut at least 8 and more if necessary to cover the entire length of the string, minus the knots at the ends.
Glue each triangle to the string, folding the top of the triangle over the string with a little textile glue, like pennants.
Count the number of flags on your garland and divide by 2 to find the middle. Using the felt pen, write the letter "O" on the middle pennant, then write the letters "L", "I" and "M" on the pennants on the left and the letters "N", "A", "D" and "E" on the pennants on the right. Tie your pennant garland in bows at the top of the broomsticks.
Place your lemonade and glasses on the table and add some cupcakes. The snack is ready!
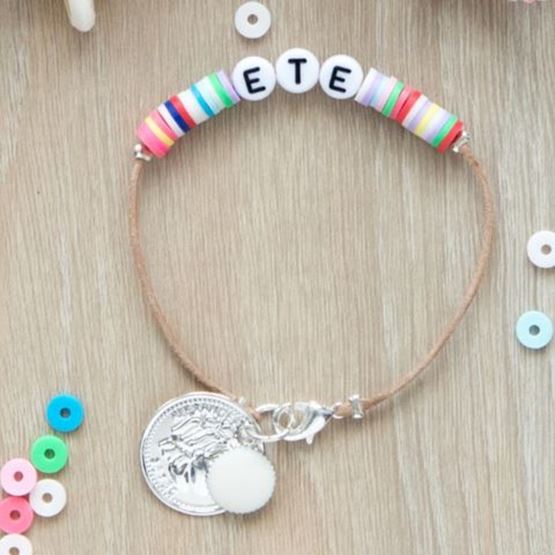
6° Create friendship bracelets
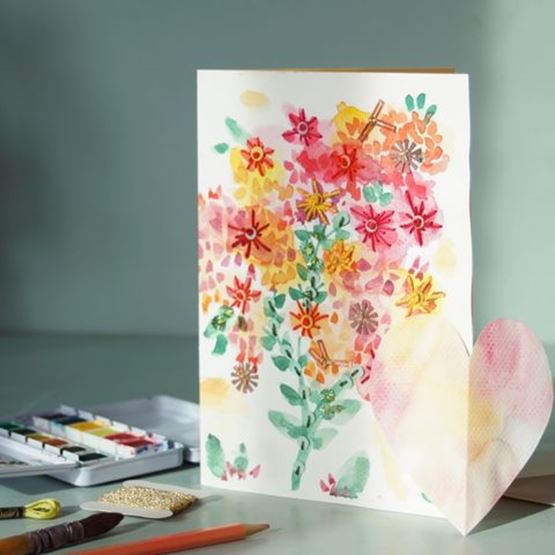
Creating mixed media postcards
Receiving a postcard is always a pleasure, but if you've created it with your own hands, it becomes a real gift!
Take inspiration from this tutorial showing how to make an illustrated card using watercolour, embroidery thread and sequins.
Take a look at your holiday destination. Reproduce a landscape or flowers in watercolour on a sheet of paper the size of a postcard (10 x 15 cm).
Leave to dry, then use a needle to poke holes in certain parts of your painting so you can add embroidery, beads and sequins.
On the back of your postcard, stick a sheet of paper of the same size to hide the embroidery threads. Stick a stamp on the top right, write the recipient's address underneath and a lovely holiday message on the left.
Now all you have to do is post your mail art!
8° Drawing up a travel diary
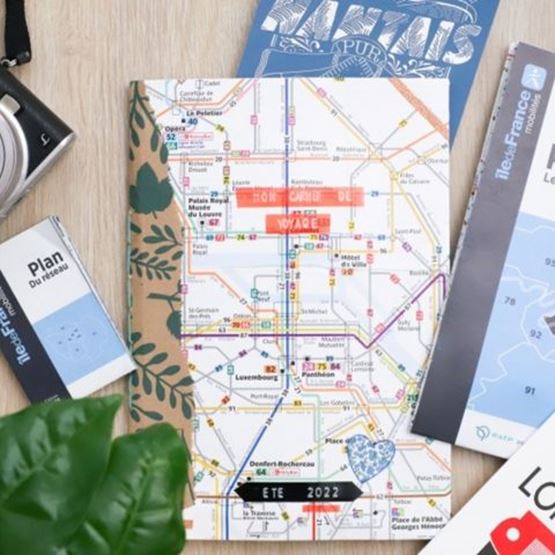
Are you going travelling this summer? Don't forget to keep a logbook so that you can record all your memories and enjoy reliving the trip by leafing through the pages of your notebook later.
With this tutorial, find out how to make your own personalised travel diary with a cover made from the map of the country you're visiting. It's a great way to start travelling before you've even left!
9° Organise a treasure hunt
Do you like treasure hunts? Discover that it's just as much fun to be the organiser for your friends!
Don't hesitate to ask an adult to help you organise the route of your hunt, write down the clues, fill a box with the treasure (sweets, toys, cinema tickets, etc.) and find its hiding place.
Here are some fun tips for creating the various elements of your treasure hunt:
Create an ancient treasure map
- Take a sheet of Canson paper and tear the outline irregularly.
- To give your paper an aged look, soak the leaf in tea.
- Leave it to dry, then draw your card using a penholder and ink. Mark the treasure with a red cross.
- You can roll your card up and close it with a string and a wax seal.
- You can also choose to tear your card into two or three pieces... so the players have to work together to put the whole card back together again!
Write invisible clues!
- Squeeze a lemon.
- Dip your fountain pen (well-cleaned, without ink) in the lemon juice and write your clue on a thin sheet of white paper.
- As it dries, the message becomes invisible. To read it, players will have to reveal it using a heat source. By passing a hairdryer close to the leaf or the flame of a candle (under adult supervision), the lemon juice turns brown and the index appears.
- Before writing your invisible message, you can write at the top of the page with a visible pen this time: "Fire reveals the invisible" for example...
- This technique can also be used on the treasure map to confuse the issue: there is a map drawn visible, but the real map or the location of the treasure is invisible, drawn with lemon.
Create a chest to hide the treasure
A simple cardboard box becomes the most precious of jewel cases when dressed in embossed metal plates!
Do you know the metal-spinning technique? These metal sheets are easy to find in hobby shops. All you have to do is use a stylus to engrave the designs of your choice, then stick the engraved plaques onto a simple box to give it a precious look. Tip: if you can't find any metal foil to push away at your holiday destination, you can also use disposable aluminium dishes.
© Nathalie / Unsplash
 Nathalie / Unsplash
10° Building your own kite
Discover how easy it is to build a kite with just a few materials! These are supplies you'll find at every holiday destination.
To make your kite, you need :
- 2 wooden sticks (2 large skewers may even be enough for a small kite)
- 1 roll of greaseproof paper
- Adhesive tape
- Scissors
- String
- 1 pretty ribbon
- 1 cardboard roll of toilet paper, for example.
Cut the 2 wooden chopsticks so that one is twice the size of the other. 15 cm and 30 cm, for example.
Hang them in a cross, securing them at the centre with string.
Place the cross on the greaseproof paper and, using a ruler and a pencil, draw the rhombus formed by the ends of the cross.
Cut out this diamond, adding a 2 cm margin all around.
Fold in 1 cm all the way round the greaseproof paper diamond, then a second centimetre on top of the first.
Secure these folds using large pieces of adhesive stuck all around the diamond. Place the wooden cross on the back of the rhombus. Fix the cross to the paper with pieces of adhesive straddling the paper and the stick.
Use the scissors to cut a notch in the side of the cardboard roll.
Tie a knot at one end of the string. Slide the string into the notch, the knot will hold it in place.
Wrap a long length of string around the cardboard roll and then cut it.
Tie the end of the string to the centre of the wooden cross with a strong knot.
Tie a ribbon to the bottom of the kite, on the wooden stick, to make it look pretty.
Wait for the wind and run to launch your kite by unwinding the string!
This little kite is really basic. It probably won't last long and won't fly very high... but it's perfect for the little ones, to help them understand the phenomenon of wind! Older children will quickly find out how to improve this kite with the help of tutorials on the internet.
© Agieszka Ziomek / Unsplash
 Agieszka Ziomek / Unsplash
10 accounts to follow for lots of ideas to do with the kids!
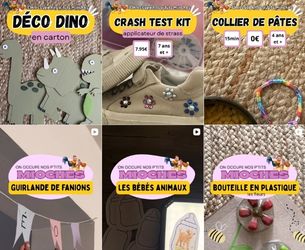
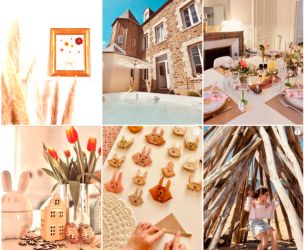
Lecoq Family
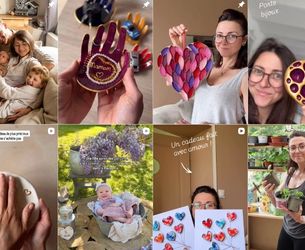
The little creative family
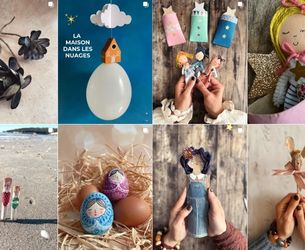
Bertille's workshop
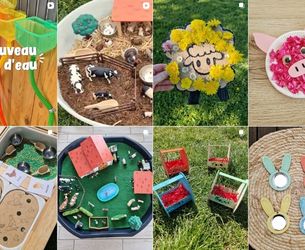
Amélie and the loustics
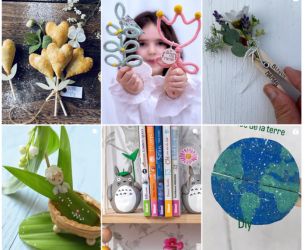
Little Louisette
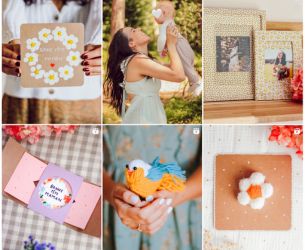
Wednesdays in the rain
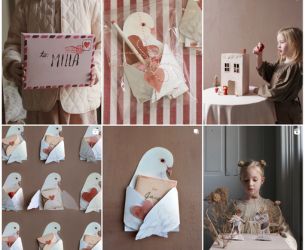
Mer-mag
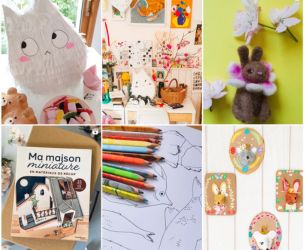
Héléna Zaïchik
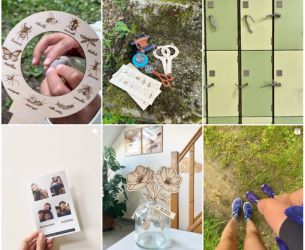
What are we playing, Mum?
Great idea!
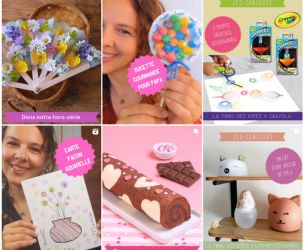
The Ideas Tribe
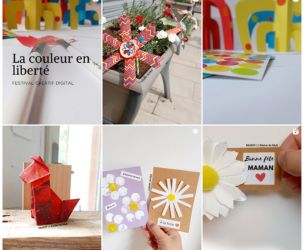
Mulidiy
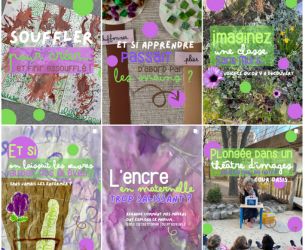
Not so well-behaved children
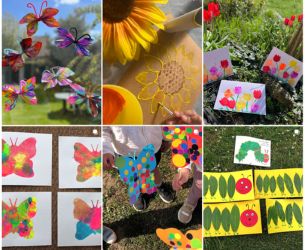
Les petites frimousses
Happy as a bee
The Créations & savoir-faire team wishes you a wonderful and creative summer!
Feel free to share your children's summer achievements with #salonCSF