
TUTO : TRAVEL DIARY
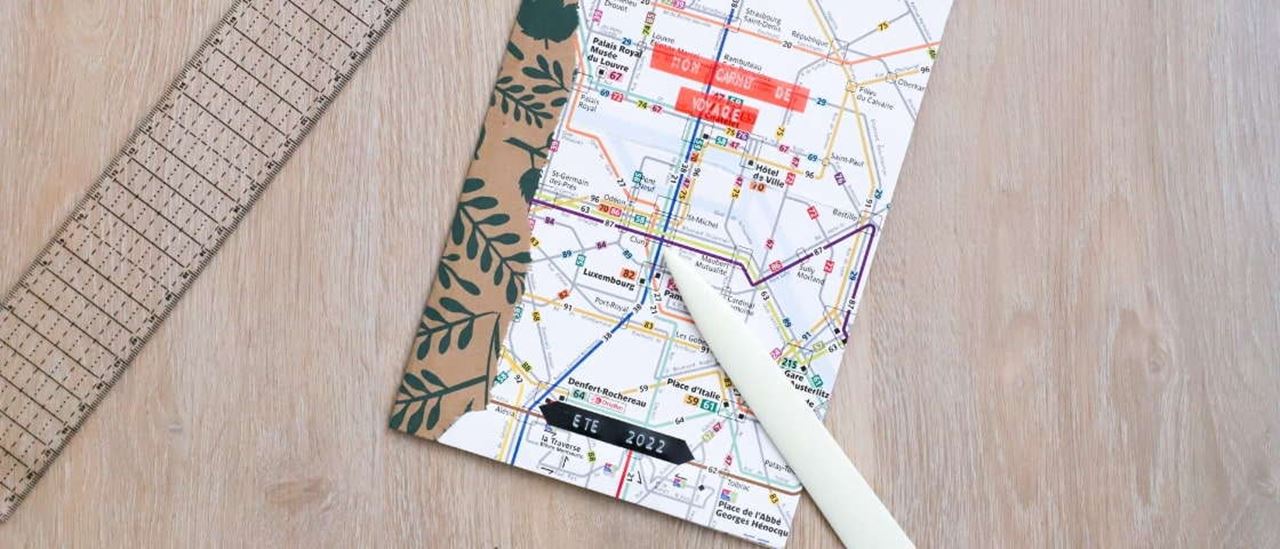
Step by step, we'll show you how to make a beautiful handmade diy travel diary to make the most of your summer!
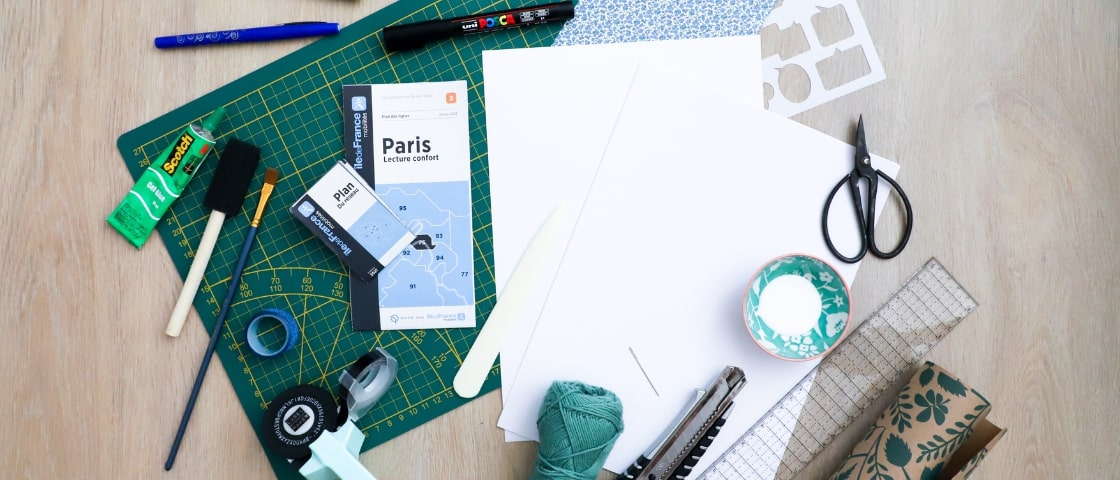
The equipment
- A city/metro map
- An A4 sheet of card
- 10 sheets machine paper A4
- Kraft paper
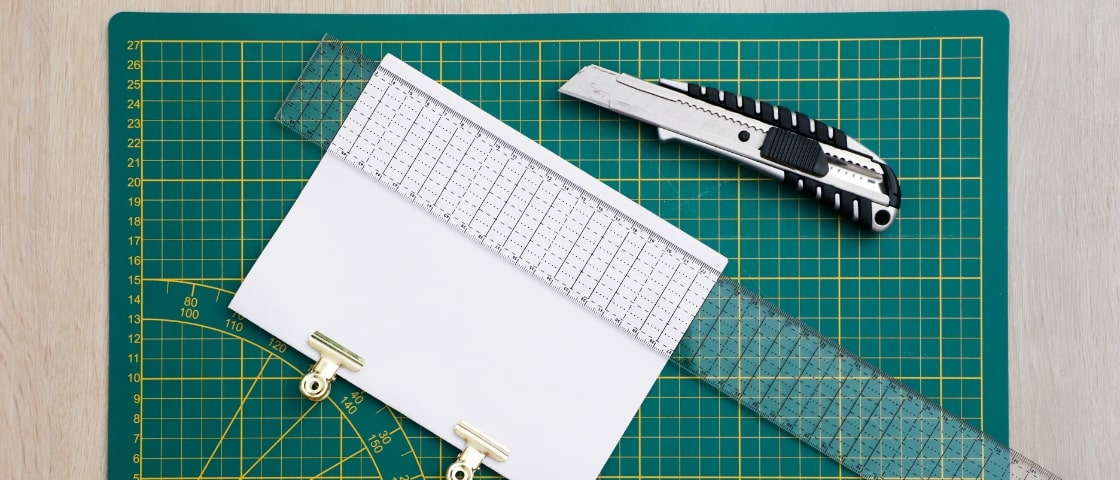
- A pair of scissors, a folding knife, a ruler, a cutter, a cutting mat
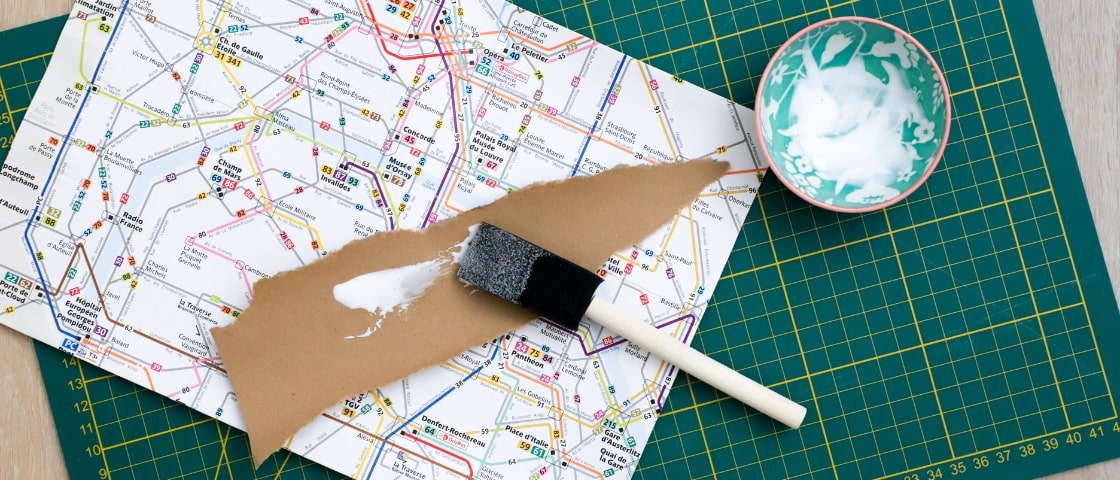
- White glue and a brush
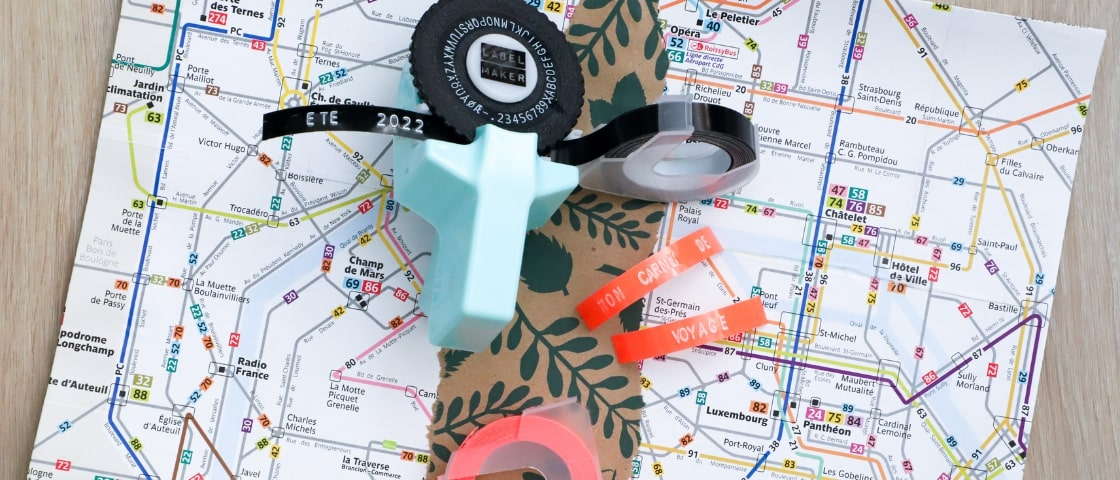
- Masking tape, a label maker, stencils, stickers, felt pens...
- A wool needle and fairly thick cotton thread
Explanations:
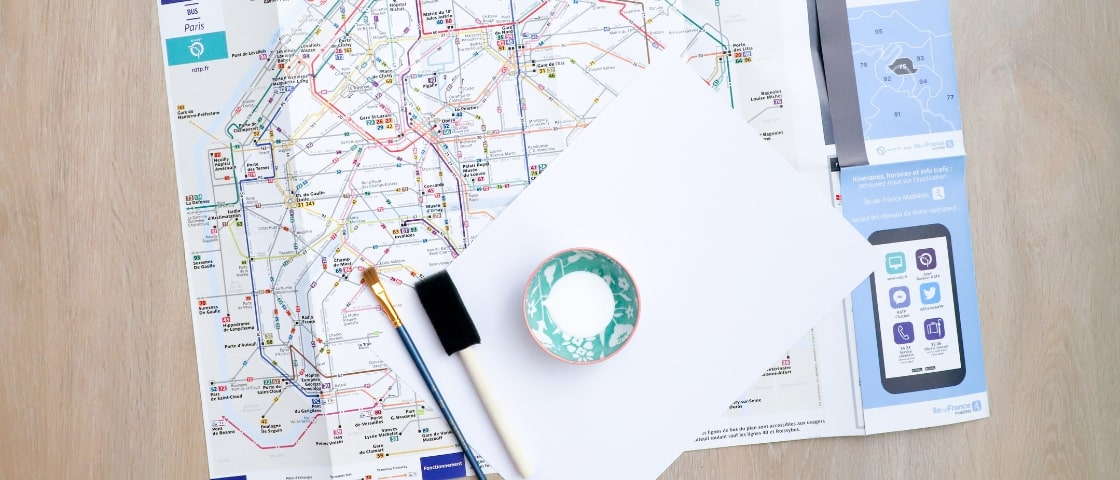
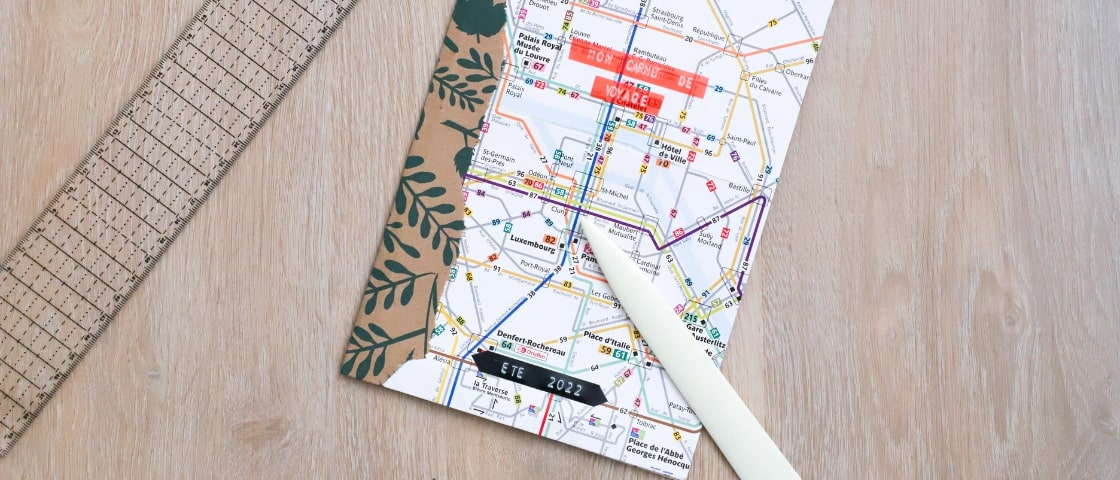
- Decide what you want to appear on the cover of your travel journal.
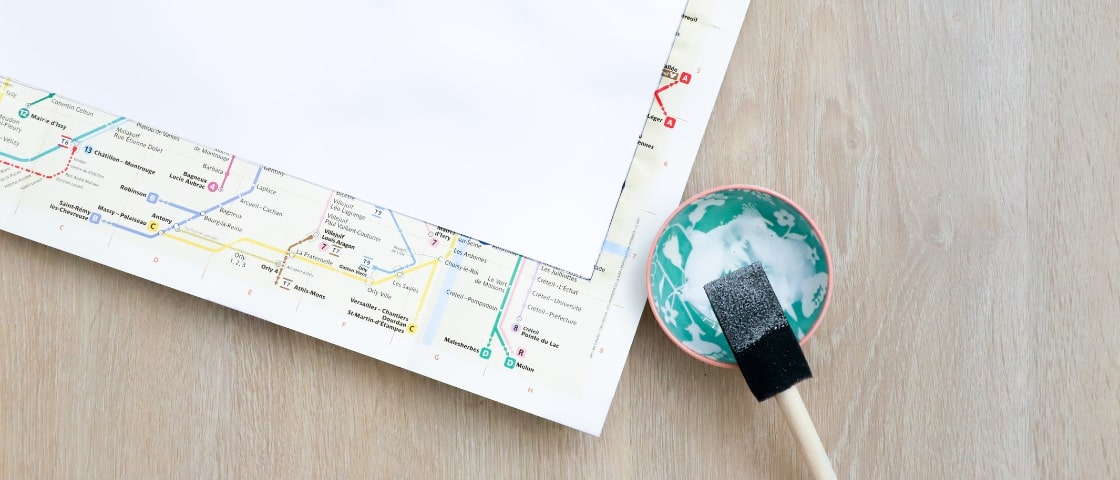
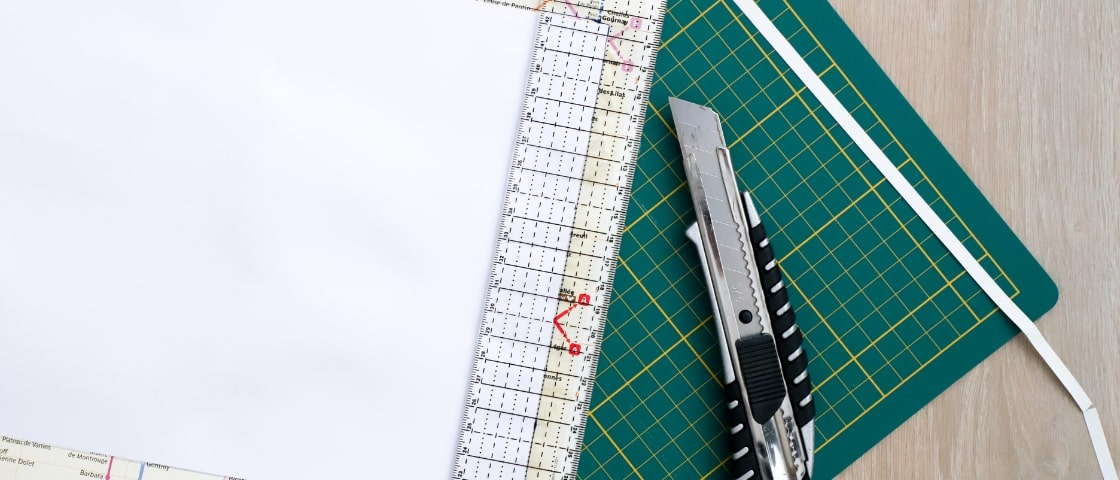
- Decide what you want to appear on the cover of your travel journal.
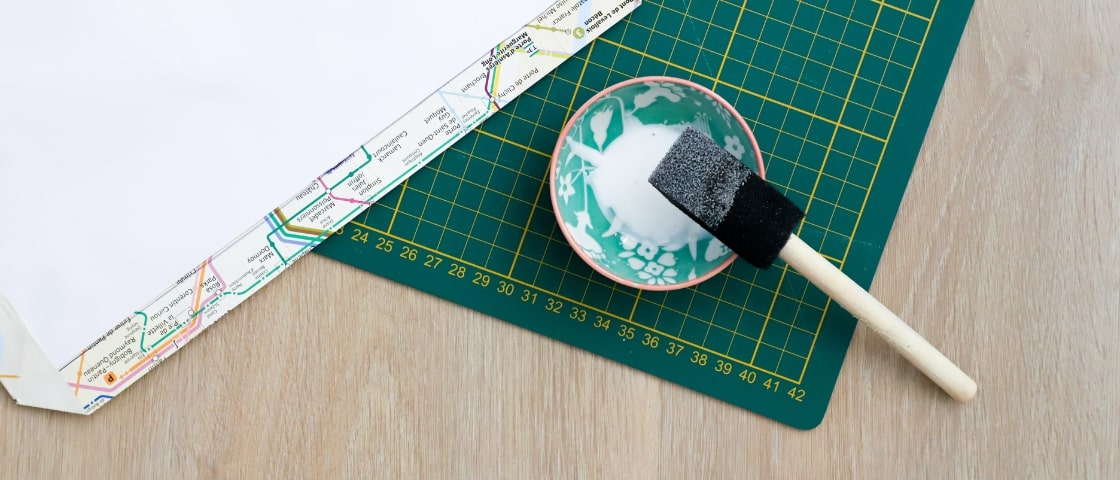
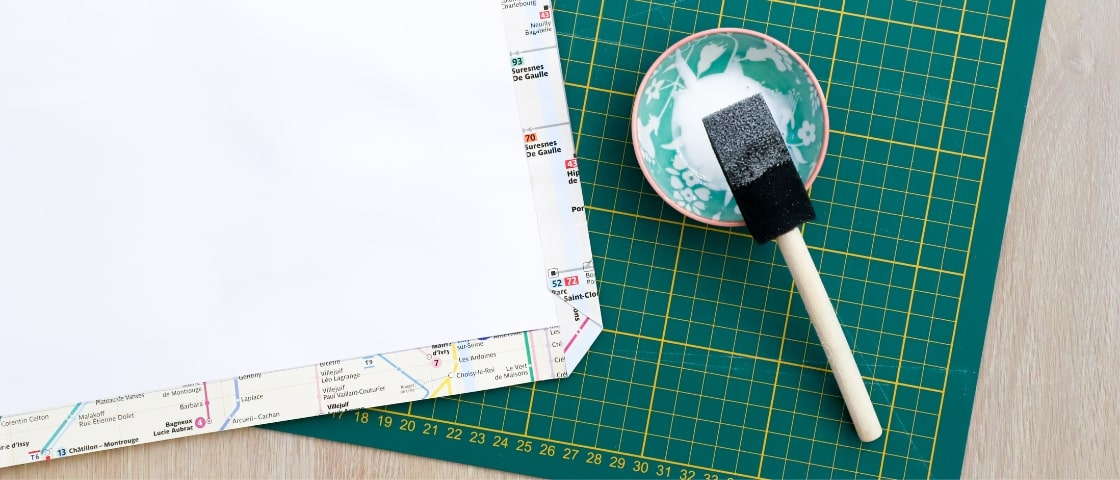
- Fold and glue the corners of the plan.
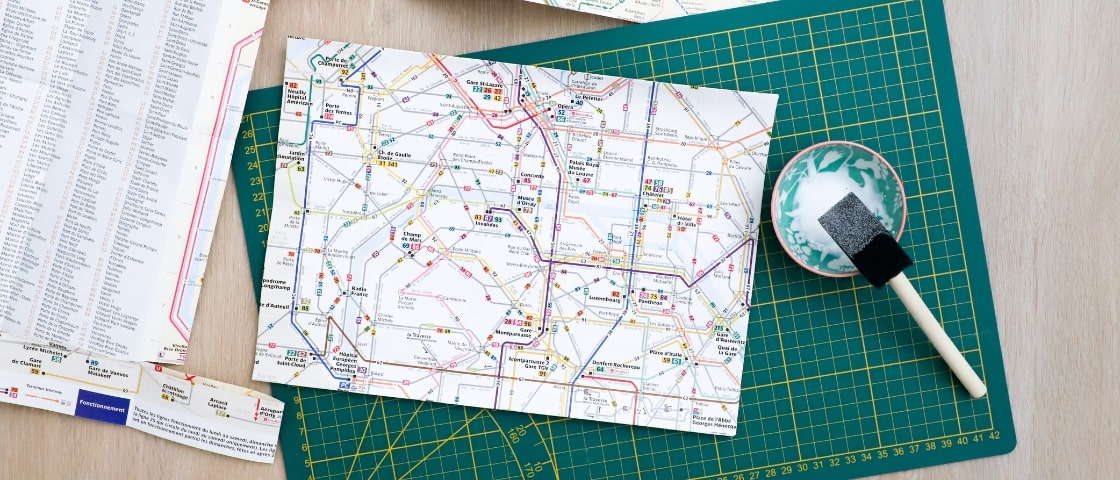
- Now's the time to add a touch of kraft paper if you like.
- You can vary the effects by cutting out certain strips with a pair of scissors or tearing other strips with your fingers.
- Allow the cover of your notebook to dry thoroughly (this waiting time depends on the glue you used and the quantity you applied). This is an important stage in the success of the project. The longer you leave the paper to dry, the easier it will be to fold and work with later.
- During this drying time, you can choose the small elements that will then be glued to the blanket.
- You can use masking tape, cut-out elements, you can also draw with large felt pens, and like here, you can use your label-making machine!
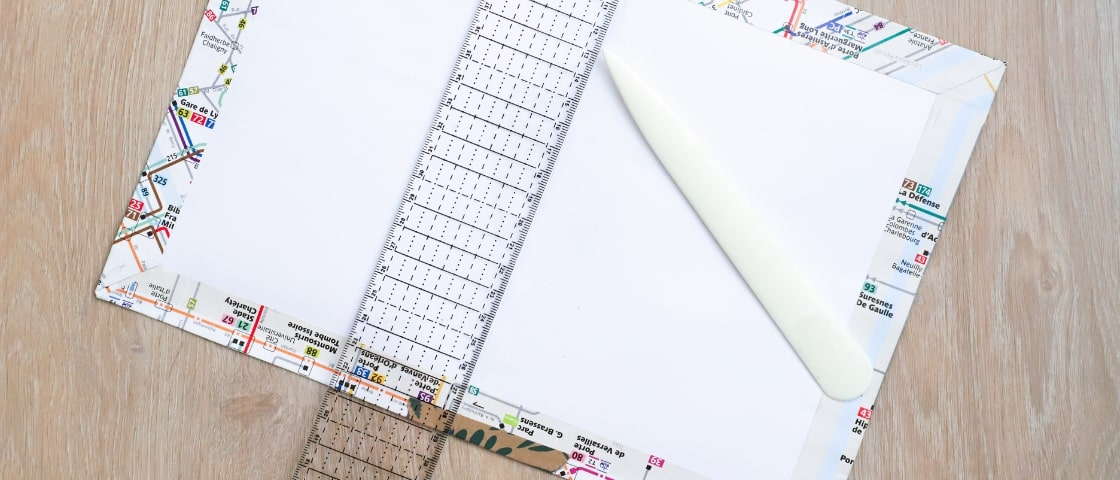
- Once the cover is completely dry, determine the centre and engrave a line on the back of the cover using the tip of the folding knife and a ruler.
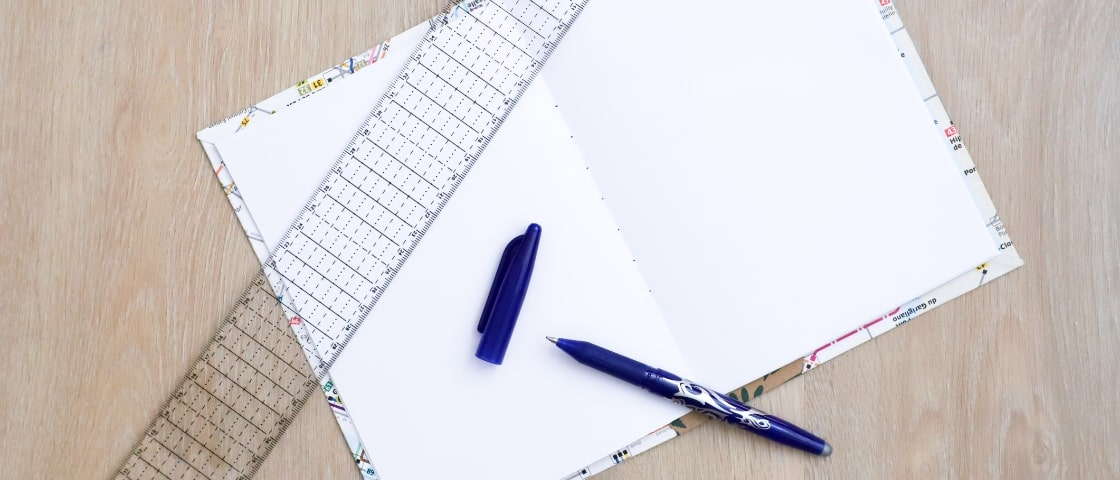
- Thanks to step 10, the cover can be folded very easily and without leaving unsightly marks on the paper.
- Press the fold with the flat of the folder.
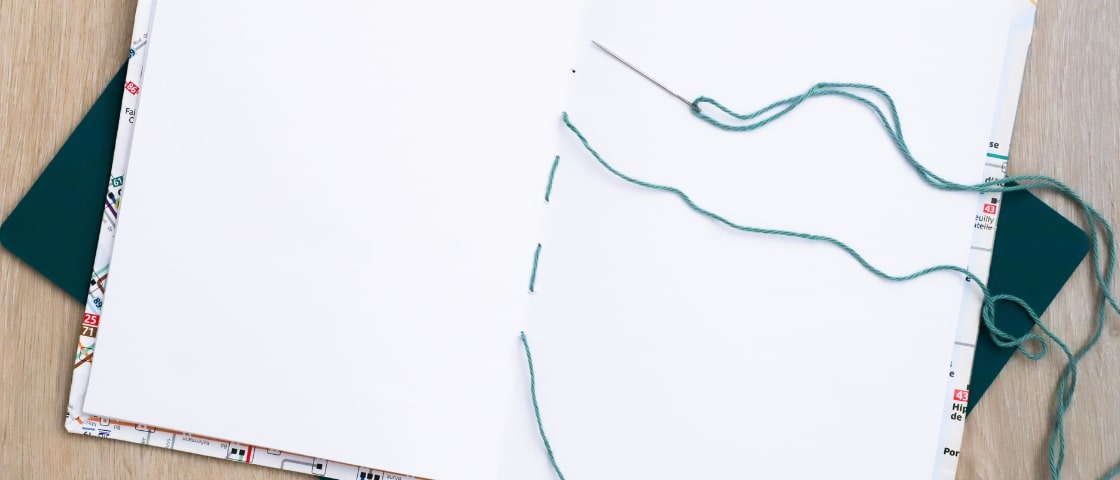
- Place a dot in the centre of the notebook. From this point, draw a point 1.5 cm 3 cm and 4.5 cm apart at the top and bottom.
Bonus
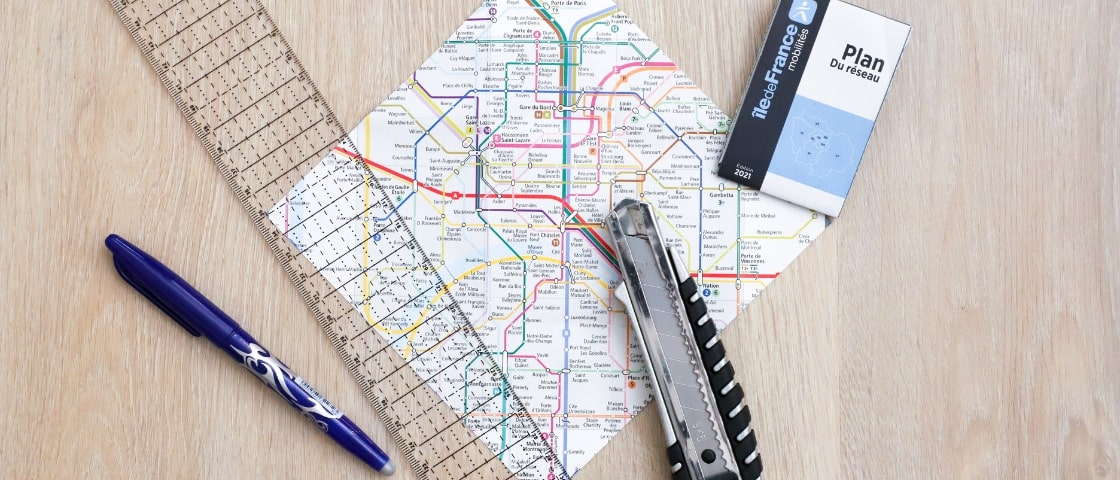
You are going to make an envelope from a small plan or a sheet of A4 paper. Draw and cut out a 16 cm diamond shape.
- Using the wool needle, punch the holes through the 10 A4 sheets folded in 2 and the cover. Hold everything together with the clips.
- Stitch your needle through the 1st hole at the bottom, leaving a piece of thread sticking out inside the booklet, and work your way up to the top hole using a front stitch.
- Insert the needle in hole 1, pull it out in hole 2, then insert it in hole 3 and so on.
- Once you're at the top, you can come back down in the same way.
- Cut the thread and tie a knot with the 2 ends.
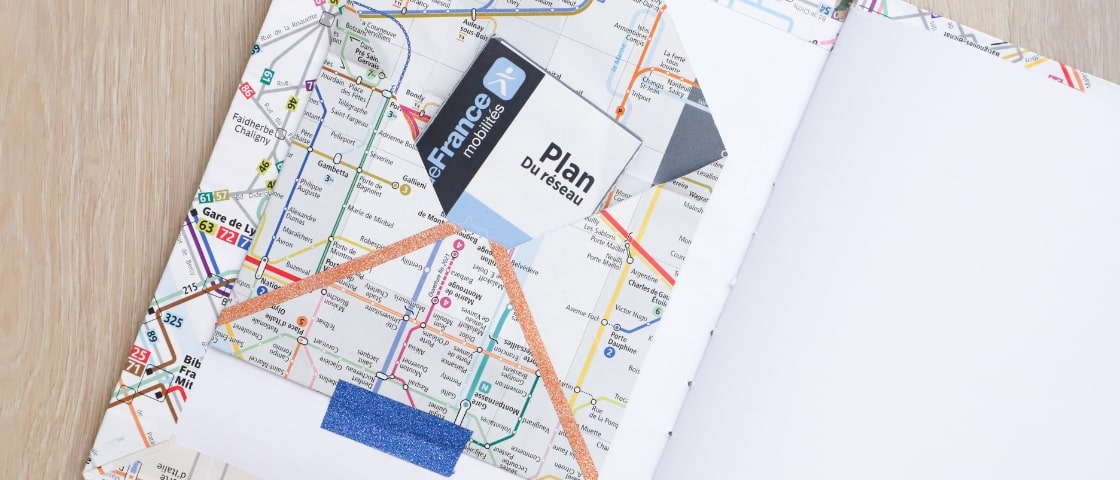
- Fold the tips of the 2 ribs towards the centre.
- Close the bottom by folding the tip upwards. You can secure the envelope with masking tape.
- Glue your envelope to the inside of the cover and fold over the top to close the envelope. You can slip in any underground tickets or museum admissions you want to keep!
- This tutorial is aimed at children (under parental supervision and with a few adjustments to dangerous equipment) and adults alike! You can even sew watercolour paper inside the cover if you want to make a sketchbook!
Time: about 1 hour
Cost: 5 - 10€ depending on your equipment
Don't hesitate to share your DIY creations with us on social networks with #salonCSF