
Paper straw inlay

Make a paper straw marquetry by following the step-by-step tutorial with Hello Lucette.
- Budget : 3 to €10 worth of equipment depending on what you already have
- Completion time : 1h
- Dimensions: small frame, 10 cm high
Hardware
- Thin strips of paper for quilling (here 3 mm wide)
- A 200 to 250 g/m² cardboard sheet
- Glue varnish
- A brush for glue varnish
- A precision cutter
- A folder
- A cutting mat
- A rule
- A small frame
- A mini decoration to frame

Directed by
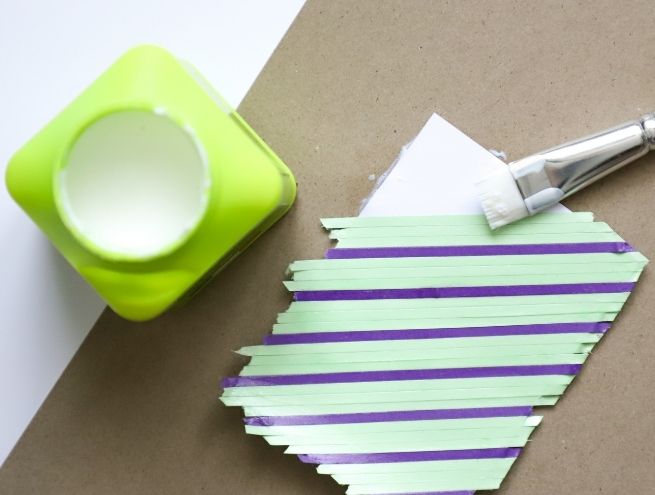
Stage 1
- Start by choosing the colours you're going to use for this DIY. Here we have dark blue and light blue on one side, and pale green and mauve on the other. In this example, the strips are glued diagonally to the sheet, but you can glue them vertically or horizontally.
- From a sheet of white card (200 to 250 g/m²), cut out 3 rectangles slightly larger than the final frame.
- In one corner of the sheet, start applying glue varnish using the brush, then position the 3 mm wide paper strip diagonally.
- Apply the strips as you go, adding more glue as you go. Make sure they are firmly stuck together.
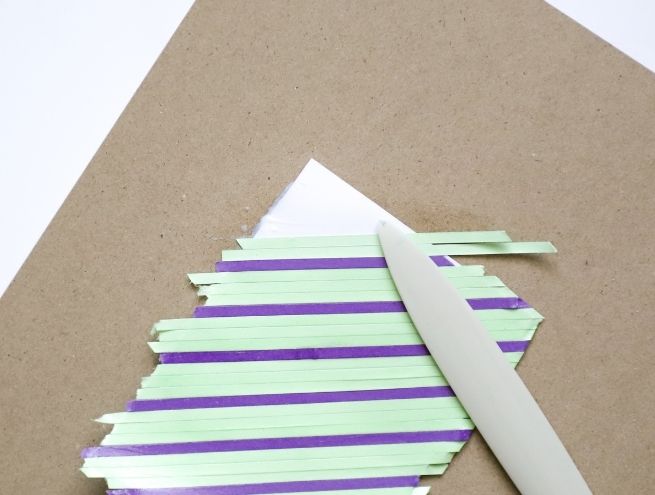
Step 2
- You can use the tip of a flat folding knife to gently glue the paper slide in place without making bubbles.
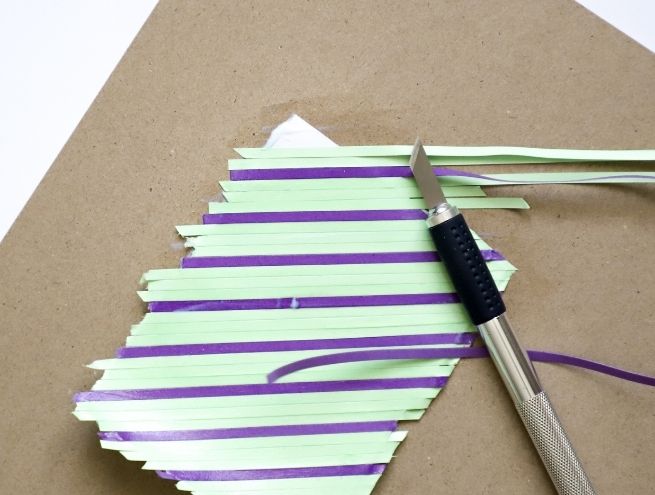
Step 3
- When 3 or 4 strips have been laid, carefully cut away the excess paper with the cutter.
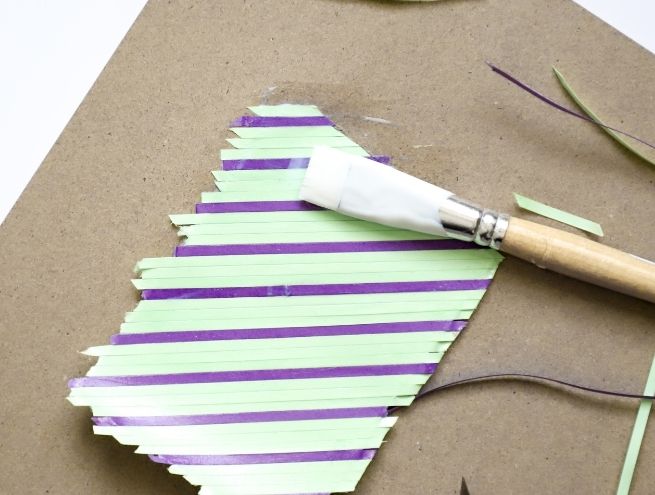
Step 4
- Once the sheet has been filled, apply a generous coat of adhesive varnish to seal the strips together.
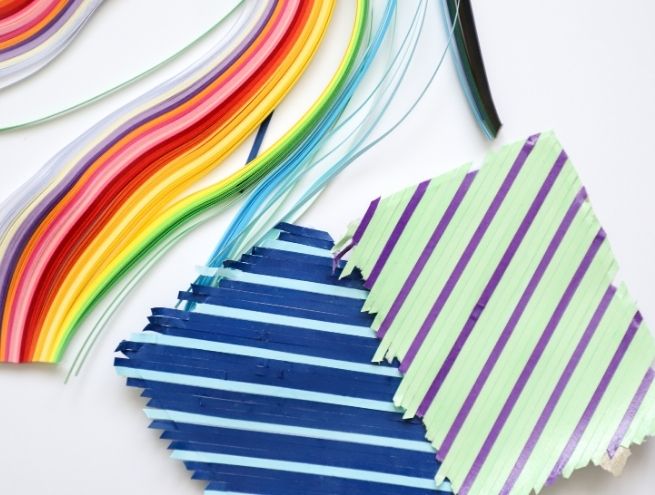
Step 5
- Make a 2nd sheet of the same format, but this time change the direction of the diagonal.
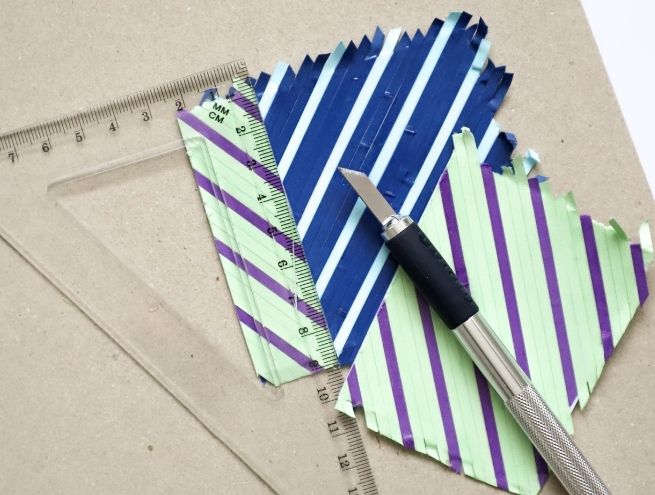
Step 6
- For best results, place the 2 sheets one on top of the other and cut out strips in the size of your choice using a ruler and a box cutter.
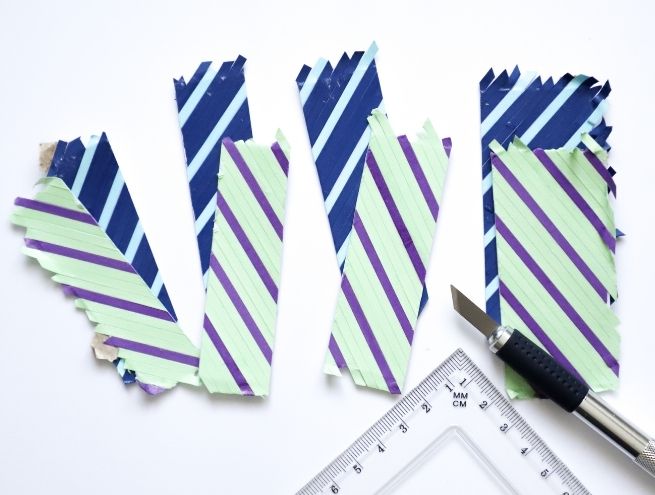
Step 5
- To ensure that the tabs fit together correctly, you need to cut them together.
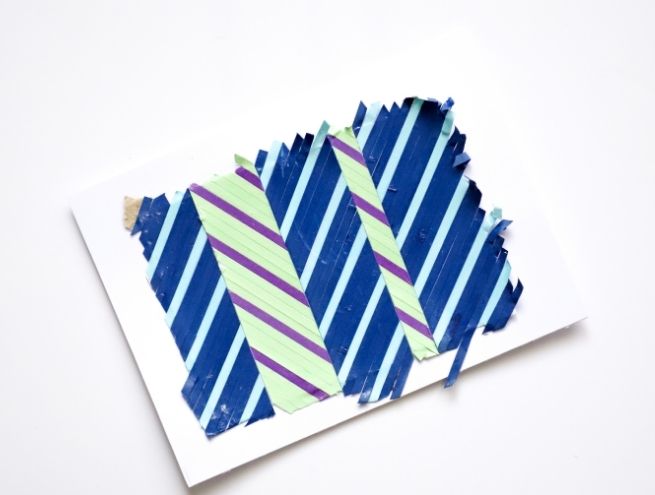
Step 5
- Finally, alternate the strips and glue them to a new sheet, adding a final coat of glue varnish.
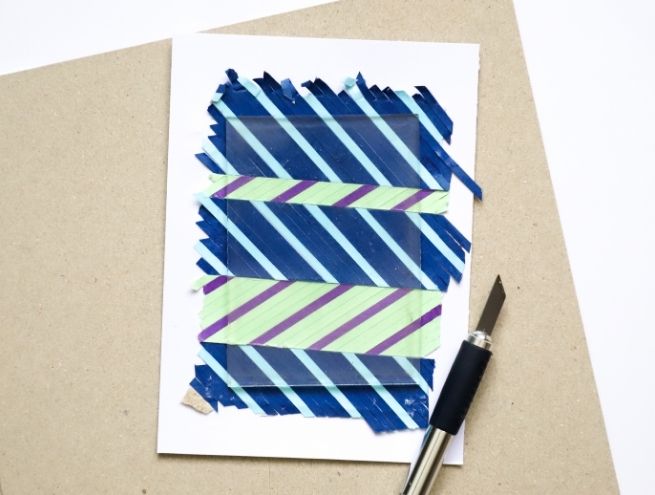
Step 5
- Take your frame and place the glass on your decoration. Cut all around with the precision cutter
- Replace your decoration in the frame without the glass to retain the effect of the material, then add a little touch with an illustration, sticker, etc.
Don't hesitate to share your achievements on social networks by tagging us #salonCSF!