
TUTO : A bouquet of origami flowers

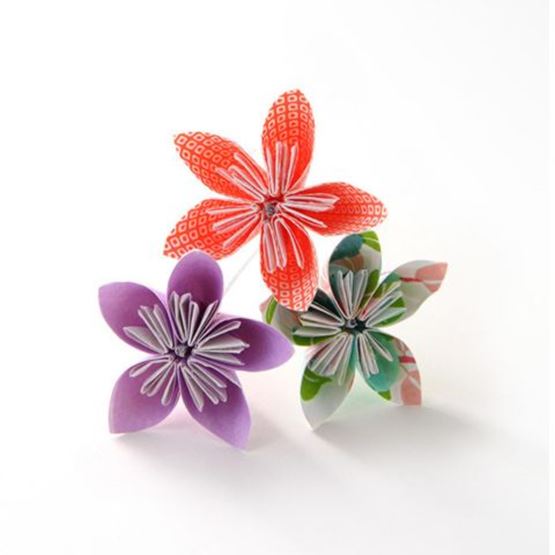
Why not make a paper bouquet of flowers, just for fun? Giving flowers on non-traditional occasions is a nice surprise. Whether it's for a friend, a grandmother, a mother, a fiancée... or simply for yourself, it's a delicate and original gift.
When I discovered this folding technique a few years ago, I knew straight away that it would appeal. After trying it out, I loved trying out different combinations of papers and colours. For these photos, I chose shades of pink and red, reminiscent of a Valentine's Day bouquet. But these warm tones are also perfect for brightening up winter and warming hearts.
One of the most fascinating elements in a flower is often the detail in its centre. Here, the stylised pistils add an elegant, graphic touch. That's what makes it so charming!
Easy, accessible folding
To make a flower, you'll need :
- 5 squares of paper 6x6 cm
- Liquid glue
- A rigid stem for support
Step-by-step tutorial
Before handling UV resin, make sure you protect yourself with a mask and goggles.
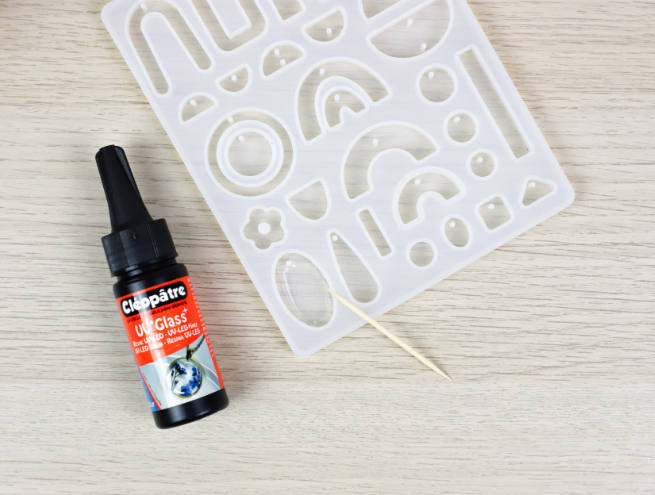
Step 1
- Pour a very thin layer of UV resin into the bottom of the silicone mould you have chosen for the keyring; spread it evenly using a toothpick. Cure under the UV lamp for 1 minute.
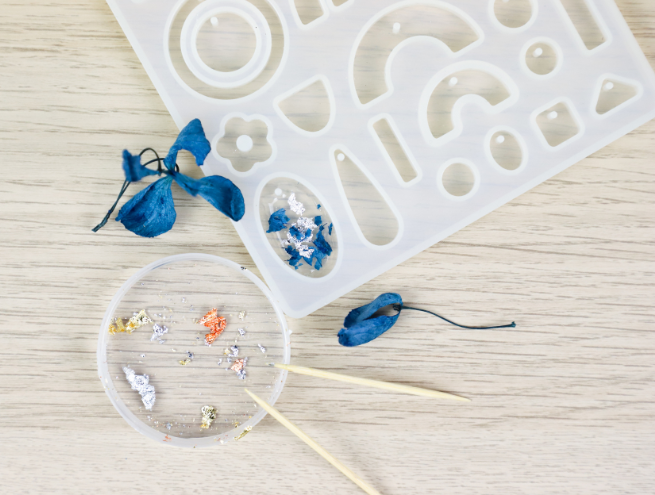
Step 2
- Cut out and place your small decorations onto the first layer of resin. You could use dried flowers, glitter, flakes of gold (silver or bronze) leaf, or other delicate elements.
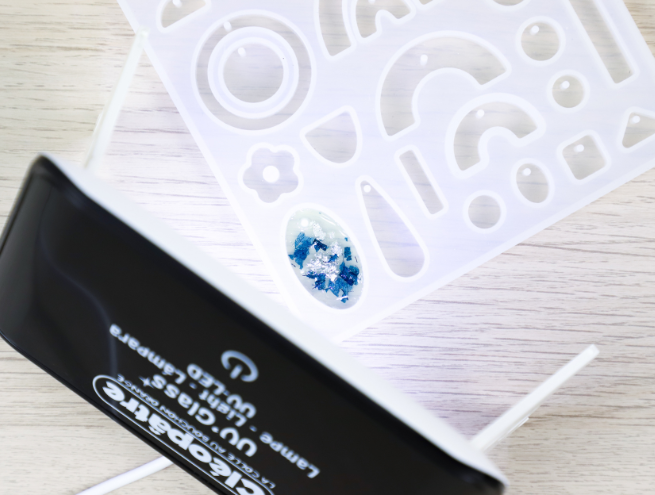
Step 3
- Apply a layer of UV resin slightly thicker than the first one, spread it out evenly with the toothpick, and cure for 1 minute.
- Once these two layers have been applied, there may still be some rough patches on the surface of the mould. Pour a final, very thin layer of UV resin to ensure the surface is completely smooth. Take care not to touch the edges of the mould with the resin or the toothpick.
- Cure for 2 minutes.

Step 4
- Remove your resin creation from the silicone mould and attach the key ring using jewellery pliers.
We hope you enjoyed this tutorial.
Don't hesitate to share your DIY creations with us on social networks with #salonCSF