
DECORATION IN JESMONITE

Discover a jesmonite tutorial with Hello Lucette.
- Completion time : 20 minutes TV
- Budget: around €30
Hardware
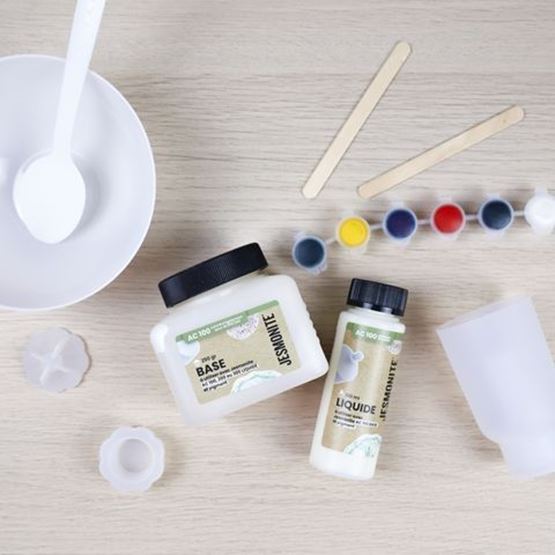
- Jesmonite AC100 (base + liquid)
- Pigments for jesmonite
- A silicone mould
- A soft bowl
- A plastic spoon
- Stirrers
Directed by
Stage 1
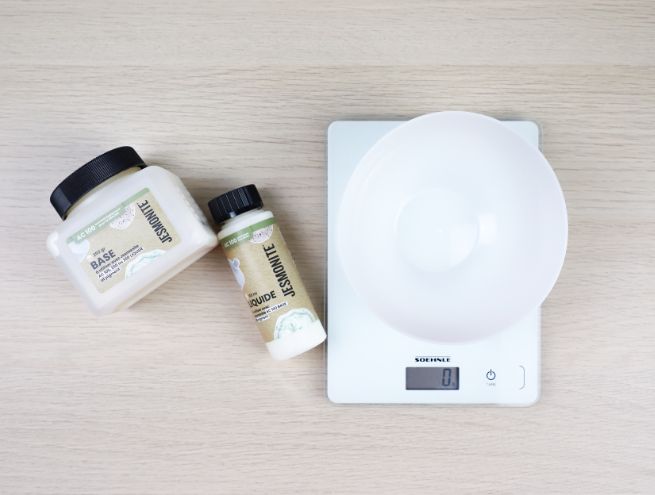
- First of all, you need to work out how much Jesmonite mixture you'll need to fill your silicone mould.
- To do this, fill the mould with water and weigh it down.
- For example, for a mould containing 125g of water, you will need 62.5g of liquid + 156.25g of powder base; i.e. for 1 dose of Jesmonite liquid, you will need 2.5 doses of powder.
Step 2
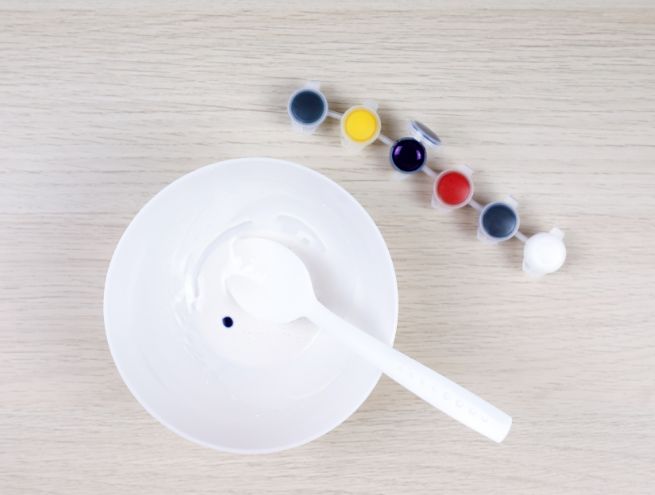
- You can find websites that calculate for you the quality of Jesmonite you will need according to the quantity of water.
Step 3
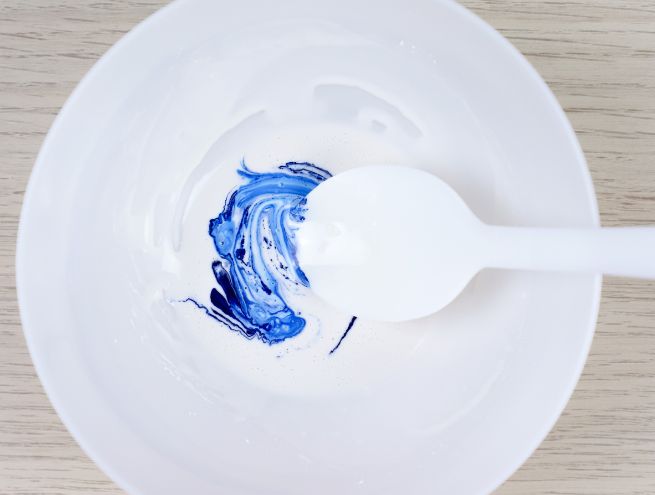
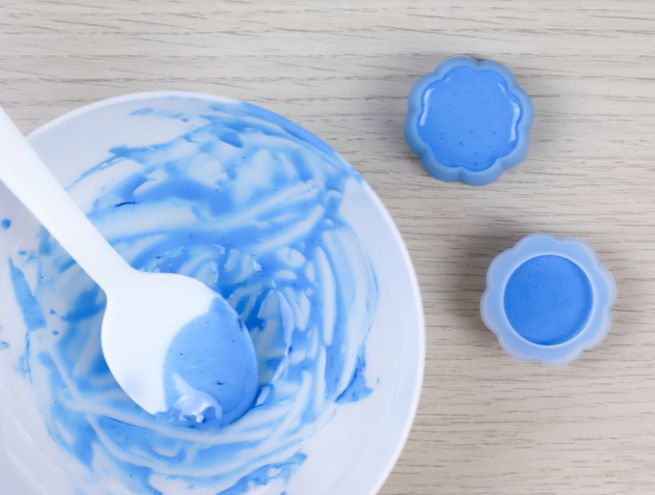
- Mix the mixture well and if you wish to add pigments, add them drop by drop so that your creation is not too dark.
Step 4
- Be careful: the mixture hardens quickly, so you'll need to pour it into your mould fairly quickly.
Step 5
- To remove any air bubbles, tap the sides of your mould, then lift and gently tap the mould onto your work surface.
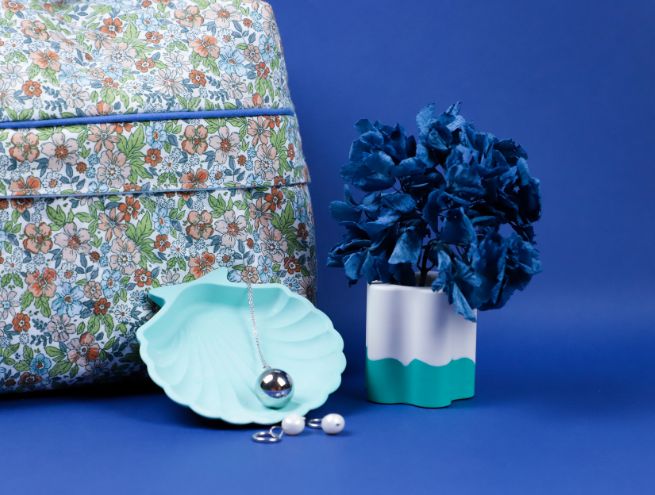
- The mixture will heat up and harden rapidly depending on the amount of Jesmonite. Once your creation has returned to room temperature, you can remove it from the mould. Be careful with the corners, which are still quite fragile.
We hope you enjoyed this tutorial.
Don't hesitate to share your achievements on social networks by tagging us #salonCSF!