SCRAPBOOKING : SET THE SCENE FOR YOUR PHOTOS!
In English, "Scrap" means "pieces, leftovers" and "Book" means "book, album".
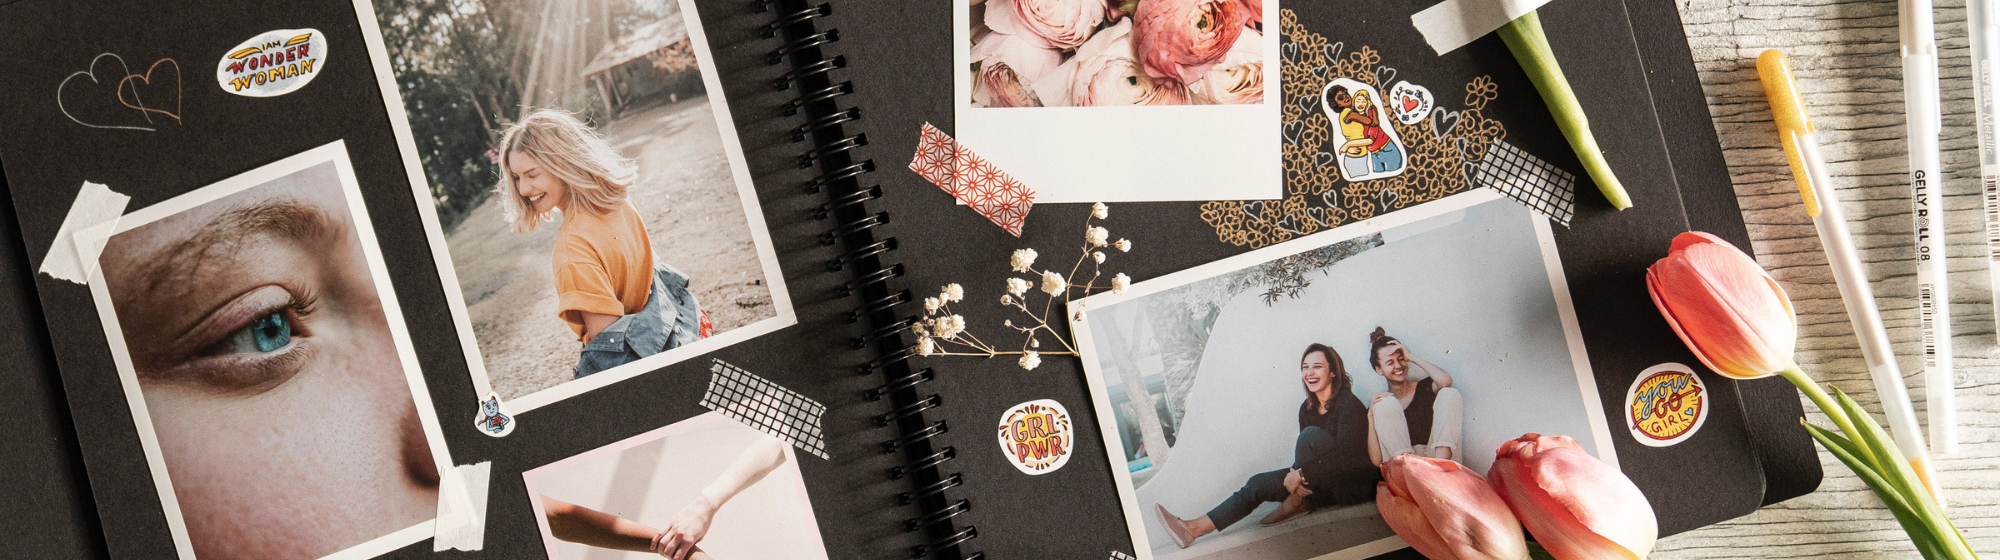
More than just a photo album, memory album or diary... Scrapbookinghighlights the art of paper, the art of collage and that of customisation.
Scrapbooking consists in laying out your photos by embellishing them with pretty papers, stamps, stickers, making tape, ribbons and other embellishments to create harmonious compositions on a specific theme.
The aim is to revive memories of your most sensational journeys, to recount an important moment in your life by putting them on stage. Photos, travel tickets, exhibition tickets, dried plantschseashells, scraps of fabric... You're free to stick whatever you like in your album, but make sure you can close it!.
Basic scrapbooking materials
The photos
For your scrapbooking projects, you'll obviously need prints of the photos you want to put on the page: Polaroids, old photos, prints on glossy paper or printed on bristol using a home printer...
If you want to tell the story of a trip, a wedding, a birthday... you can, in addition to the photos, add travel tickets, food packaging, a menu, a dried flower, confetti... preciously kept as a souvenir of these good times.
Support
Depending on the photo object you want to make, you'll need the base:
- A photo album
- A bullet journal with dots on the pages to help you find your bearings
- A sheet of thick paper (30 x 30 cm) which can then be bound with others to create an album or displayed on the wall as is.
- Grey cardboard or wood cardboard used for cardboard and framing
- Featherboard to create a rigid support for a picture, a sign...
- Other original media for which we will give you some ideas later in this article...
Paper
You can use any type of paper for scrapbooking.
However, there are papers specifically designed for this artistic discipline with precise characteristics.
These are often thick sheets of paper in the 30 X 30 cm format. They are printed on both sides. The front has a pattern and the back another pattern or a plain side. These two sides are printed in complementary colours so that they can work together in layouts.
Sold in blocks, these sheets offer cameos of colours and motifs on the same theme to guide you in your creations. For example: red, green and gold leaves with Christmas-themed motifs.
Free to add any type of paper to your creations. Go for thick papers when they're going to be used as a base for your composition and rather light ones if you're going to assemble them as a decorative collage around your photo.
There are scrapbooking papers with the "acid free" label. This means that the paper pulp used for these sheets is acid-free, with a neutral PH and will therefore not alter the quality of your photos over time.
Cutting tools
The basic scrapbooking tool combo is a good cutter, a healing cutting board, and a metal ruler.
With a sharp blade, this will allow you to cut out your photos, pages, collages... with precision.
You can add a scalpel, which makes rounded cuts even more precise than the cutter. For these ultra-precise cuts, you can also use small, pointed scissors that are usually reserved for embroidery. Be careful, though: once these scissors have cut paper, they can no longer be used for needlework. Scissors intended for cutting textiles, should only cut textiles otherwise the blade will dull and chop the fabric.
Hole punches are a quick and easy way to cut neat shapes. They come in all shapes and sizes.
Rotary cutters and guillotines enable clean cuts over long distances.
Manual die-cutting machines: these work with bases that cut or emboss the paper according to your choices by pressing the paper against the shape using a roller.
Another revolutionary tool that has appeared in recent years; cutting plotters. These are thin cutter blades whose movements are programmed by computer. Just as a printer head comes to print your documents, the plotter's cutting head cuts out precisely the patterns you've selected.
Collages
You can use stick glue for thinner papers and tube glue to stick thicker sheets. Instead of liquid glue, prefer gel glue, which doesn't run and gives you a few seconds to position your creation properly before it sets completely.
Varnish glue is interesting for finalising certain collages. Glitter glues both glue and embellish your albums.
Twidely used in scrapbooking and for bullet journals, making tape or repositionable adhesive is as practical as it is decorative!
Finally, single or foam double-sided adhesive makes it easy to assemble elements together. The "foam" version adds volume to your compositions by raising the fixed motif.
 VLODYMYR PROSKUROVSKI
Ink pads
Stamps are widely used in scrapbooking. They are printed on the paper and/or on the photos. They create complementary motifs. The alphabet version lets you write titles for your photo plates. In the form of labels or frames, they surround the photos, add captions and create original page layouts. As with paper, stamps designed for scrapbooking are often presented as themed ranges.
These stamps are generally engraved in rubber plates glued to wood or PVC. The PVC option is very interesting, as it allows you to have just a few blocks of different sizes and to interchange the motifs engraved on the rubber with an adhesive side. It takes up a lot less space for storage!
You can create your own stamps by engraving a gum plate using linocut tools.
When it comes to inks, the range of colours and textures on offer today is endless! Inks come in every possible colour, as well as glitter, iridescent and fluorescent... You'll also find different types of ink depending on the surface on which you intend to apply your stamp. You won't use the same ink for paper and fabric, for example.
Finally, embossing powders can be used to create "3D" and metallic designs. There are 3 steps to embossing a design:
- Ink your stamp with special embossing ink, which is actually a colourless glue, and apply your stamp to your sheet.
- Spray the location of the pattern with embossing powder. Remove excess powder by tapping the sheet vertically on the work surface.
- Heat the powder with an embossing iron. The powder will melt, swell and reveal its iridescent or metallic character.
Embellishments
You'll find this embellishment term both in scrapbooking, jewellery and sewing.
This groups together all the little fun accessories you can add to your composition to enrich it:
- rubbons, croquets and lace
- Mini buttons
- Rings, paperclips and brads
- Brelocks
- Stickers and other decorative shapes cut from cardboard, wood...
While scrapbooking brands offer a huge range of embellishments, don't hesitate to pick up some materials to divert from the haberdashery and jewellery departments either!
The different uses of scrapbooking
The pages
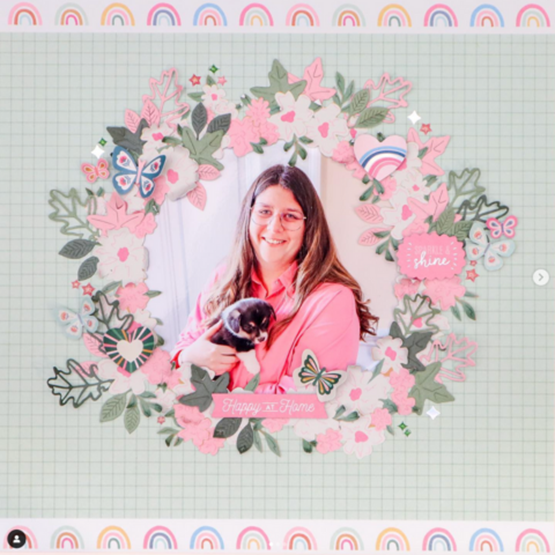
These famous 30x30cm sheets dedicated to scrapbooking let you create a "photo memories" page whenever you want!
Then it's up to you to keep it as it is or punch out one side to create a photo album that grows with the events in your life.
A punch, binder joining rings and a pretty cover are all they need to accommodate these scrapbooking pages as they create.
© DE JOLIES CHOSES
The albums
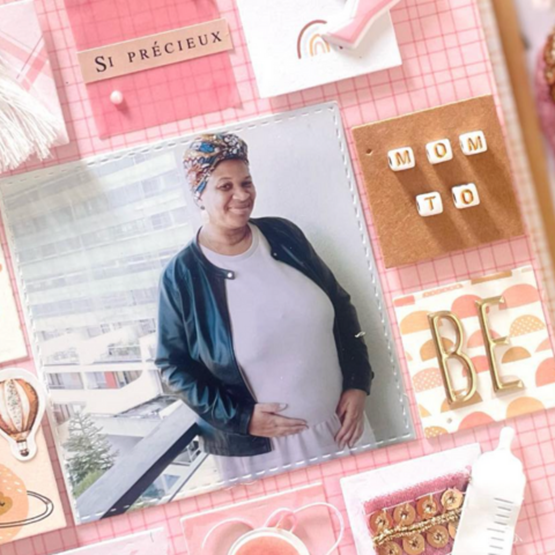
For important events: travel, wedding, birth, anniversary... then think a whole album and not just one page.
There are kits to guide you in creating this album. They contain the base of the album with its bound pages. Coordinating papers, embellishments, stamps and making tape on a given theme to help you with your layouts. All you have to do is add your photos and compose your pages.
© ALEXIA CRAFTING
Mini albums
It's a real trend in scrapbooking! Mini albums are like photo albums, but in a smaller format. Instead of a card, for example, they can be accordion-folded, placed on the mantelpiece, shaped like a star or a snow globe to send greetings.... They're fun, with real design work on the shape of the album itself.
 © DE JOLIES CHOSES
Explosion boxes
This is the other trend that's very much in vogue. The idea is to design your photo album in 3D. When closed, the album is shaped like a box. When you open it, it unfolds to reveal pretty layouts both flat and pop-up!
You can find the basic explanations for these explosion boxes on the internet. It's then up to you to arrange them to fit in with your theme.
 © DE JOLIES CHOSES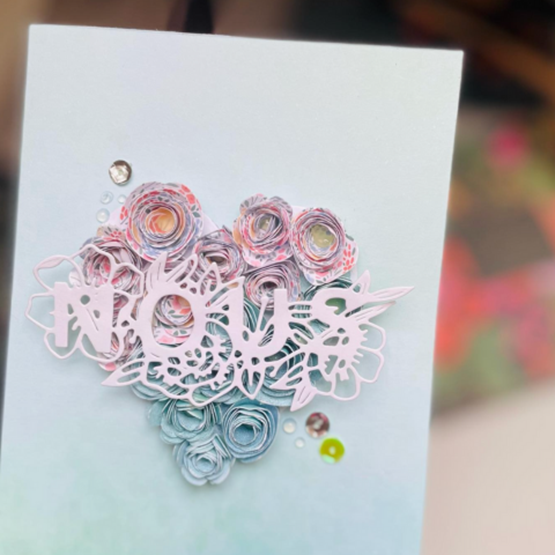
The cards
Making a card is a great idea to get you started with scrapbooking. On this small 10 x 15 cm format, you can stick a photo and then customise it with a few pieces of paper, making tape, a stamp and a charm. Get started on your next greetings cards!
© ALEXIA CRAFTING
Photo frames
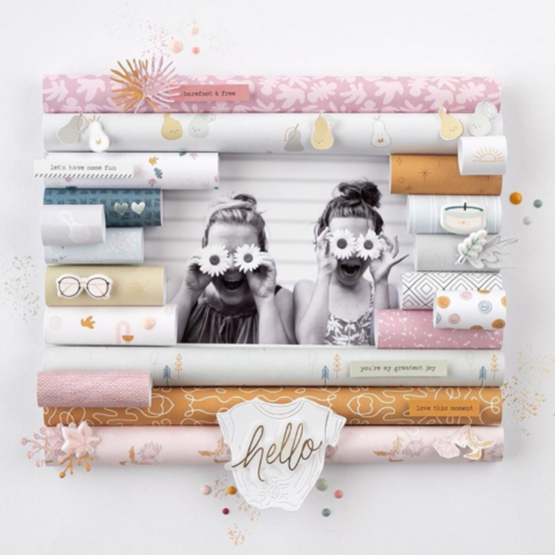
Your photo compositions can also be thought out in advance to fit into a frame. If you want to keep the protective glass, remember not to use bulky embellishments. By removing the glass, you'll have more freedom in your creation, but beware: it will be permanently exposed to sunlight and this will spoil your photos. Unlike the photo album, which protects them from sunlight and moonlight.
© LORA BAILORA
Calendars
Why not make 12 scrapbooking pages dedicated to each month of the year? You'll find specially designed sheets with the months of the year already printed in the centre. You can also create them yourself, inspired by the Newsletter technique..
Then decorate these sheets around the months with photos, stamps, collages... personalising these layouts to make an original gift!
Wall decorations: posters, door signs...
Collate your layouts onto featherboard, also known as foam board.
This is how your creations become:
- Wall poster
- Door panel for a child's bedroom (first name) or a shop (open/closed)
- Welcome sign to place on an easel to welcome your guests at an event.
- Table plan or decorated menu for a wedding
And why not... furniture?
Here you are, well-versed in the various techniques and applications of scrapbooking. How about taking it out of the box a bit?
Create your compositions on wardrobe doors, on a headboard, on the drawers of a chest of drawers... All you need to do is adapt the glue to make it last over time. Varnish glue is perfect for this purpose. The same goes for inks, paints and felt-tip pens... use products made to stick to wood, not paper.
 MARIE CLAIRE IDÉES
Instagram accounts to follow
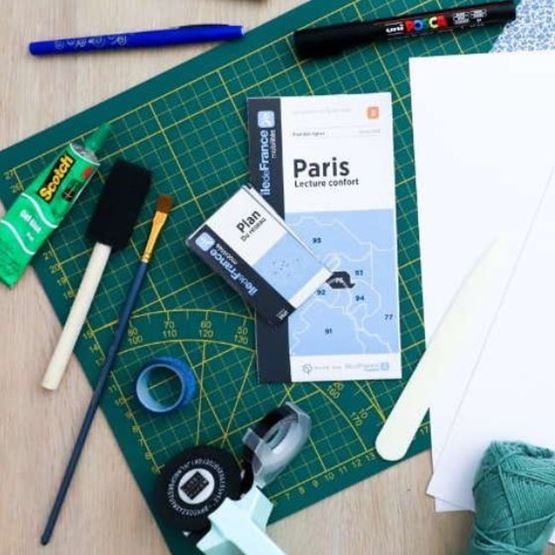
Tutorial: travel journal
Test, be inspired, learn and share
Take advantage of the show to try out new folding techniques, unearth new stencils and paper favourites, stock up on scrapbooking inspiration...