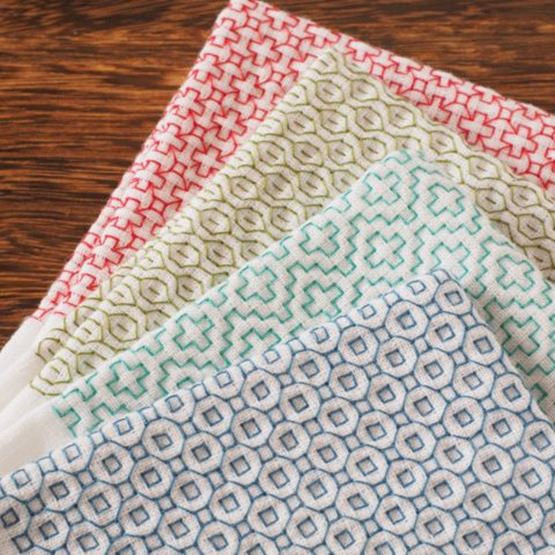
SASHIKO EMBROIDERY : ESSENTIAL TECHNIQUES
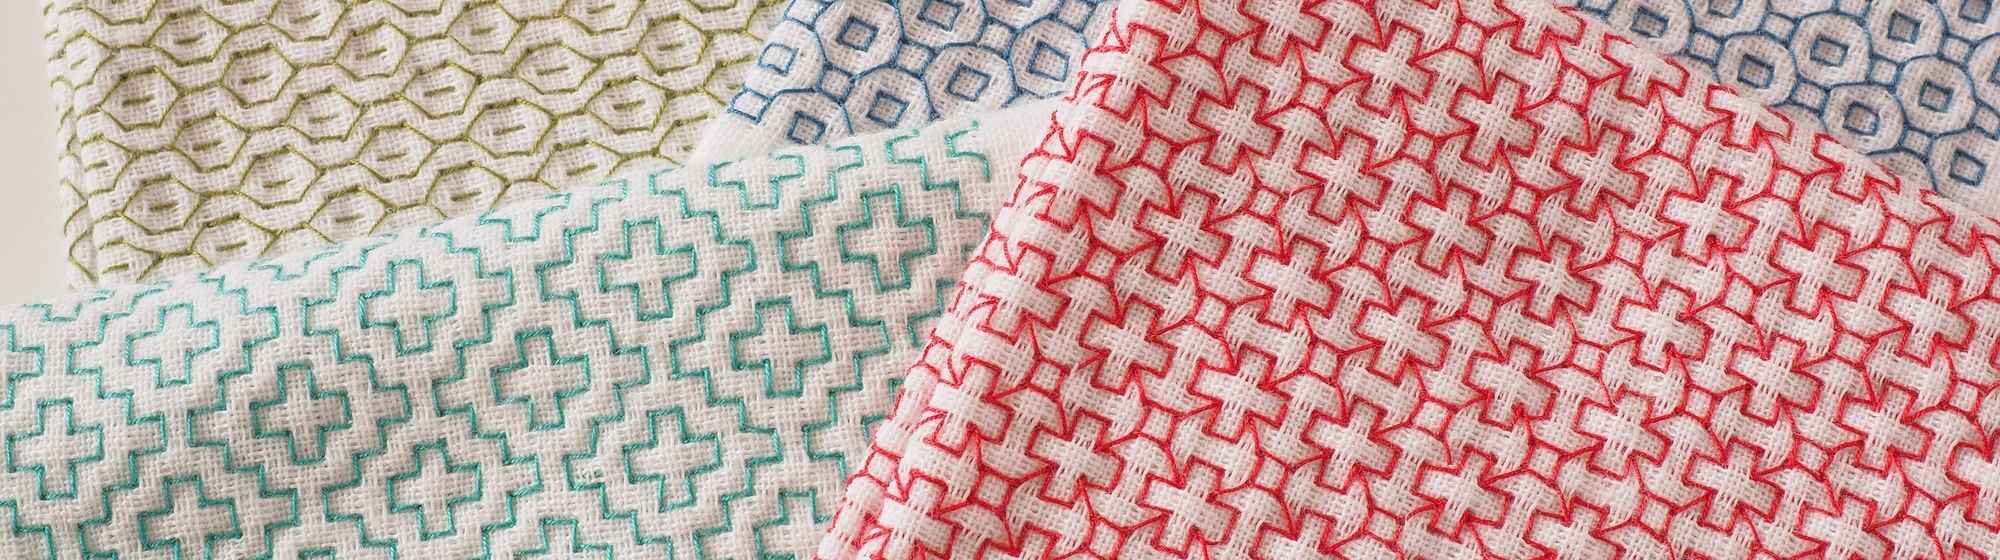
Today, this embroidery technique is appreciated for its aesthetics, simplicity and meditative quality.
Let's take a look at the essential techniques of sashiko embroidery, from the basic motifs to the materials to be used. So grab your needle and let's dive into this delicate and captivating art together!
What is Sashiko?
Materials needed for Sashiko embroidery
Before diving into the techniques, let's make sure we have the right tools. Fortunately, sashiko doesn't require much equipment. Here's what you'll need:
- The fabric: Traditionally, sashiko is made on a thick cotton fabric in indigo blue, but you can choose other plain-coloured fabrics, preferably non-stretch cotton.
- The thread: Use special sashiko thread, which is thicker than ordinary embroidery thread. Sashiko yarn is generally made from cotton and comes in a range of colours, although white is the most common.
- Sashiko needles: These needles are longer and thinner than conventional embroidery needles, so you can make several stitches at once.
- An embroidery drum (optional): Although not essential, an embroidery drum can help you keep the fabric taut, especially if you're just starting out.
- A marking pen: To mark patterns before sewing, use a pencil or marking pen suitable for fabrics. This will help you to have a guide for your stitches.
Basic Sashiko techniques
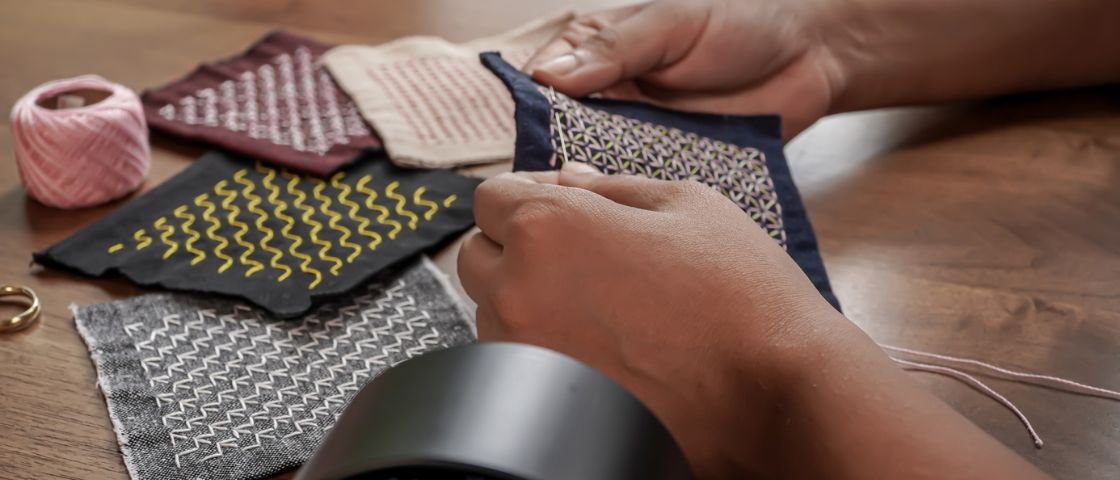
Now that you have your equipment, it's time to learn the basic techniques. Sashiko may seem intimidating at first, but once you've mastered the basics, you'll see how relaxing and rewarding it is. Here are the essential steps to get started.
1. Preparing the fabric and pattern
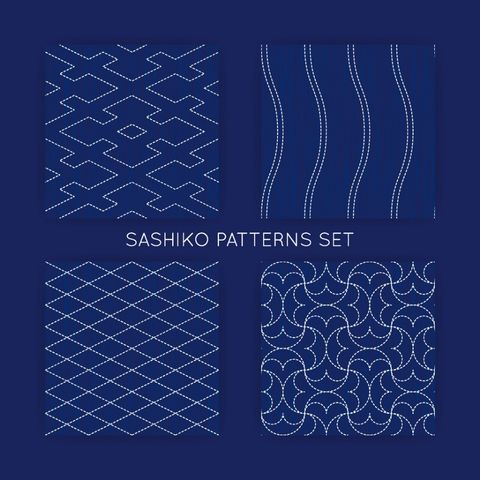
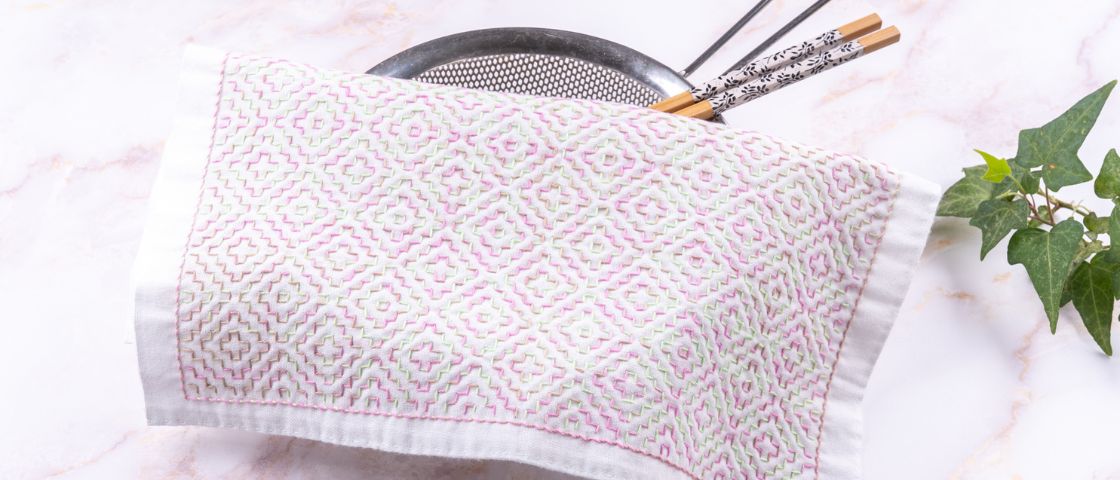
Before you start embroidering, we recommend that you wash and iron the fabric to avoid any shrinkage once the embroidery is complete. Then use your marking pen to draw your design. Sashiko is often made up of repeated geometric patterns, such as lines, waves or diamonds. Among the most common reasons are :
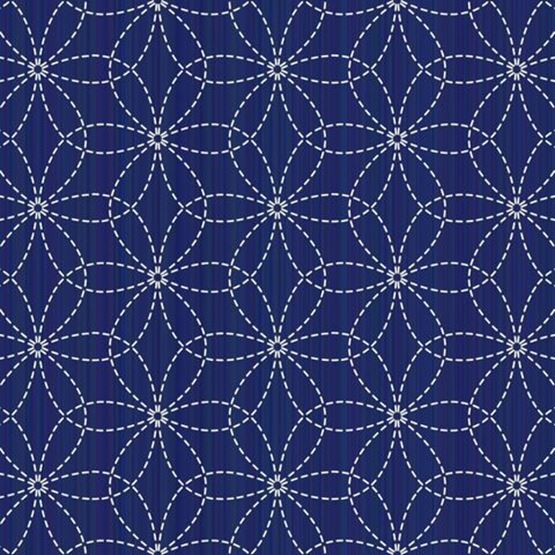
- Asanoha (hemp leaves): a diamond-shaped pattern representing growth and good health.
- Seigaiha (ocean waves): half-circle lines symbolising tranquillity and resilience.
- Kikkō (turtle pattern): a hexagonal pattern representing longevity.
These designs, once traced, will serve as a guide for your embroidery.
2. Making the sashiko stitch
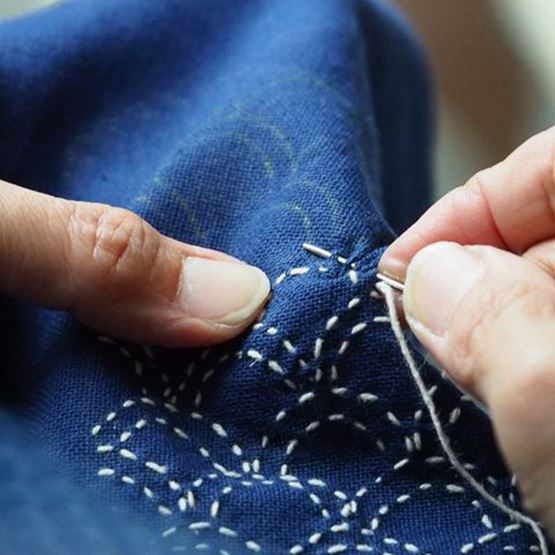
Sashiko stitch is essentially a simple embroidery stitch, the simple front stitch, done with great regularity. To get it right, follow these steps:
- Thread your needle with about 50 cm of thread. Too much length can make the wire difficult to handle and more likely to tangle.
- Thread the needle through the fabric, following the traced pattern, and make small regular stitches about 2 to 3 mm long. Leave a space of the same size between each point.
- The secret of sashiko lies in the regularity of the dots and spaces. Take your time to get even stitches.
- You can make several stitches in one go by passing the needle through the fabric several times before pulling the thread through completely.
The backstitch technique
Sometimes, to reinforce the sashiko stitch, a backstitch is used. This stitch is often added where the fabric needs to be reinforced. To make it happen:
- Thread the yarn as for the classic sashiko stitch.
- Make a front stitch, but instead of leaving a space before the next stitch, pass the needle under the fabric and bring it back, overlapping the previous stitch.
- Continue in this way to create a strong seam.
Tips for successful sashiko embroidery
Now that you've mastered the basic techniques, here are a few tips to help you progress:
- The tension of the wire: Maintain even tension without pulling too hard on the wire. Too much tension can tighten the fabric and give your design an irregular appearance.
- Working in sections: If you're just starting out, start with a simple pattern and work in small sections.
- Patience is the key to success: Sashiko is a technique that requires patience. Take your time to enjoy this beautiful work, seeing each point as a step towards a greater work.
- Practising traditional designs: Traditional sashiko designs are more than just aesthetic. By familiarising yourself with them, you will also learn to
Varying techniques for greater creativity
Once you've mastered the basics, feel free to experiment! Here are some ideas for adding creativity to your sashiko embroidery:
- Multicouche: You can superimpose several patterns to create depth effects. For example, try adding a wave pattern on top of a diamond pattern.
- Changing the colours: White thread and indigo blue fabric are the most common, but there's nothing to stop you experimenting with different colours to give sashiko embroidery a modern touch.
- Add textures: By using thicker threads or combining sashiko with other types of embroidery, you can give your creations more relief and texture.
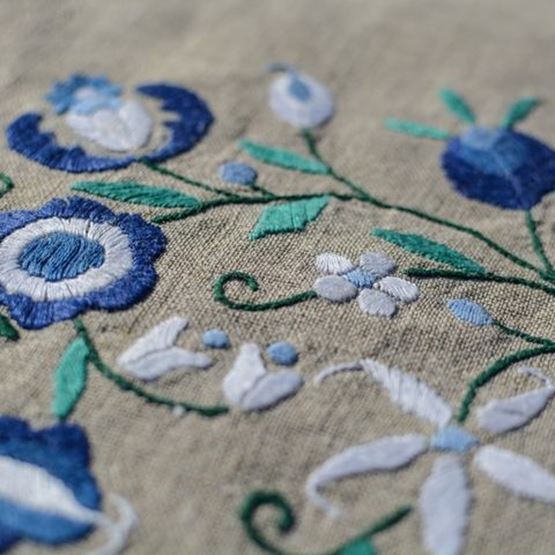
- Creating shapes: Instead of geometric designs, why not try embroidering flowers, leaves or even animals? This mix of styles can produce a highly original result.
The meditative benefits of Sashiko
Sashiko is not only an embroidery technique, but also a form of meditation. By repeating these simple points, following the patterns, you can immerse yourself in a state of meditation and beneficial relaxation. This technique, which can sometimes seem repetitive, allows you to refocus, calm your mind and appreciate the beauty of things and of manual work. In Japan, sashiko is often seen as a 'mindful stitching' practice, a way of connecting with the present moment while respecting the environment.
Some sashiko embroidery projects
If you're ready to get started, here are a few ideas for simple projects to get you started with sashiko:
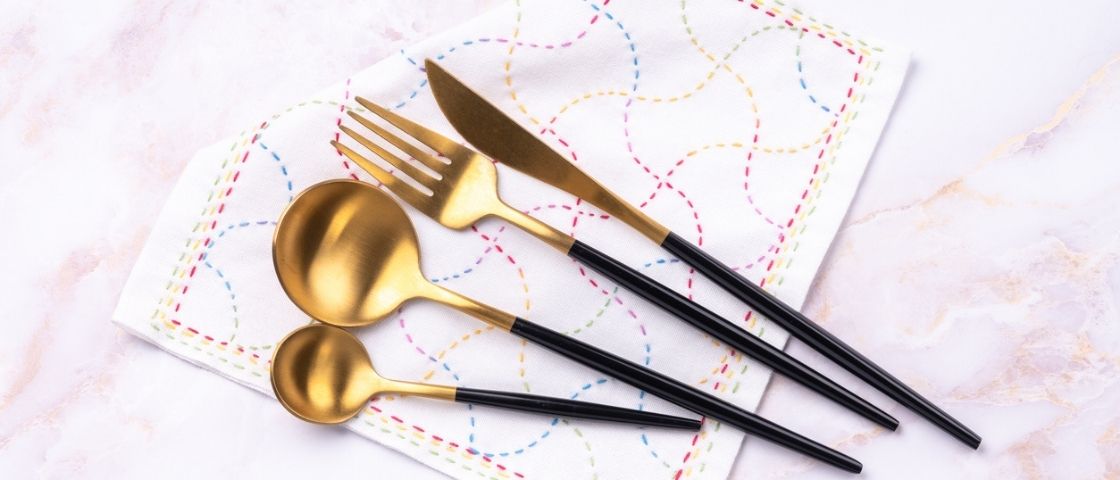
- Decorative napkin or placemat: Embroider a simple design on a square of fabric to create a decorative napkin or placemat.
- Decorative cushion: Add sashiko motifs to a cushion cover for an original effect.
- Patch for jeans: Use sashiko to repair worn jeans by adding a decorative and functional patch.
- Cloth pouch or bag: Make a fabric pouch with a sashiko motif for a unique accessory. 5. Wall chart : Embroider an intricate design and frame it to hang like a work of art.
Conclusion: Why choose sashiko embroidery?