5 RECIPES FOR MAKING YOUR OWN NATURAL PAINT
Making your own vegetable-based inks
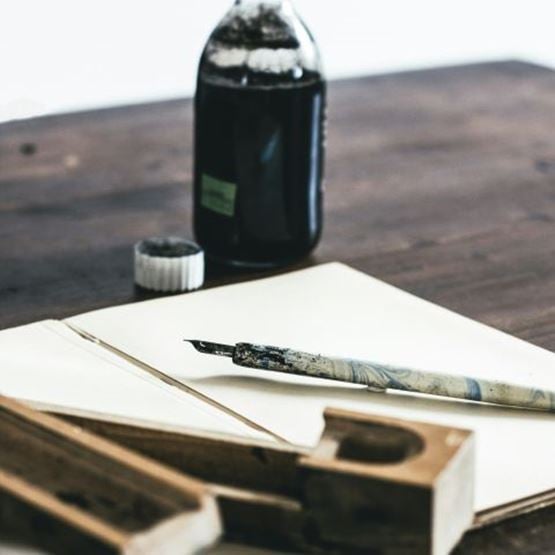
Did you know? You can make coloured inks from plants, vegetables or fruit!
Here are some of the best-known ingredients for making your own natural inks:
- Beetroot for red
- Red cabbage for blue/purple
- Turmeric for yellow
- Coffee or black tea for brown
- Onion peelings for a golden orange
- Blueberries, blackberries or blackcurrants for a dark purple colour
© Kira Auf Der Heide / Unsplash
The basic recipe :
- Finely chop or grate the plant, fruit or vegetable of your choice
- Boil the mince in a little water for 10 to 15 minutes. The water should just cover the plant, without drowning it.
- Filter through a fine cloth or coffee filter, collecting the juice in a glass jar.
- If you wish, you can add 1 teaspoon of gum arabic to thicken the juice a little and stabilise the colour. You can also add 3 or 4 drops of white vinegar to help preserve your ink over time.
- Leave to cool, then seal the jar with a lid.
- This ink can be stored for between a few days and a few weeks in a cool, dark place. Ideally, use tinted glass bottles to store them.
Making your own natural pigments
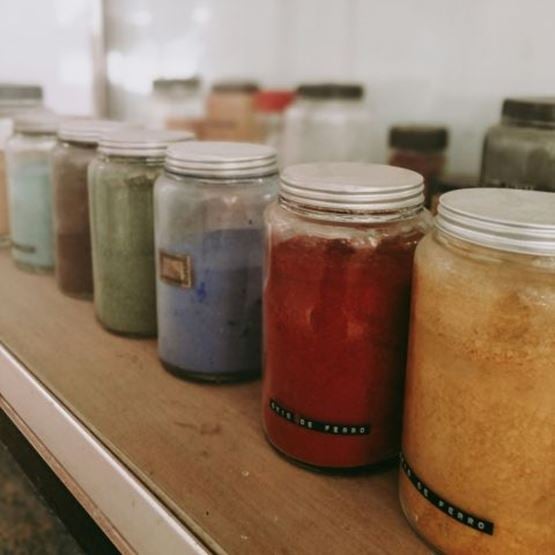
By creating your own natural pigments, you can then combine them with different ingredients to make watercolour paint, gouache, egg paint, etc.
© Cris / Unsplash
Here are the basics for making your own natural pigments.
To obtain red and pink:
- Chop or grate raw beetroot. Dry them and then grind them into powder.
- For a deep red, or even purple, mix dried Hibiscus petals.
- For a softer red, dry and crush poppy petals.
For the orange colour:
- You can simply use paprika powder.
- Grate, dehydrate and then blend the carrots.
For a yellow pigment:
- Use turmeric. Watch out for its staining power!
- Make a decoction of yellow onion skins.
To obtain the green colour:
- Spirulina powder gives a bluish green colour.
- For a soft green, dry spinach leaves and grind into powder.
- You can do the same with nettle leaves.
For the blue colour:
- Puree blueberries or violet berries and leave to dry.
- Make a decoction of red cabbage and add a little bicarbonate to obtain a purplish-blue colour.
For a violet pigment:
- Dry blackcurrants or blackberries and then crush them.
- A decoction of red cabbage without adding bicarbonate will tend towards a lavender violet.
To obtain black and grey pigments
- Powdered activated charcoal is highly pigmenting.
- Sieve fine wood ash to obtain a light grey colour.
For browns and ochres: For browns and ochres: For browns and ochres: For browns and ochres
- You can simply use coffee or dried coffee grounds.
- Pure cocoa (with no added sugar) is also an option!
- Finally, filter, dry and grind clay soil or natural silt.
Once you've made your pigment, in the rest of this article we'll look at the ingredients you need to mix it with to make paint.
Please note: these pigments are less stable than the pigments you can find commercially. Colours can therefore change over time. They're perfect for artistic experimentation, but if you want to keep your painted work as it was on the first day, I'd advise you to scan it for an intact souvenir!
Making watercolours
Here's a simple, natural recipe for creating your own watercolour paints.
© Anna K / Unsplash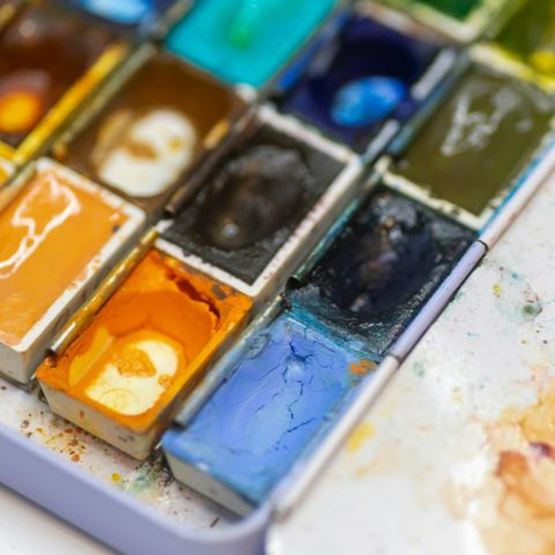
To make watercolour, you need :
- Powdered pigment (store-bought or made from plants as above)
- Gum arabic
- Glycerine
- Honey or corn syrup
- Distilled water
- A few drops of clove essential oil or a drop of natural preservative such as Cosgard
- Small containers or paint cups
- A bottle
- A painter's knife
- A pipette
- A smooth, clean worktop
Gum arabic is used as the main binding agent. Glycerine makes the paint supple. Honey or corn syrup will prevent the paint from cracking. Clove essential oil acts as a preservative.
Start by making the binder
In a small bottle, mix :
- 2 tablespoons gum arabic
- 1 teaspoon glycerine
- 1/2 teaspoon honey
- 2 to 3 tablespoons distilled water
- If you wish, a few drops of preservative (clove essential oil or Cosgard)
Mix well and keep in a cool place.
Make your own watercolour paint
- Place about 1 teaspoon of pigment on your work surface.
- Slowly add the binder to the pigment using the pipette.
- Grind and mix together with a knife or simply the back of a tablespoon, until you have a smooth, homogenous paste.
- If the dough is too dry, add a little binder. If it is too runny, add a little pigment.
- Transfer the paste to a small bucket and leave to air dry for several days.
Once dry, watercolour paint keeps for a very long time.
For a 100% vegan watercolour recipe, simply replace the glycerine with vegetable glycerine and the honey with agave or rice syrup.
Making your own gouache
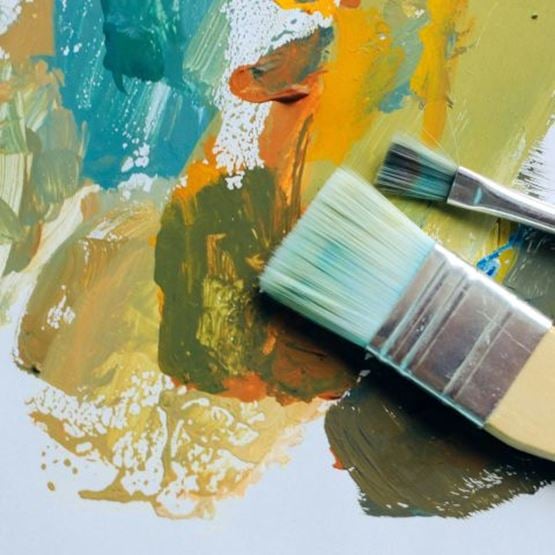
Using the same principle as watercolour, you can make your own gouache paint. The basic recipe is the same, mixing a binder with pigment, but an opaque filler is added to make the paint matt and opaque.
© Olga Deeva / Unsplash
To make gouache, you'll need :
- Pigment powder (store-bought or plant-based as above)
- Gum arabic
- Distilled water
- Vegetable glycerine
- Dextrose or agave syrup
- Clove oil or cider vinegar or grapefruit seed extract (as a preservative)
- Blanc de Meudon or Kaolin (fine white clay)
- Small airtight jar
- Painter's knife
- Glass plate or plate
- Pipette
Prepare the binder
In an airtight jar, mix :
- 2 tablespoons gum arabic
- 1 tablespoon distilled water
- 1/2 tablespoon vegetable glycerine
- 1/2 tablespoon agave syrup
- 2 drops of clove essential oil
Shake well and leave to stand for 10 minutes.
Prepare the pigment paste
- Place 1 teaspoon of pigment on a plate or glass plate.
- Add 1 teaspoon of Meudon white to darken the colour.
- Mix a few drops of binder to obtain a homogeneous paste.
- If you want full coverage, add more Meudon white. This gouache will have a matt, velvety finish.
Refine your gouache
- Crush the dough well using a knife or the back of a tablespoon.
- Adjust by adding binder or pigment to achieve the right consistency, neither too liquid nor too pasty.
- Transfer your gouache to a small airtight jar.
This paint can be kept for 1 to 2 months in a cool place, with the can tightly closed.
Create an Anthotype
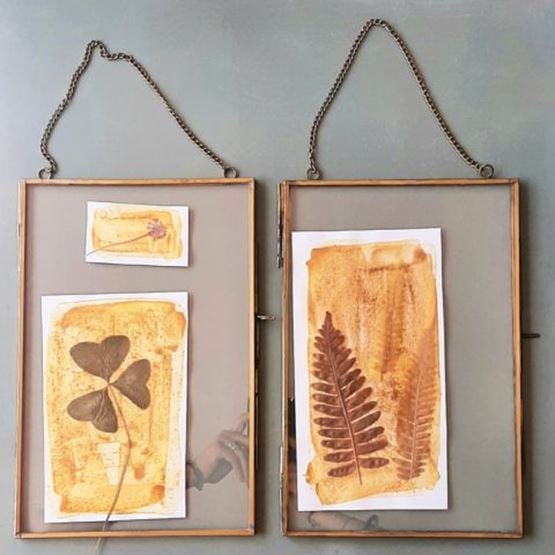
If you're familiar with the cyanotype, the anthotype works on much the same principle, but uses a plant juice instead of chemicals. A thick sheet of paper is coated with a light-sensitive plant juice, then an object, a stencil or a dried flower is placed on the paper and exposed to full sunlight. The light will fade the part exposed to the sun, revealing a trace of the object by contrast.
© Bleu de Sienne
To make an anthotype, you need :
- A colourful plant (beetroot, spinach, turmeric, blackberry, blueberry, red cabbage, poppy, hibiscus...)
- A little water or alcohol
- Sheets of thick absorbent paper, such as watercolour paper
- A blender or mortar
- A sieve or coffee filter
- A brush
- A glass plate
- Use dried flowers, stencils and lace to create a pattern.
Prepare the vegetable emulsion:
- Grind the plant or coloured fruit in a mortar or blender.
- Add a little water or alcohol to release the pigment.
- Strain to obtain a colourful, homogenous juice, free from any bits of vegetable matter.
Coat the paper :
- In a dark place, apply the coloured juice with a brush over the whole sheet (you can leave a small margin around the edge without juice).
- Leave to dry in a dark place so that the photosensitive juice doesn't start to react straight away!
Compose your image and reveal it:
- Place a dried flower, a piece of lace, a stencil, etc. on the dry sheet coated with juice.
- Place a sheet of glass on top to hold it all together.
- Expose this assembly to full sunlight, lying flat, for several hours, or even several days, depending on the plant used and the intensity of the sun. The juice will lighten where the sun shines directly on it and remain darker where an object is placed.
- Remove the object to reveal its image in contrast on the paper, like a negative.
Please note: this anthotype principle cannot be fixed over time. Your image will fade over time. I therefore advise you to take a photo or scan your work to keep an intact souvenir.
So here are a few basics to help you have fun creating your own pigments and paints using natural ingredients. Feel free to experiment with colours and techniques!