20 DIY IDEAS FOR EASTER
Eggs, bells, rabbits, nests, chickens... the imaginary world of Easter allows us to multiply techniques and creations.
Here are a few classic and revisited ideas for creating your own Easter decorations using a variety of creative techniques.
Illuminated engraved egg
 Sienna Blue
Felt wool figurines
Are you familiar with wool felting? This technique uses carded wool as the raw material. By working and sculpting it with felting needles that have little pins on them, you can create lovely, soft little characters! You'll find plenty of online tutorials to show you how. The needles hook onto the raw wool to mix the fibres and, little by little, create a solid volume of felted wool.... Looks like your poor favourite jumper that you've machine-washed on a programme that's too hot! But here the technique has been mastered to create bunnies, eggs, chickens and Easter bells to use as table decorations or to hide away as a little extra gift among the chocolate eggs.
Yana Gorbunova / UnsplashNapkin folding
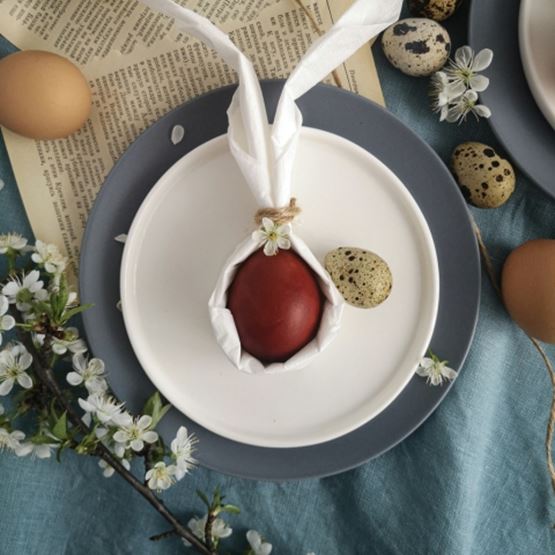
This quick and easy bunny ears napkin folding will look great on your party table. Fold your towel in half diagonally. Fold the triangle over itself a few times, a few centimetres wide, to form a band... just as you would if you were wearing a scarf around your neck. Take a beautiful Easter egg, surround it with your strip of napkin and hold it in place with a small piece of string tied at the top of the egg. Place the egg and its napkin on a plate. Shape the two ends of the napkin to create the rabbit's ears. You can add a small flower pricked into the string if you like. Make the same peritoneal for all the guests' napkins.
Uliana Kopanytsia
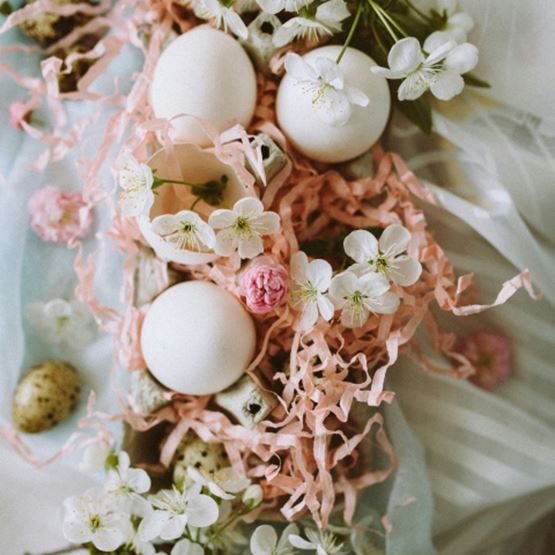
Floral centrepiece
Easter is also about Spring and the renewal of nature. Take advantage of the beauty of spring to create a plant-based centrepiece. Pick branches of apple blossom. Tie them together with string or fine florist's wire to form a rectangular centrepiece, lengthways. Add small knots formed from paper crimp. You can collect this crimp from your parcels - it's regularly used to protect the inside of packages, so don't forget to keep it! Place this decoration in the centre of the table and fill the nests with Easter eggs. You can add a few LED candles or a string of battery-operated lights amongst the branches to add to the festive spirit of your table setting.
Taisiia Stupak / unsplash
Clay bell
Traditionally, it's the bells that bring the Easter eggs. To keep the tradition alive, create your own Easter bell to ring to warn young and old that the egg hunt is on! Take a ball of self-hardening white clay. Shape the ball well then, using your thumb, hollow out the centre. Pinch the edges between your fingers to smooth them out a little at a time. Give the shape of the bell. Leave to air dry by piercing the top of the bell with a toothpick before the clay is completely dry. Pass a string through the hole at the top of the bell. Slide a wooden or clay bead into the bottom end of the rope. Secure it with a knot in the string, so that it can hit the edges of the bell when it is shaken. Secure the top of the string by making a loop over the bell so that you can hold it in your hand and ring it.
Image generated by AI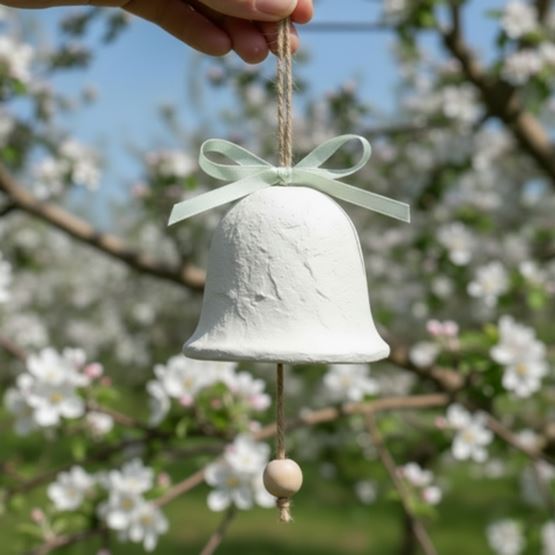
A spring wreath
 ©Anatasiia Chepinska / Unsplash
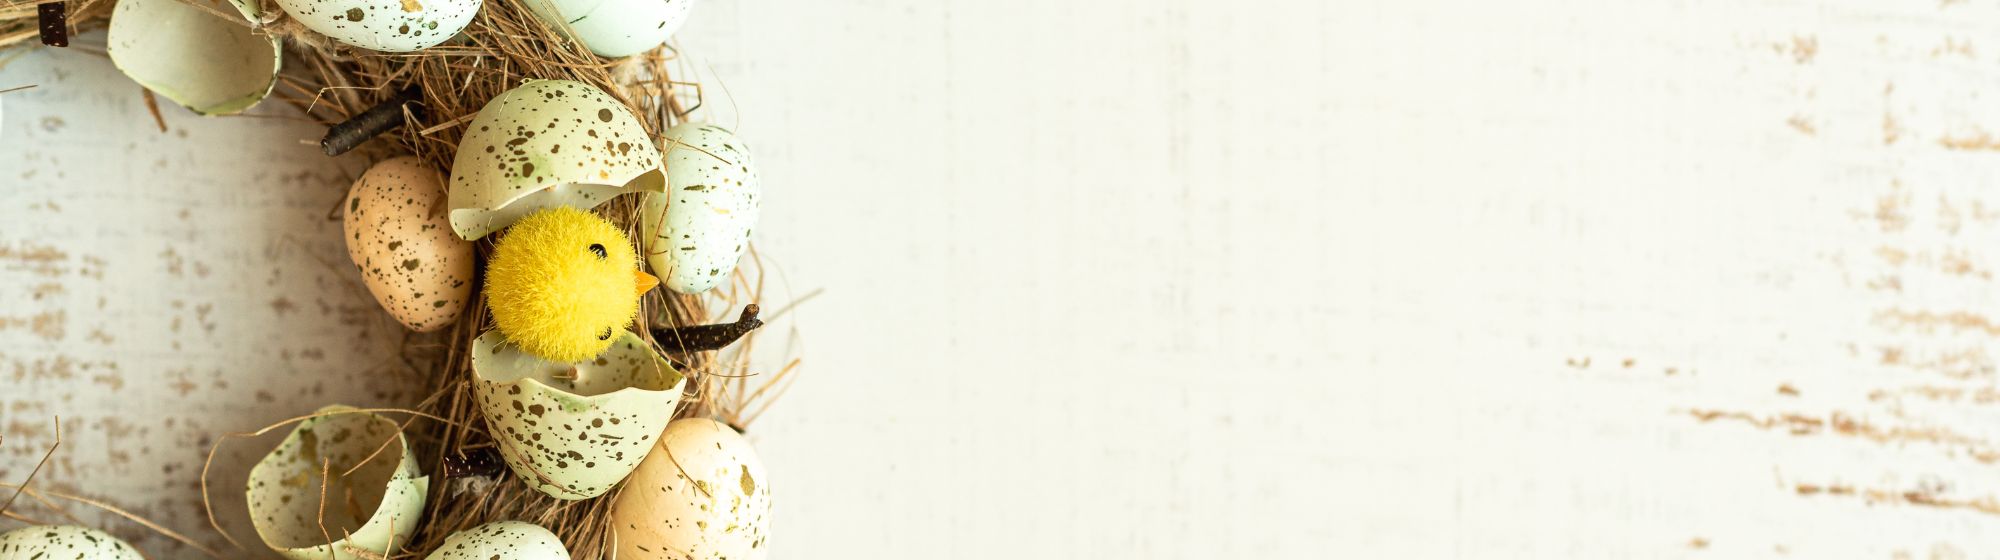
Make a pretty Easter wreath and use it as a door wreath or table centrepiece.
To make your wreath, you will need :
- A straw wreath base
- Decorative eggs in wood or plastic
- Little pompom chicks
- Little feathers
- A glue gun and the glue sticks that go with it.
Using the glue gun, attach the different elements all around the wreath, alternating eggs, chicks and feathers.
Attach a pretty yellow or green ribbon to hang the wreath. You can also place it in the centre of the table with good chocolates and other Easter sweets in the centre. Your wreath becomes a gourmet nest!
Traditional egg dyeing
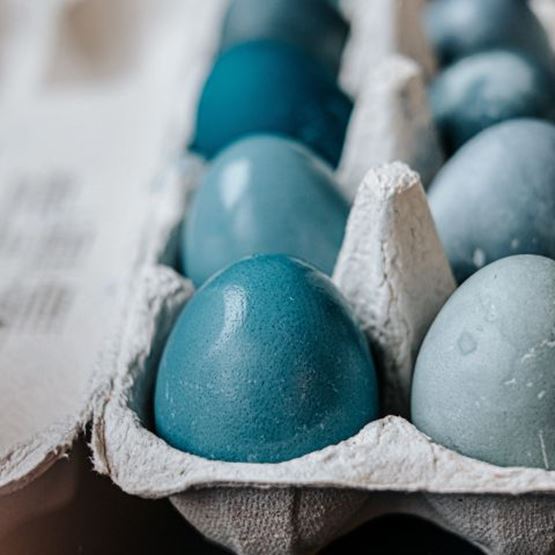
Thanks to vegetable dyes, hard-boiled eggshells can be given magnificent colours. All you have to do is cook hard-boiled eggs in water dyed with different plants depending on the colour you want to achieve.
For a pretty aubergine to pink colour, use aronia juice. For orange eggs, add madder root to the cooking water.
Surprisingly, cooking eggs with red cabbage will turn them blue! The bilberry juice will produce purple eggs.
Turmeric will give you golden-yellow eggs.
For pink eggs, you can use beetroot juice.
You can also obtain other colours by multiplying the dye baths. For example, for green eggs, soak the eggs first in a decoction of red cabbage and then in a decoction of turmeric.
Each plant dye bath will give a different result depending on the quality and quantity of plants, vegetables and spices used... The possibilities are endless!
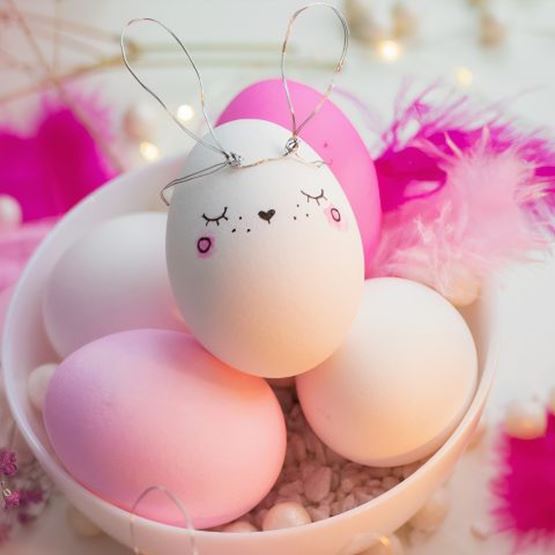
Little rabbit
Once the eggs have been dyed, your children will be delighted to turn them into little rabbits. Use a little gouache or pink watercolour to draw the cheeks, and a black felt-tip pen to trace the eyes and muzzle. For the ears, help the younger children to make them using a piece of wire and jewellery tongs. Form two loops for the bunny's ears and twist the rest of the yarn into a ring around the egg.
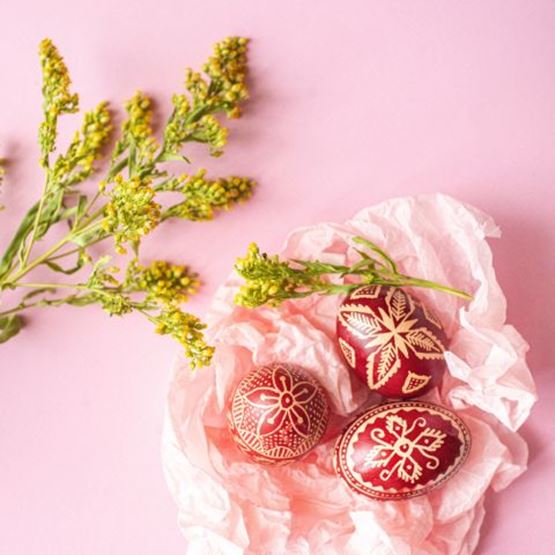
The Pysanky technique
This traditional Ukrainian technique involves drawing reserve patterns in liquid wax on the eggshell. The heated wax is applied using a special stylus with a very fine tip, allowing you to draw meticulous patterns. The egg is then dipped in a first bath of coloured dye. Other motifs are added to the wax, and the egg is dipped in a second dye bath of a different colour... and so on. The wax is then removed by passing the egg under a flame, revealing patterns coloured according to the different dye baths.
These eggs are offered at Easter as talismans. Patterns and colours have different symbolism: joy, life, wealth, fertility, spring... So many wishes that each artist shapes on the shell.
Gourmet nest
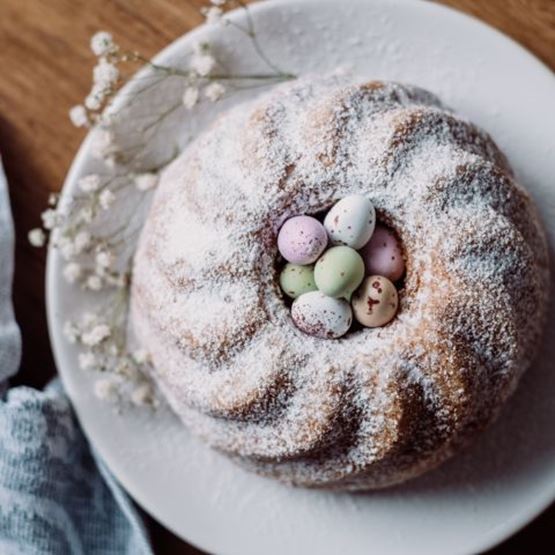
Here's a simple and original dessert for Easter. Buy or make your own kouglof, this leavened Alsatian brioche shaped like a tall crown.
Place this kugel in the centre of a dish, dust with icing sugar and place small Easter eggs in the centre. Here's a tasty Easter nest!
Cyanotype eggs
 ©Angele Kamp / Unsplash
Use the cyanotype technique to create blue eggs with plant imprints.
You will need:
- 2 photosensitive chemicals to mix for cyanotype
- A brush brush
- An empty roll of adhesive
- Empty eggshells
- Small plants dried flat.
- White glue in a tube.
In a dark room away from the light, brush an eggshell with the cyanotype mixture according to the manufacturer's instructions. Watch out for stains!
Place the rouf on an empty roll of adhesive to dry.
Gently apply a little glue to the back of a dried plant.
Position the plant on the eggshell.
Place the egg in the sun, still on its roll, plant facing the sun. Leave for around 10 minutes, depending on the intensity of the sun, then turn the egg on all sides so that it is sunny all over. You can also place plants on the other sides of the egg.
Gently remove the vegetable and rinse the egg with clean water. This will remove traces of glue and reveal the deep blue of the cyanotype around this print.
Beware, the cyanotype process uses chemicals. These eggs are certainly decorative, and should be made from empty shells. Do not use eggs intended to be eaten for this creation.
Macramé suspension for Easter eggs
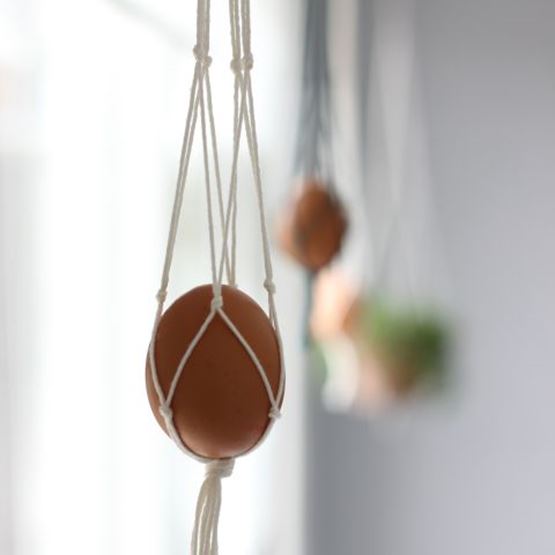
In the style of macramé plant hangers, have fun making mini-suspensions to hang Easter eggs from the ceiling! An original way of having to look for eggs with your nose in the air...
Makeshift vases for pretty snowdrops
Place your design under the layer sheet. Using a grease pencil, mark the nail locations on the outline of the design. Transfer these locations to the wooden board.
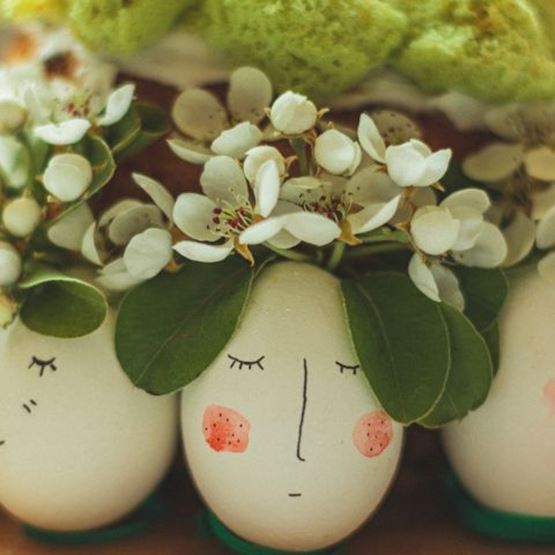
Poetic eggs
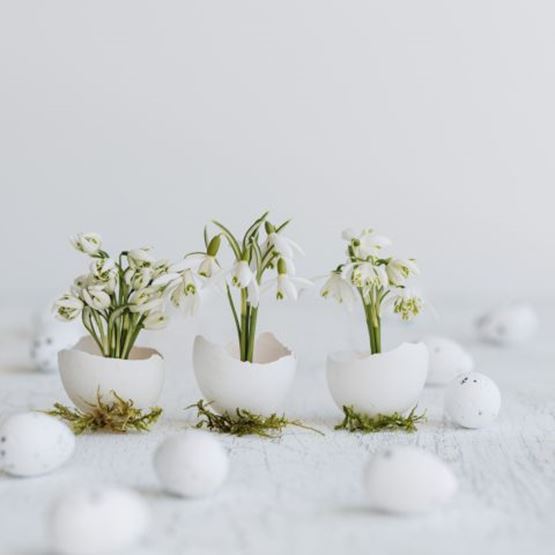
This idea mixes that of the snowdrops and the little rabbit.
To create a floral and poetic centrepiece, assemble a good dozen eggs in a wreath, set on bottle tops as bases.
Pierce the top of each egg so that you can slide in small bunches of flowers.
Decorate each egg with watercolour and a black felt-tip pen, drawing a face on it.
Fill the centre of this circle with a bouquet or a beautiful chocolate egg.
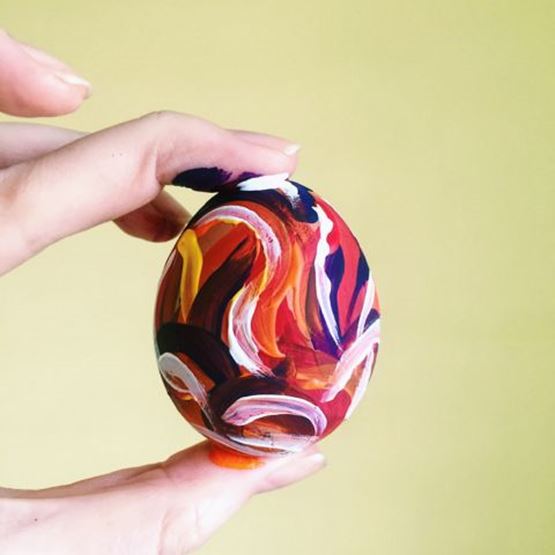
Brushstrokes
Organise a painting workshop with the children. Let everyone let their imagination run wild and create brightly coloured patterns with a paintbrush or even with their fingers directly on a hard-boiled egg.
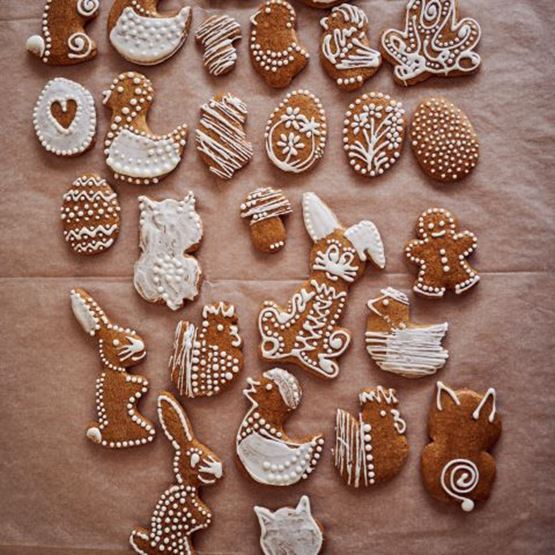
Gourmet shortbread
Bake a shortcrust pastry and Cut out shapes of eggs, rabbits, chicks, etc. using the of cookie cutters.
Once the biscuits are baked, Prepare a glaze with icing sugar, egg white and lemon juice. À Using a pastry tip, pipe the icing onto each cake, making sure that it is evenly distributed. drawing geometric patterns, small flowers and the rabbit's whiskers, the chicks' beaks...
Cosy nest
 Bianca Ackerman / Unsplash
For the traditional egg hunt, young and old alike need a container to collect their eggs. This is often a wicker basket or a decorated kraft bag.
You can also easily make pretty little nests to collect precious Easter eggs.
For each nest, you will need:
- A cardboard or bamboo bowl.
- Feathers
- A glue gun
Glue the feathers in a garland around the bamboo bowl and leave to dry thoroughly.
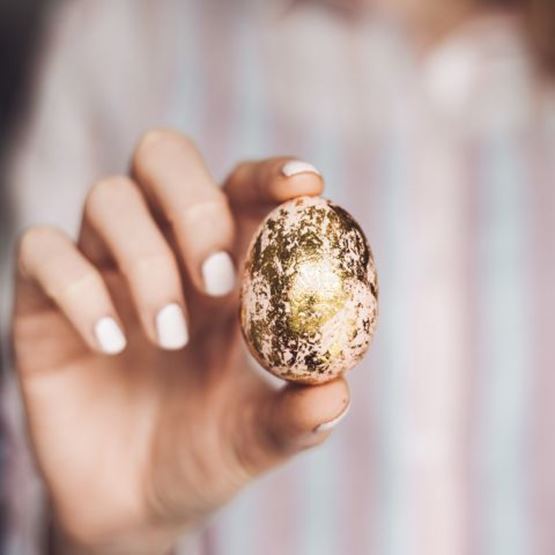
Precious eggs
Tint your hard-boiled eggs or empty shells with vegetable or food colouring.
Using a brush, brush each egg randomly with gilding miction. Leave to dry for around ten minutes, then apply gold leaf. This will only settle where there has been urination, creating a golden, crackled, antique, precious effect...
Felt decoration
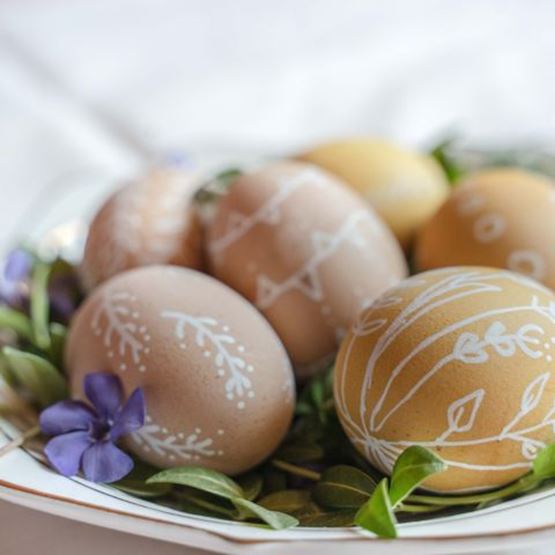
Cook hard-boiled eggs and decorate them simply using white Posca markers. Geometric or floral decorations - let your imagination run wild!