CYANOTYPE : THE MAGIC OF THE SUN FOR BLUE AND POETIC SUMMER CREATIONS
What is cyanotype?
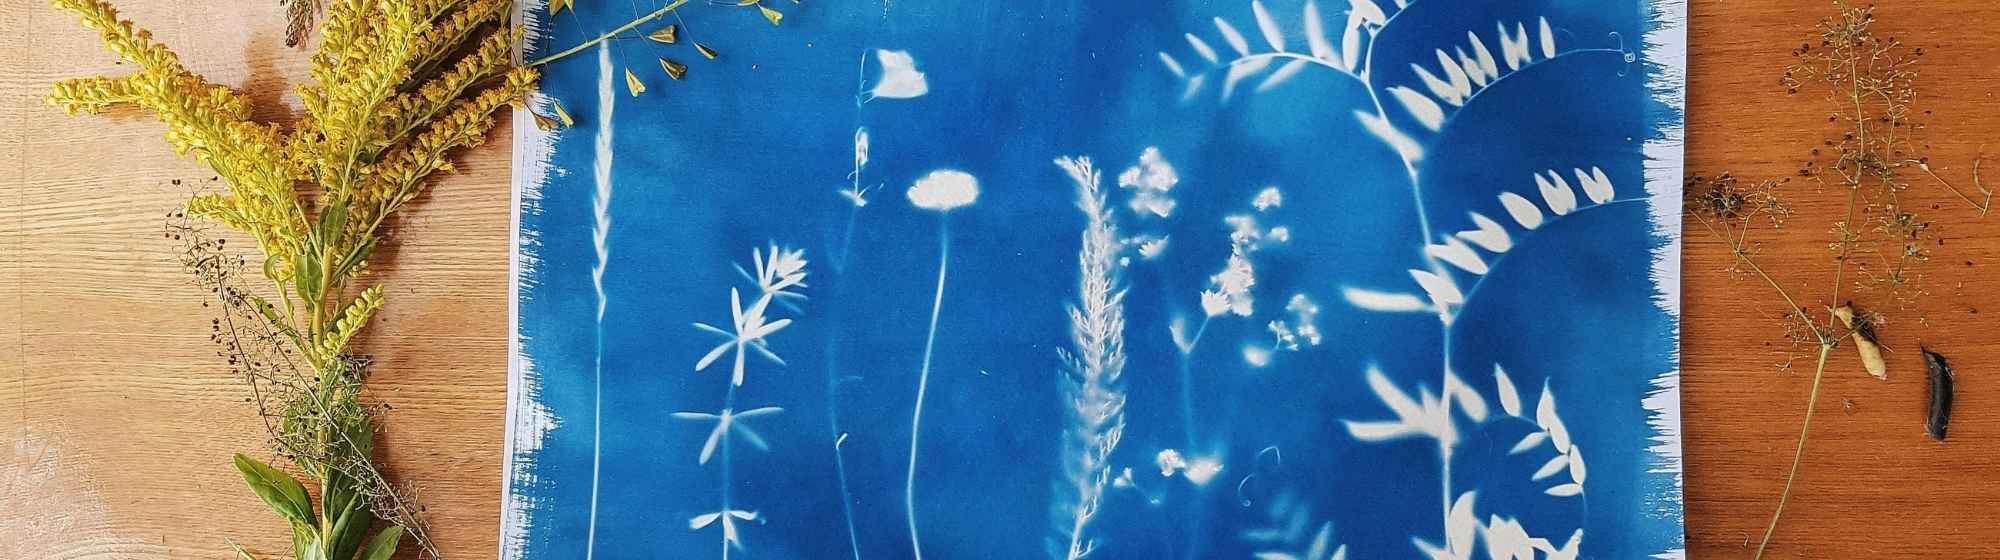
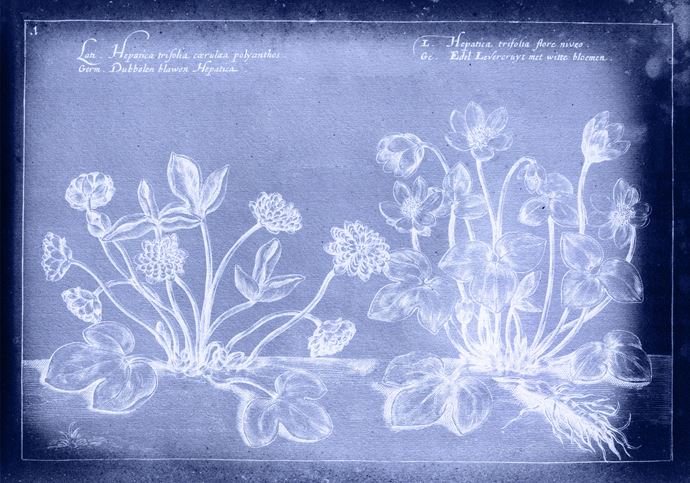
The cyanotype is an old photographic process invented in 1842 by the British scientist John Herschel. Originally used to reproduce architectural plans (hence the term "blueprint"), it soon became an artistic technique in its own right, thanks in particular to the botanist Anna Atkins, who was the first to use it to illustrate plants.
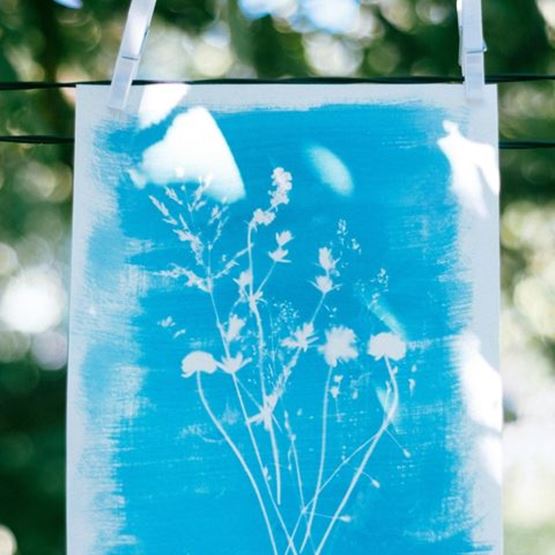
The magic of the cyanotype lies in its simplicity and its unique rendering: a negative image, tinted with Prussian blue, obtained simply thanks to the light of the sun.
The principle? A photosensitive surface reacts to UV rays: objects (often natural elements) are placed on it, then it is exposed.
It's the perfect DIY activity for summer!
- The cyanotype ticks all the boxes for a good summer creative project: it can be done outdoors (the sun is your best ally)
- It values nature's treasures collected on walks
- It requires no drawing skills or complex hardware.
- The result is always surprising and poetic.
It's also an ideal activity to do with children(under supervision), or to disconnect from screens and reconnect with nature.
What do you need to get started?
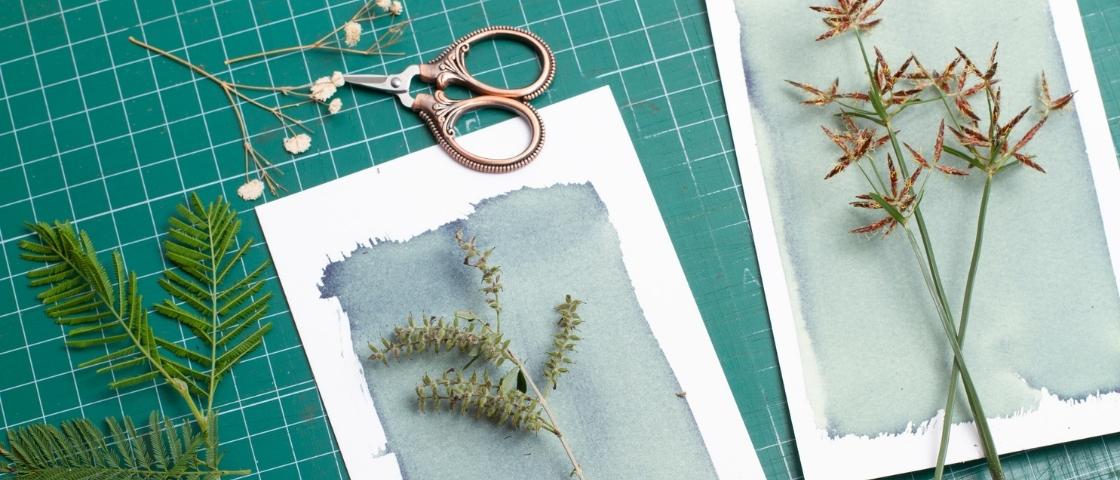
Here is the basic equipment:
- A photosensitive solution (usually a mixture of two chemicals sold in DIY kits)
- A wide brush or a flat sponge to spread the solution
- Thick paper(watercolour, cotton, or special cyanotype paper) or light cloth.
- Opaque or semi-transparent objects: flowers, leaves, lace, feathers, stencils, etc.
- A glass plate or frame to hold the components flat
- A tank of water for rinsing
- And of course... sunshine!
How to make a cyanotype, step by step
You don't need to be a chemist to make a successful cyanotype! Here's how to do it, step by step:
1. Preparing the solution
Two products are used: ferric ammonium citrate and potassium ferricyanide. These two powders are often sold in kit form. Simply mix them in equal parts in a place out of the sun.
2. Apply to the substrate
Using a brush or sponge, spread the solution onto thick paper (such as watercolour) or light-coloured fabric. Leave to dry in a dark place for a few hours.
3. Composing your image
Once the base is dry, place your elements on it (flowers, leaves, lace...), then place a glass plate on top to keep them flat.
4. Exposure to the sun
Place your composition in the sun for around 10 to 20 minutes. That's a good sign!
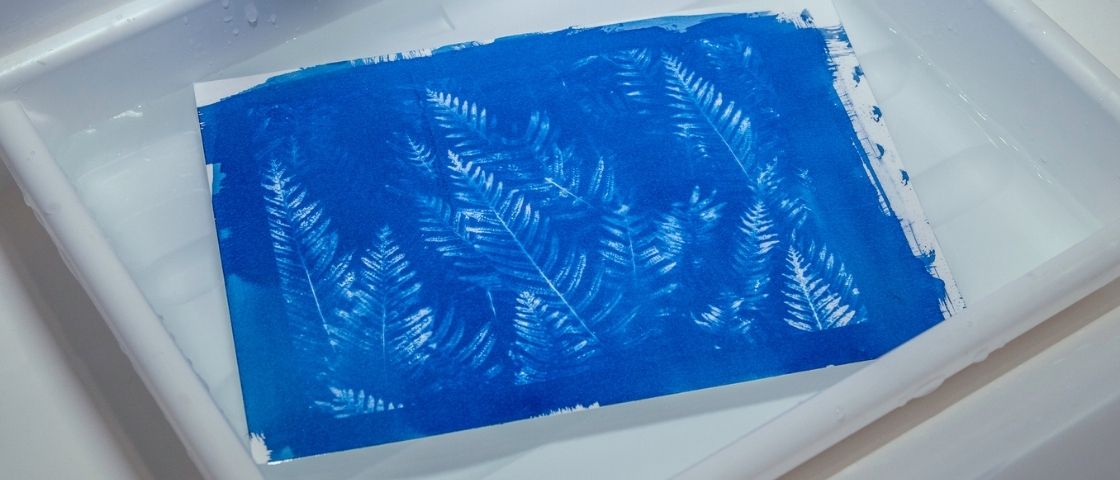
5. Rinse and reveal the image
After exposure, remove the objects and rinse the paper in cold water for a few minutes. The magic happens: the blue appears and the shapes leave their mark.
6. Allow to dry
Once rinsed, leave to dry flat. The blue will intensify as it dries.
5 ideas for cyanotype creations to make this summer
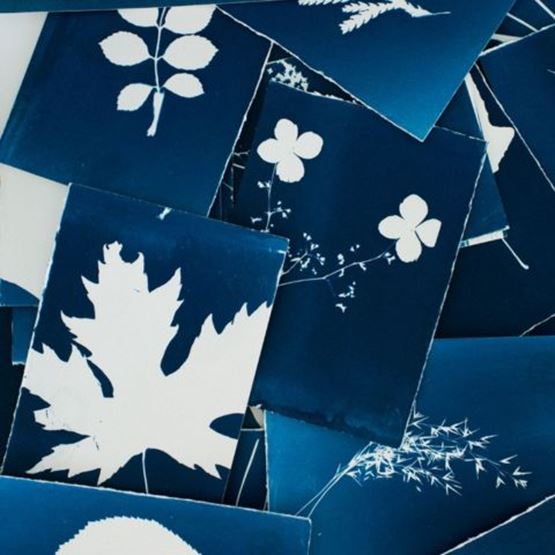
Natural postcards
An illustrated travel diary
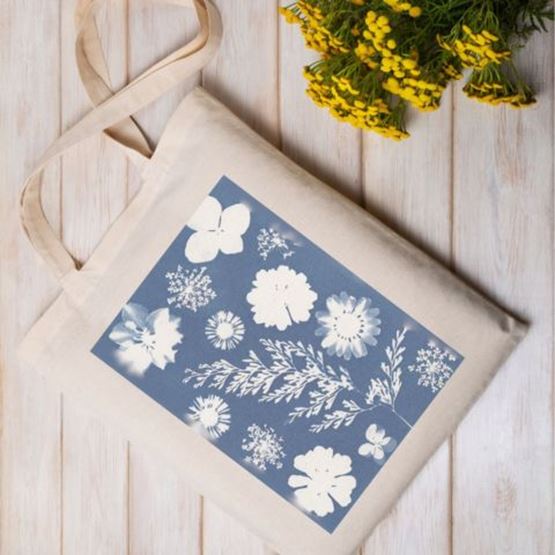
A tote bag with a plant motif
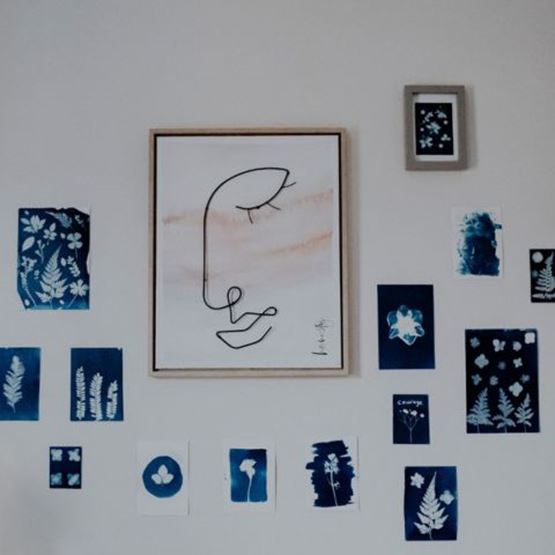
A decorative frame to enhance nature
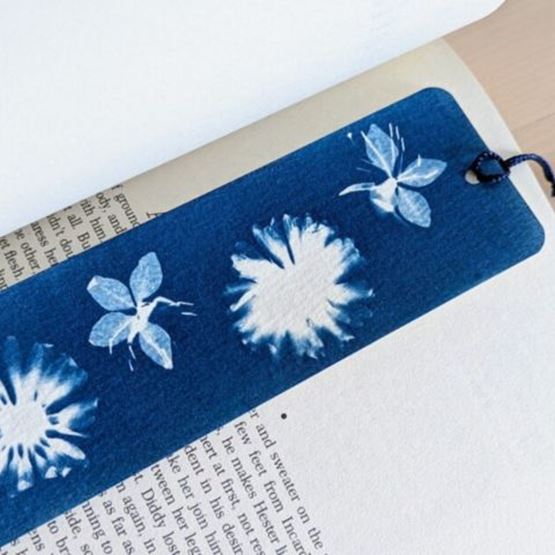
Bookmarks inspired by your walks
This summer, let your creativity flow, pick a few flowers... and print the beauty of the moment in deep blue.