
RECYCLED CARDBOARD VASE
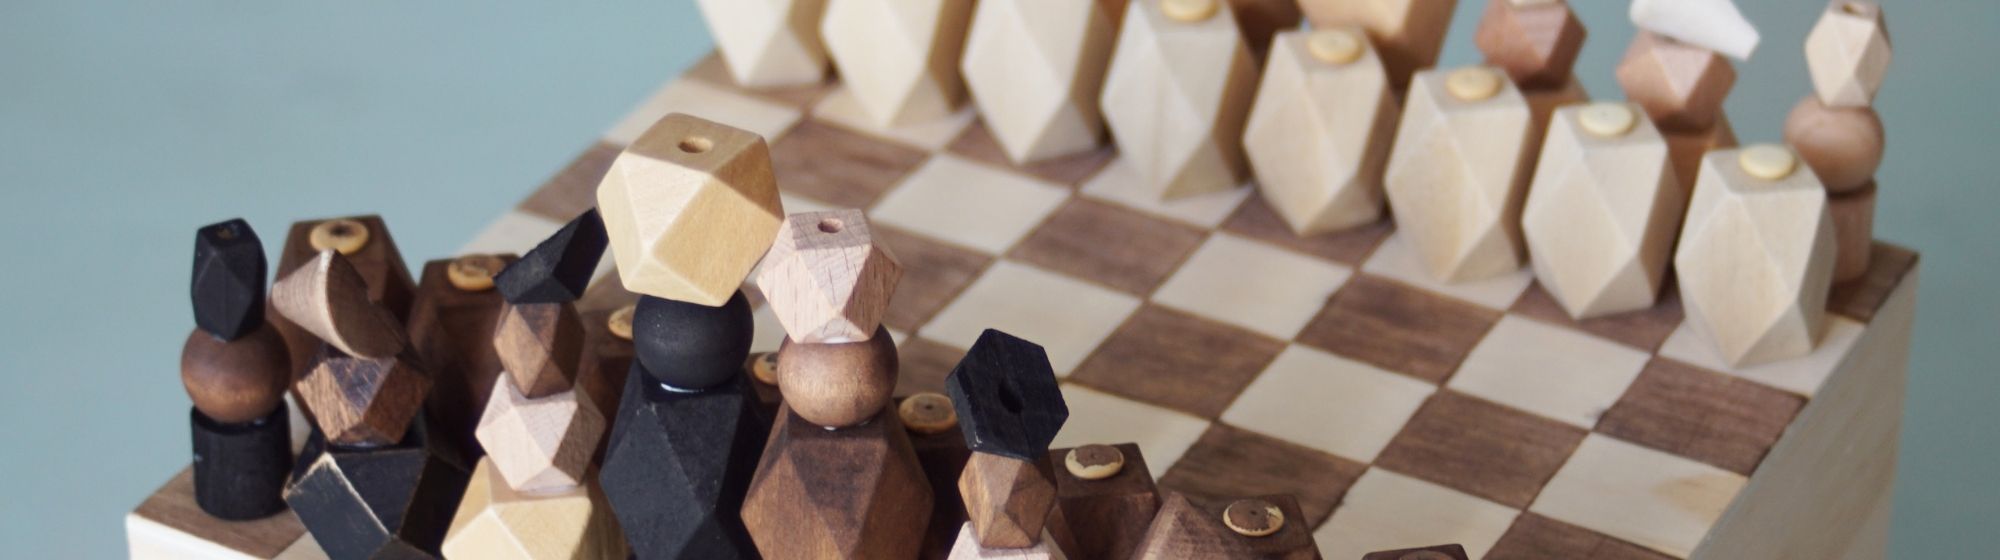
Discover a tutorial for making a recycled cardboard vase with Hello Lucette.
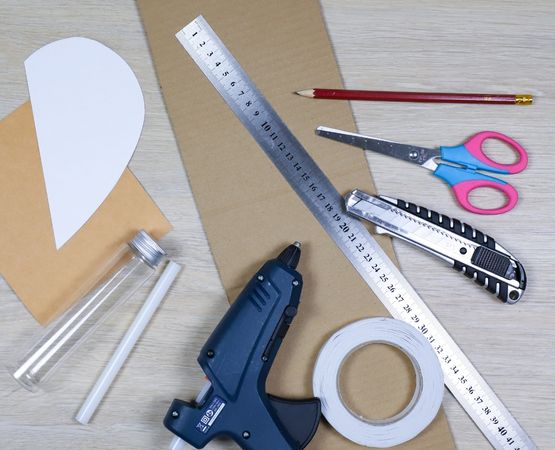
Hardware
- Single-wall cardboard
- A plastic tube (about 3.3cm in diameter here)
- A thick sheet of paper (preferably kraft)
- A blank sheet of paper
- A rule
- A pencil
- A pair of scissors
- A cutter
- A glue gun
- Double-sided adhesive
Explanations:
Stage 1
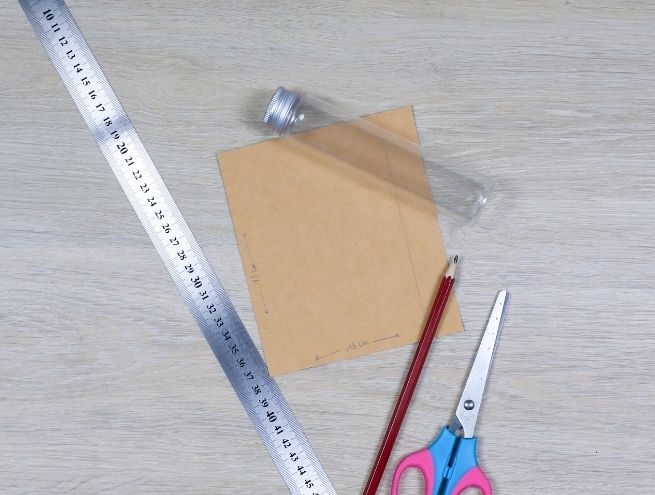
- Start by determining the surface area to be covered by the cardboard pieces.
- To do this, measure the diameter of your plastic tube. Here the diameter is 3.3cm so the perimeter is equal to 2 x π x (3.3/2) = 10.4.
- On the thick sheet of kraft paper, make a mark at 10.5 and then at 13cm. The height of the tube is 15cm, so cut out a rectangle measuring 15 by 13cm.
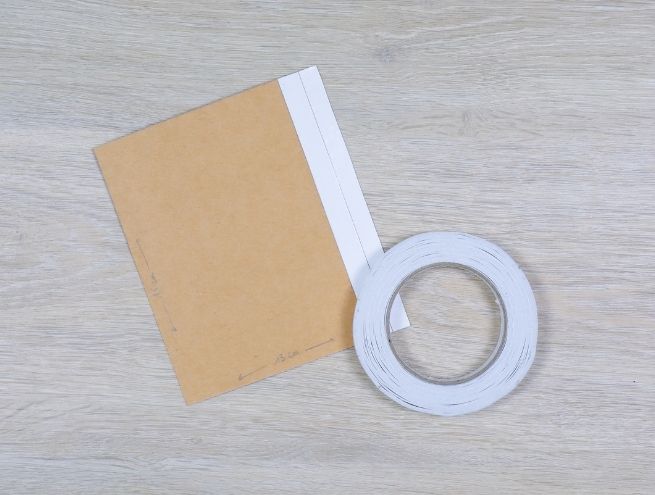
Step 2
- Stick 2 strips of double-sided adhesive between the mark at 10.5 and 13 cm.
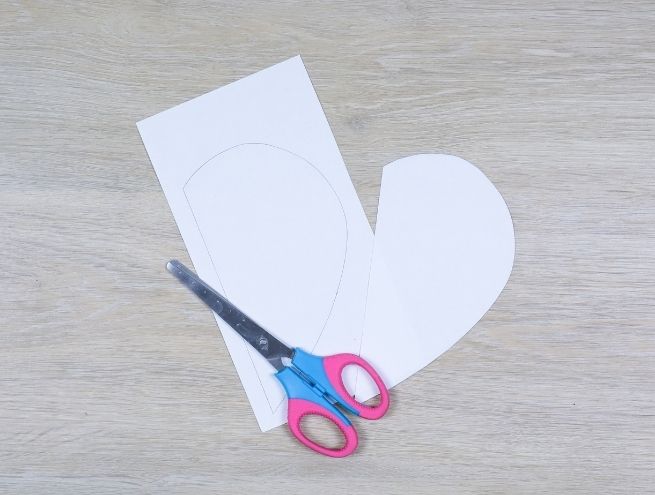
Step 3
- Draw and then cut out the template that will allow you to make all the parts of your vase. Make sure that the vertical straight section measures at least the height of your plastic tube .
To discover the next steps and complete the full tutorial, download the step-by-step guide.
Don't hesitate to share your achievements on social networks by tagging us #salonCSF!