
MOTHER'S DAY GIFT : A FLOWER AROUND YOUR NECK
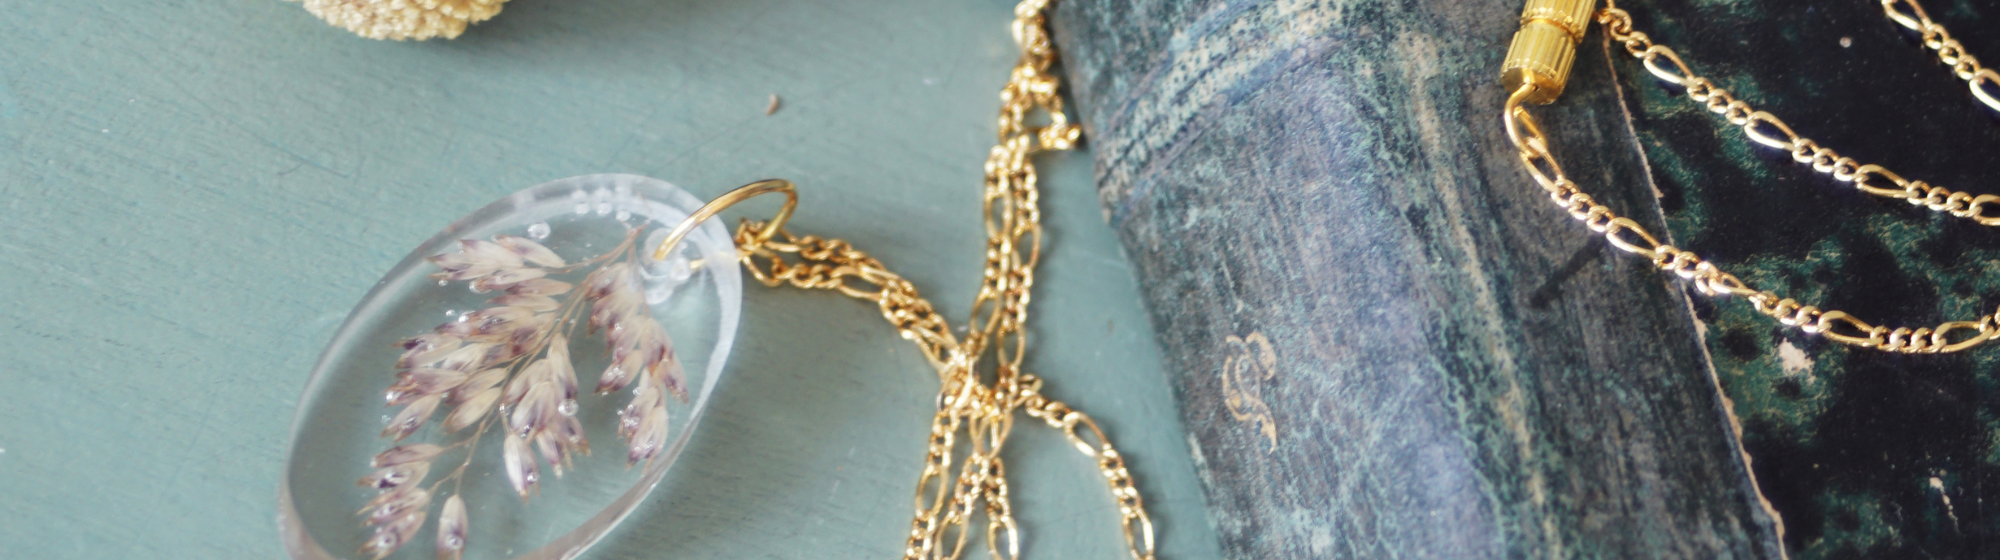
A revolutionary resin technique has been around for some time. It's called UV resin. This dries in a few minutes on contact with ultra-violet light. No need to wait hours for the resin to set, with the risk of air bubbles and dust... Create your jewellery and other small accessories in just a few minutes.
In this tutorial, we invite you to create a pretty pendant with a dried flower inclusion.
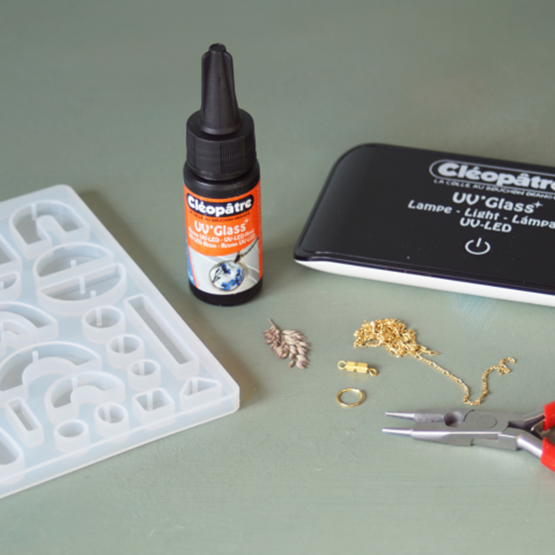
Hardware
- UV resin
- UV lamp
- Silicone mould for pendant
- Dried flowers
- Nail file
- Jewellery chain
- 5mm junction ring
- Jewellery clasp
- Jewellery clip
Directed by
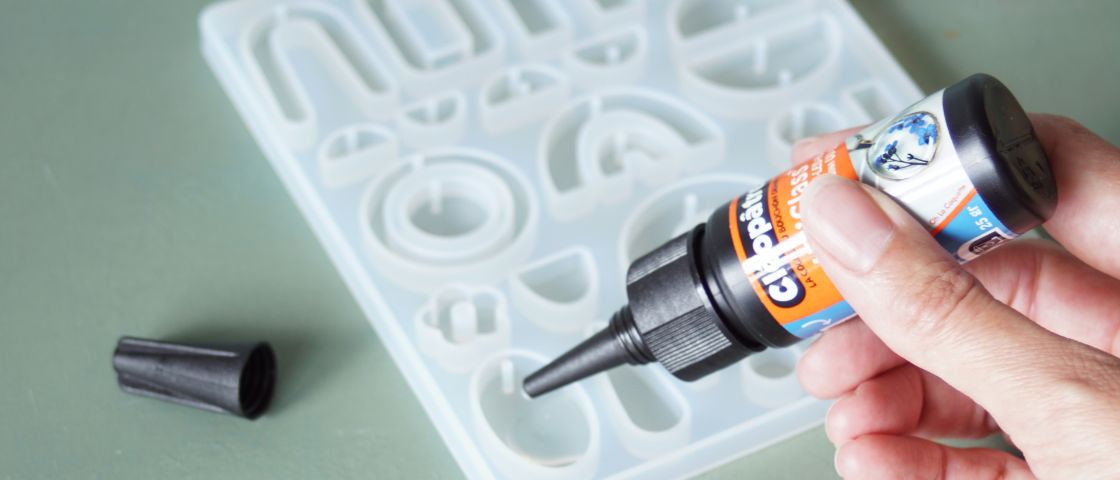
Stage 1
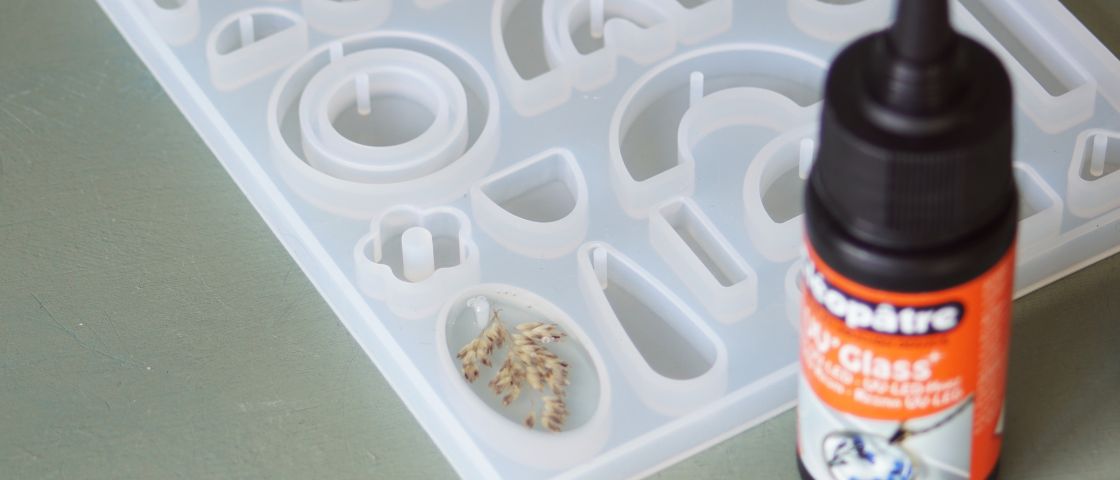
- Fill the base of the mould with resin, just 1 or 2 mm thick.
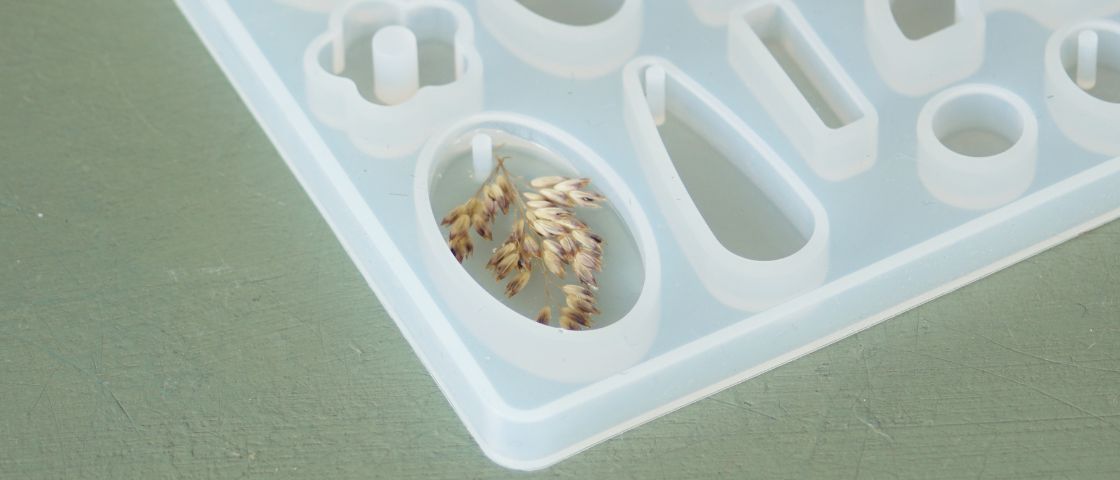
Step 2
- Place the dried flower into the resin. Use tweezers or a toothpick if necessary.
Step 3
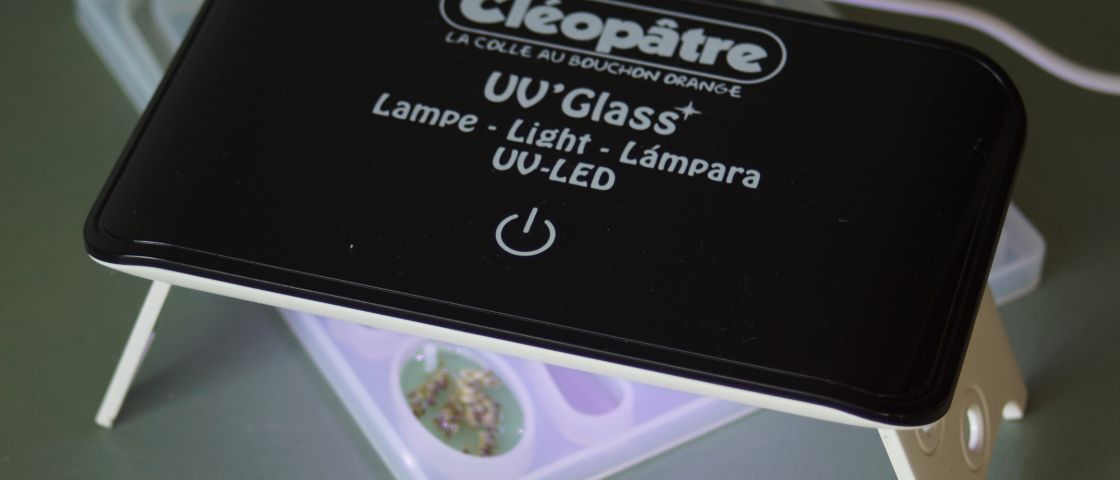
- Place the mold under the UV lamp and turn it on to set the first layer of resin.
Step 4
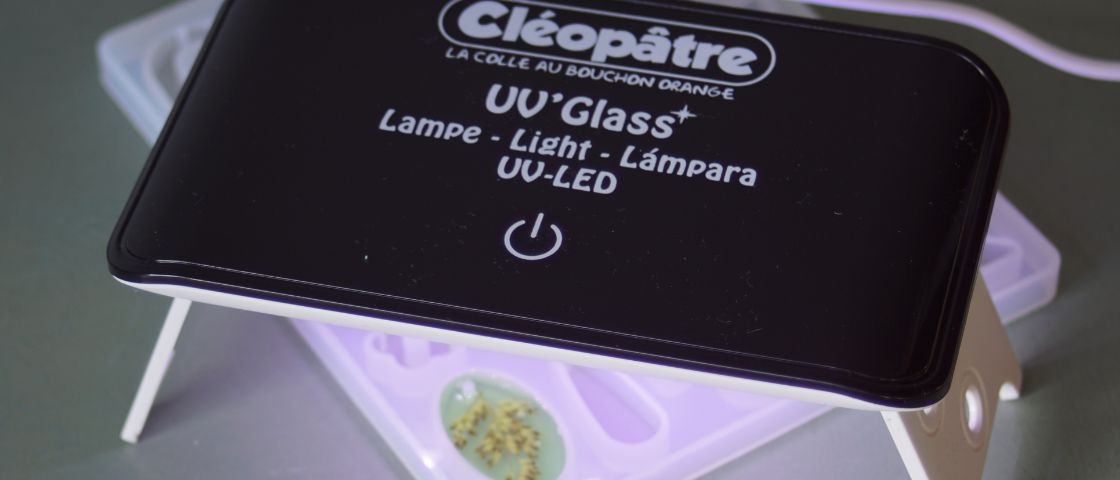
- Fill the rest of the mould with resin, up to the edge.
Step 5
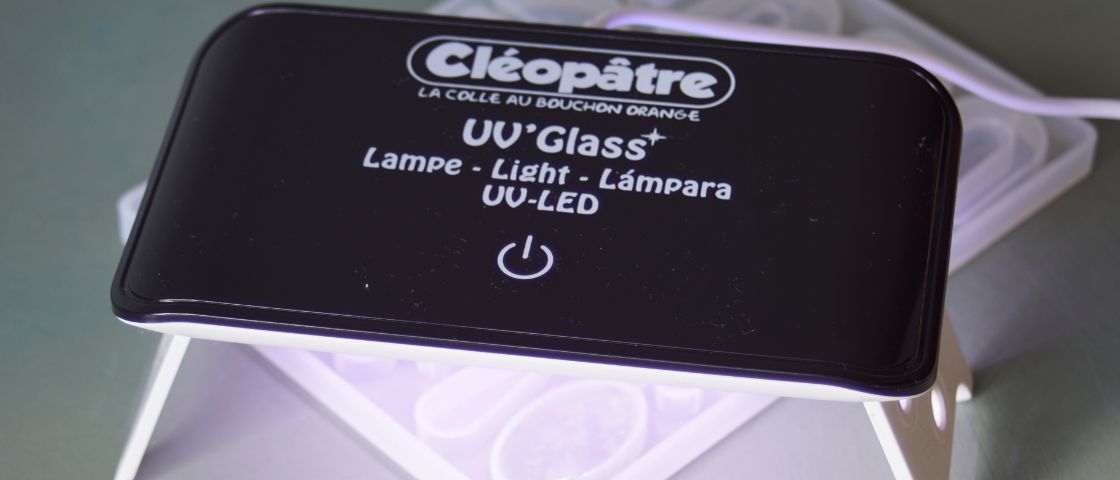
- Place the mould under the UV lamp again. Once the lamp has been switched off, feel to check that the resin is hard. If it still sticks, restart the lamp.
Step 6
- Invert the mould and place it upside down under the UV lamp. The transparency of the silicone will finalise the curing of the resin by allowing UV light to pass through.
Step 5
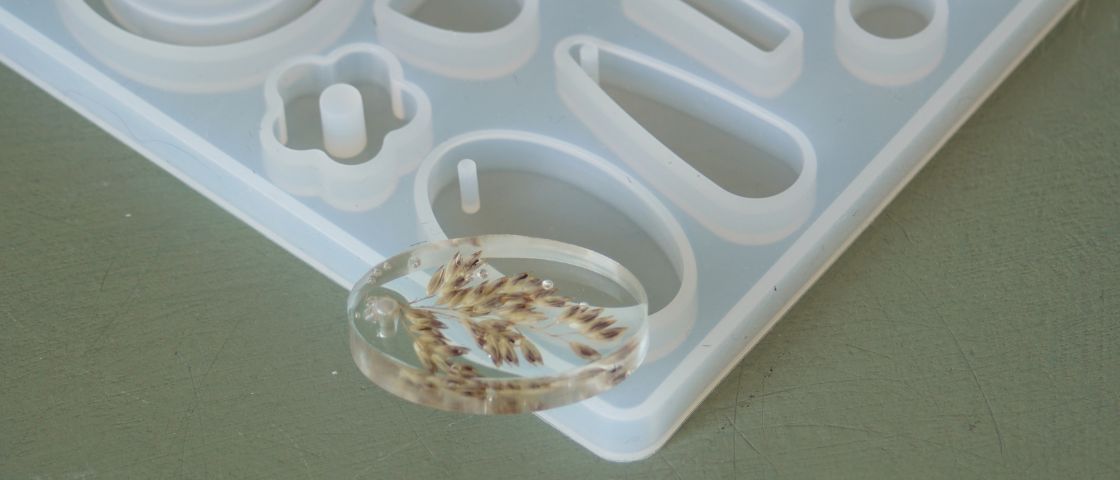
- Unwrap the pendant.
Step 5
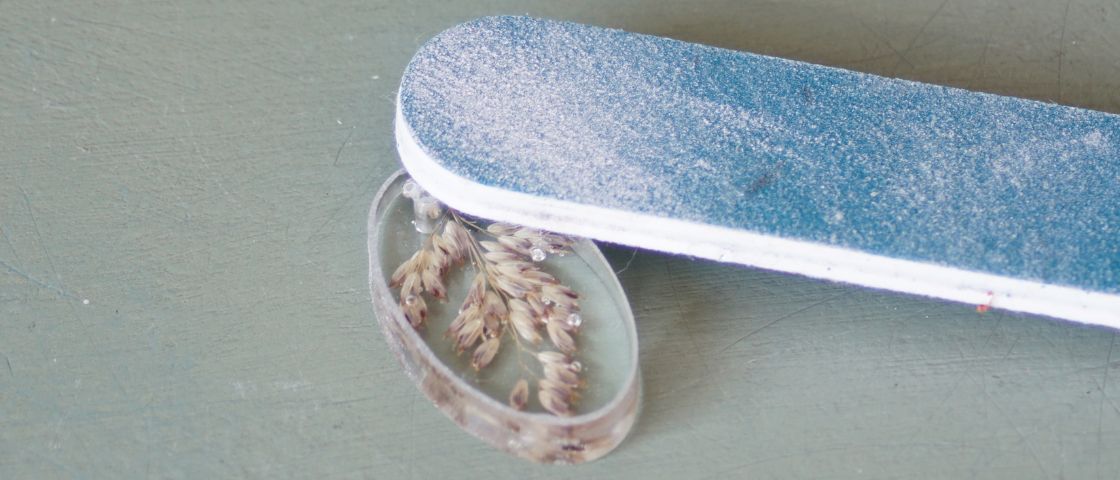
- Fine the edges of the pendant gently with a nail file so that they are not sharp. Be careful not to scratch the flat surface of the resin.
Step 5
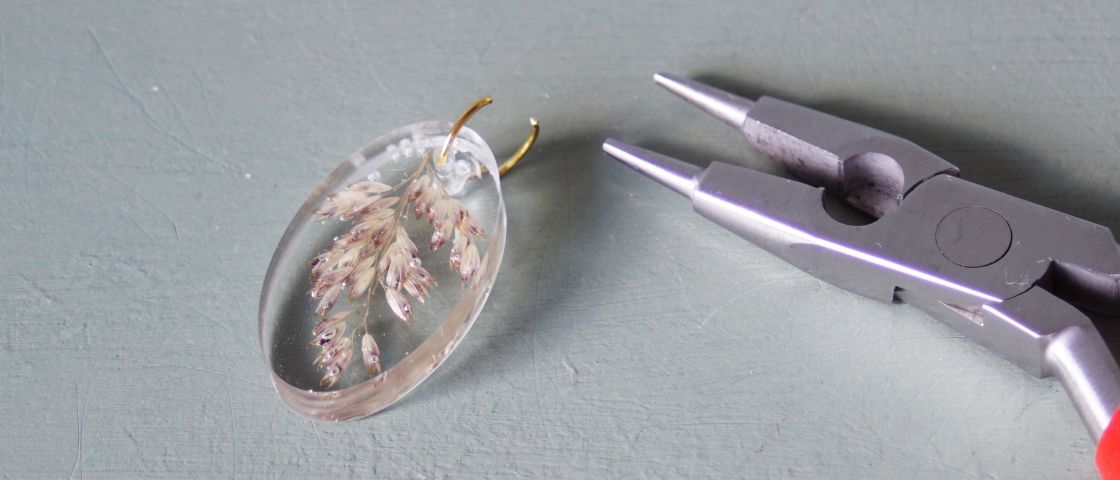
- Using pliers, insert a ring into the pendant.
Step 5
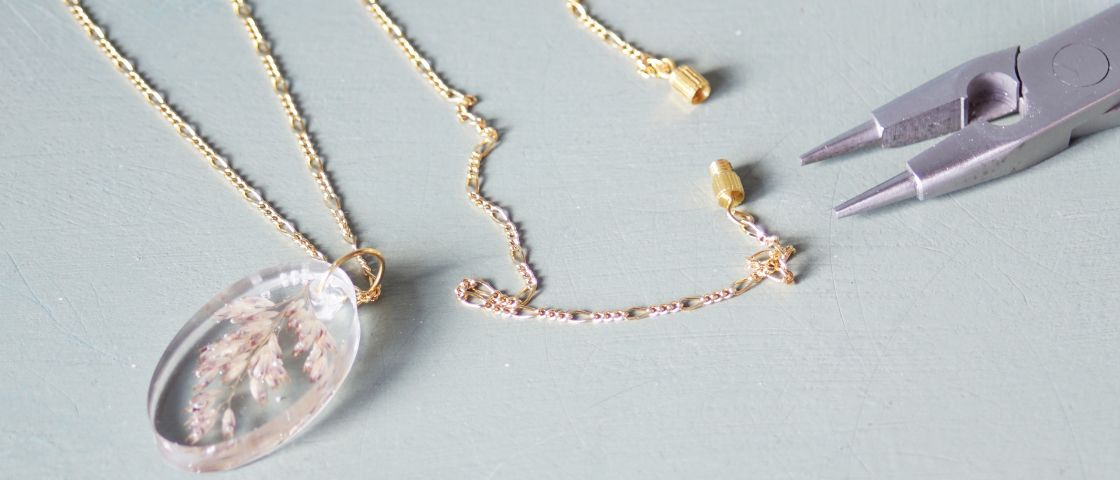
- Slide the chain through the ring of the pendant and attach the clasp at each end of the chain.
Here's a lovely, unique pendant to give to your mum! Slip it into a pretty pouch decorated with a heart.
Don't hesitate to share your DIY creations with us on social networks with #salonCSF