
TUTO : EMBROIDERY ON PAPER
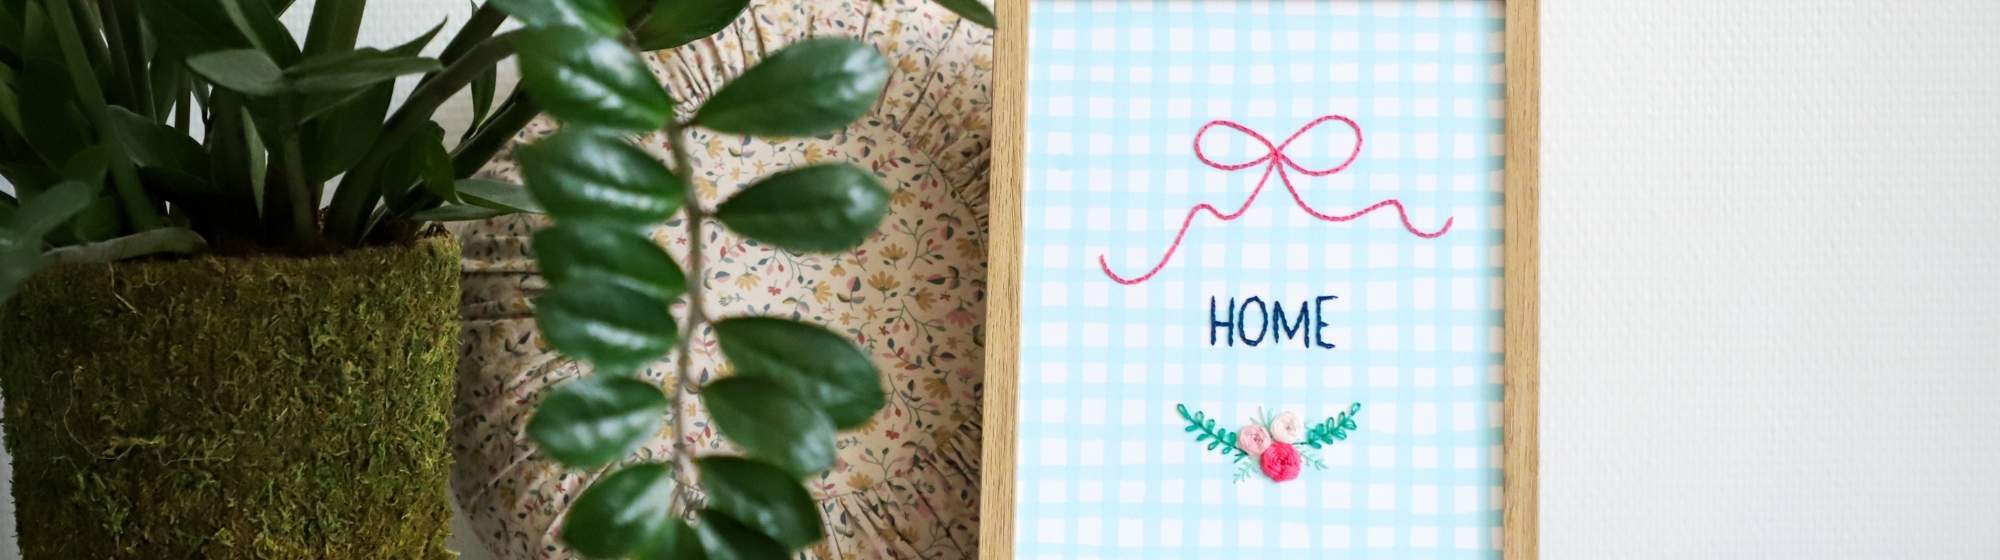
Make an embroidery on paper by following the step-by-step tutorial.
- 3 to €10 worth of equipment depending on what you already have
- Completion time : 2-3h
- Dimensions : A4
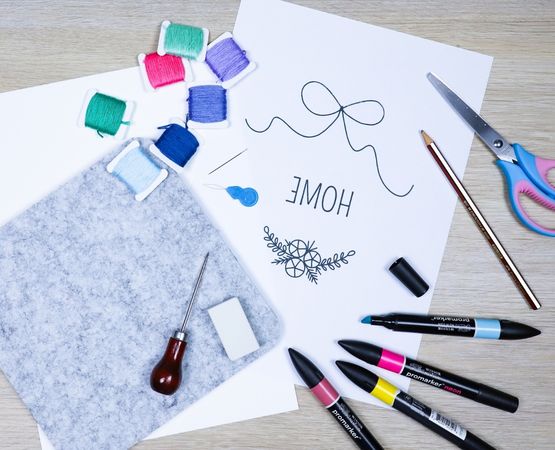
Hardware
- A thick A4 sheet (250-300g)
- A bevelled alcohol marker
- Download the model
- An HB or heavier pencil
- A thick felt backing
- A punch
- Cotton embroidery thread
- A very fine embroidery needle
- A pair of scissors
Directed by
Stage 1
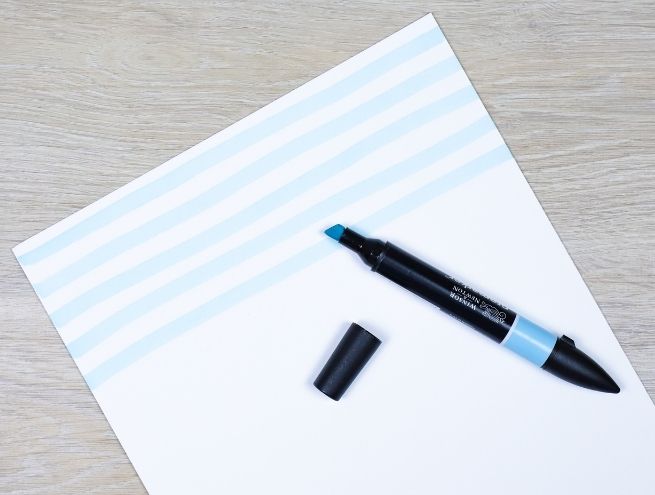
- On a thick A4 sheet of bristol or watercolour paper, draw freehand lines with a bevelled spirit marker in the colour of your choice.
- To ensure that the lines are regular, always draw them in the same direction.
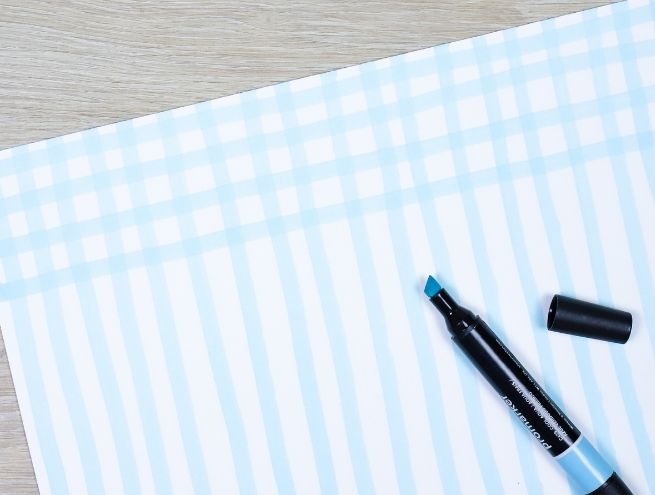
Step 2
- These lines form a Vichy grid.
Step 3
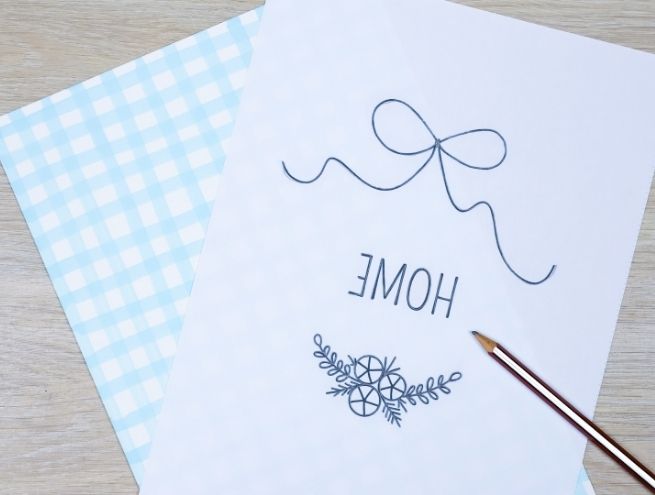
- On the sheet printed with the design (mirrored), iron over each line with an HB or heavier pencil so that the trace is clearly visible.
Step 4
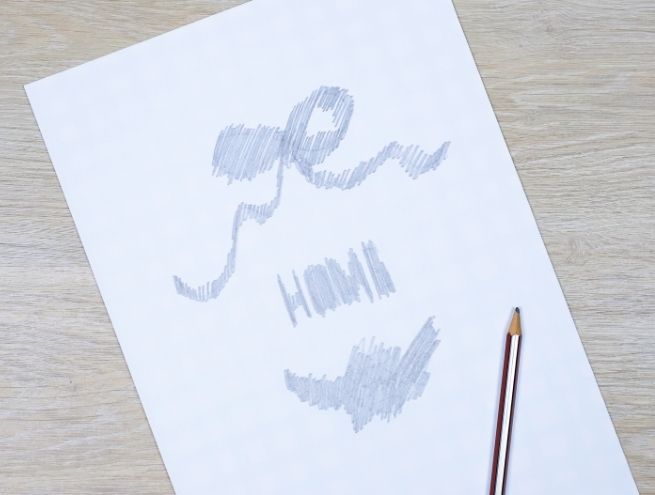
- Then turn the pattern face down onto the thick sheet with the gingham pattern and press roughly with your pencil to transfer the pattern to your sheet.
Step 5
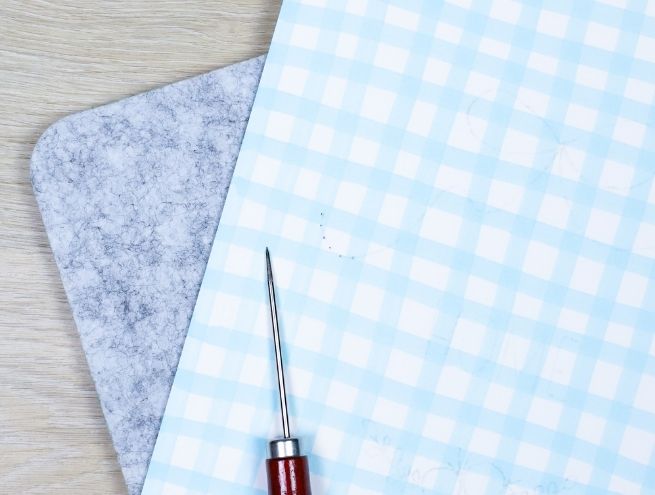
- Place your sheet of paper on a piece of thick felt and use the tip of the punch (or a needle) to make holes in the pencil trace, every 4-5 mm (be careful, the thicker your embroidery needle, the further apart the holes will need to be to avoid the paper tearing).
- Take care not to push the punch in too far, so as not to make the holes too big.
Step 6
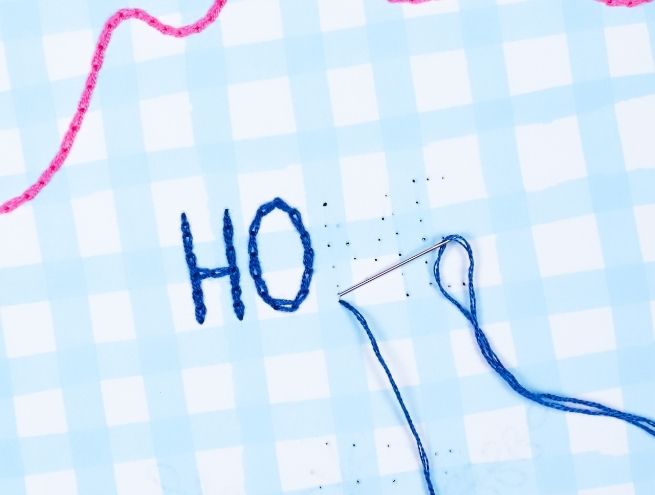
To embroider the knot and the word "HOME", cut a thread about 30 cm long and split it - there are 6 strands in one thread, so split them into 2 threads of 3 strands. Insert the thread into a fine needle and make a knot or end. You are going to embroider in reverse chain stitch. To do this, follow these steps:
- Stitch your needle from the back to the front of the paper in the 1st hole of the line and make a tiny stitch in front.
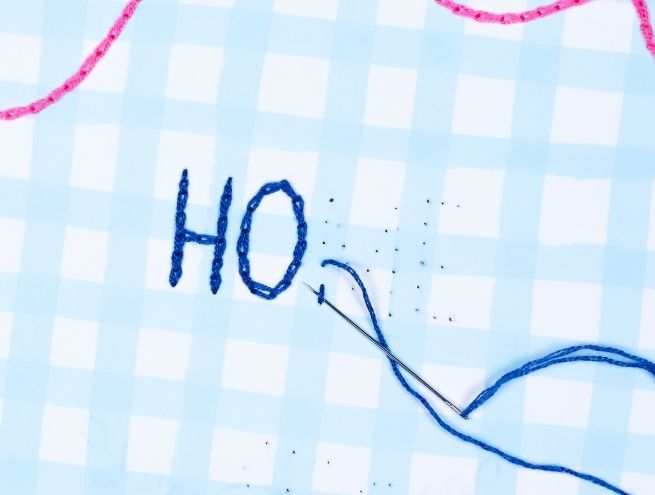
Step 5
- Take your needle out of the next hole and slide it under the 1st stitch without going through the paper.
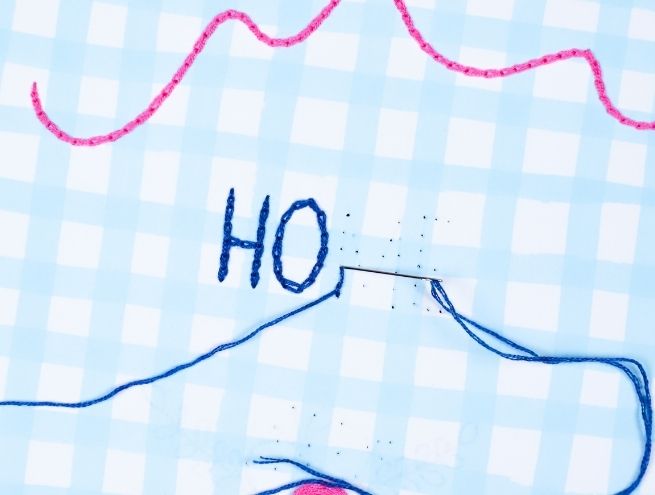
Step 5
- Stitch through the hole again to close the loop.
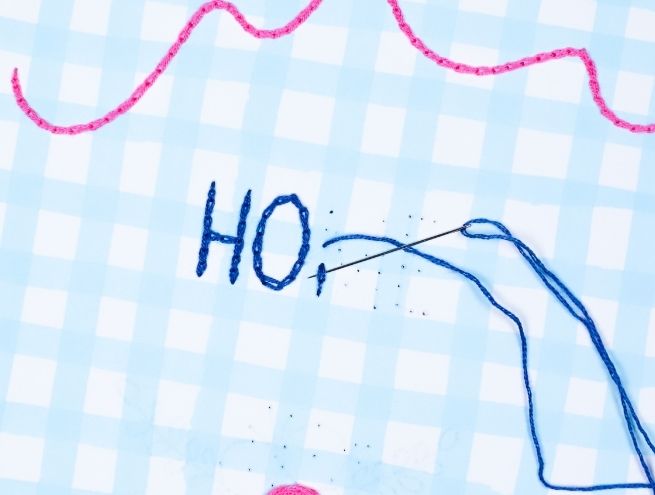
Step 5
- Continue until you reach the end of the line.
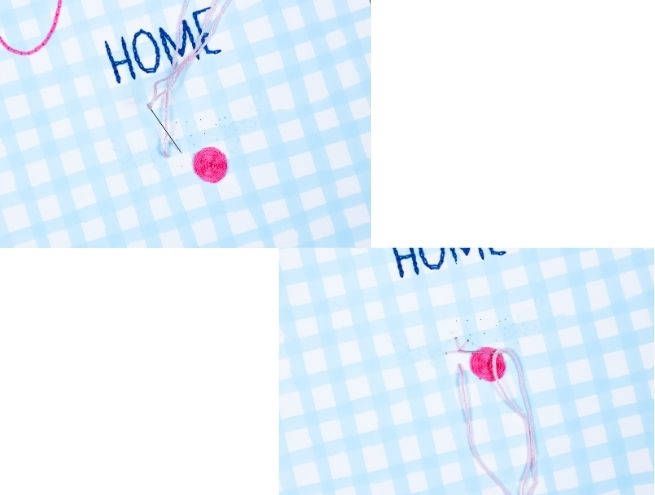
Step 5
To make the roses, you will embroider the spider stitch:
- Take your needle and about 30 cm of unsplit thread.
- Embroider the 5 branches, starting by pricking your needle through one of the holes in the hoop and pricking again in the middle.
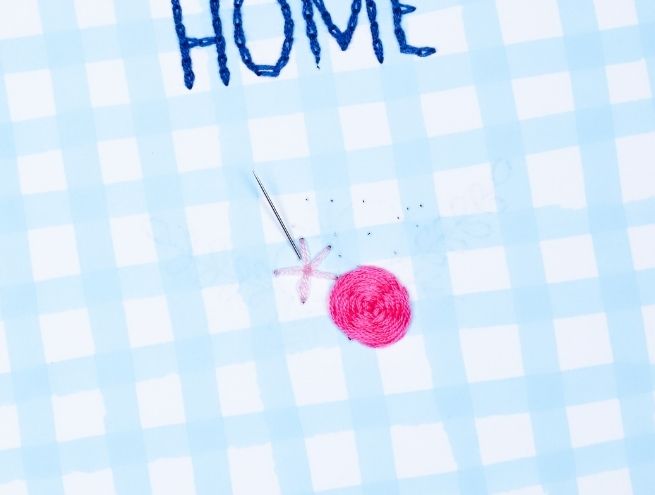
Step 5
- Pull your needle from the back to the front of the paper, making a small hole near the centre, between 2 branches.
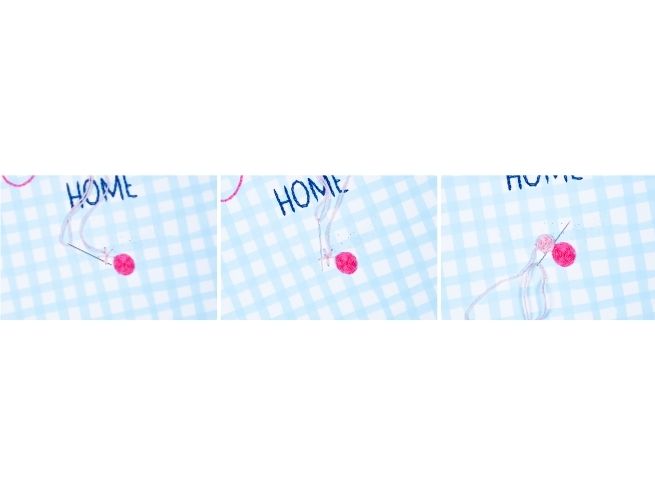
Step 5
- You will now slide your needle under the branches rather than through the paper. To make the flower, weave directly on the branches: once the needle passes over the top, once it passes underneath. Take care not to pull too hard on the thread to avoid damaging the paper.
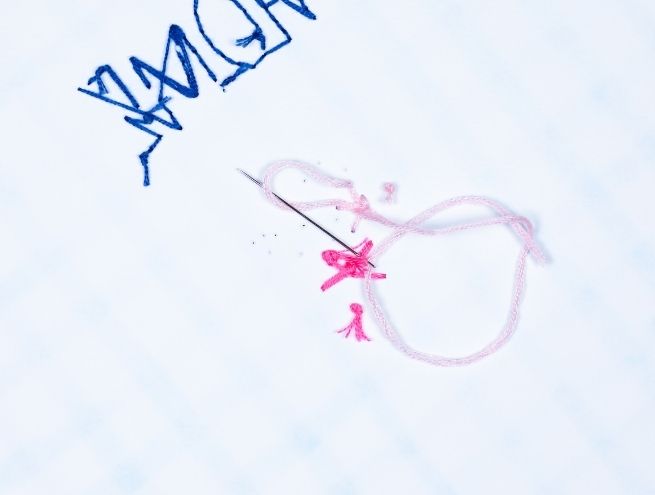
Step 5
- The flower is finished when the ends of the branches are no longer visible. Pass your needle through the paper in one of the holes in the starting circle and tie a knot at the back.
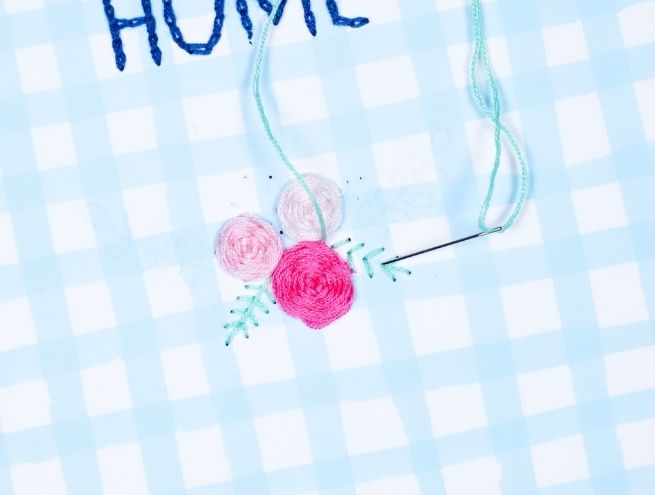
Step 5
- To make the small branches, simply throw stitches with a split thread.
- Stitch your needle at the base of the diagonal lines, and re-stitch at the end.
- Do the same for the leaf stem.
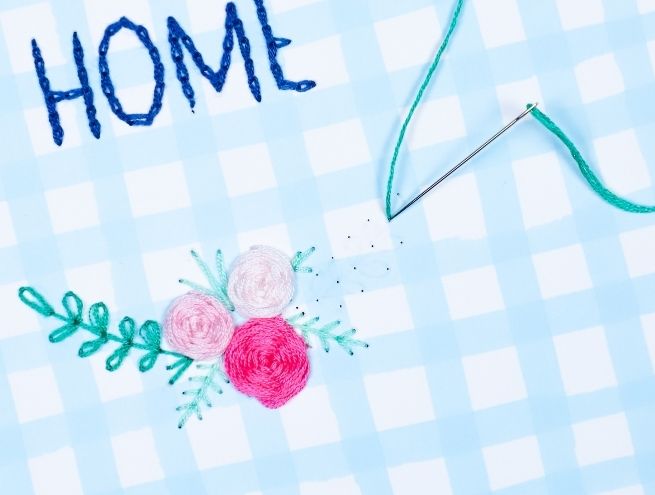
Step 5
Finally, loop stitch is used to make the branches on either side of the flowers.
- To do this, take your split thread and prick your needle from the back to the front of the paper at the base of the sheet and prick directly back into the same hole, keeping a loop in the thread.
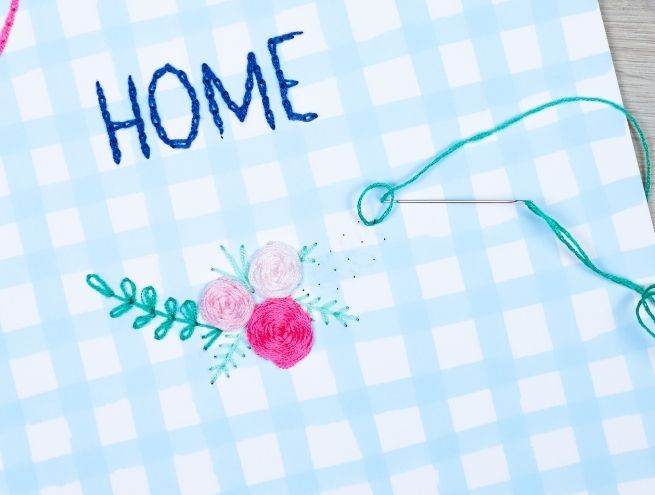
Step 5
- Pull your needle out at the end of the leaf, making sure you pass it through the loop, then stitch through the same hole again, behind the thread. Don't pull too hard on the loop to keep the leaf rounded.
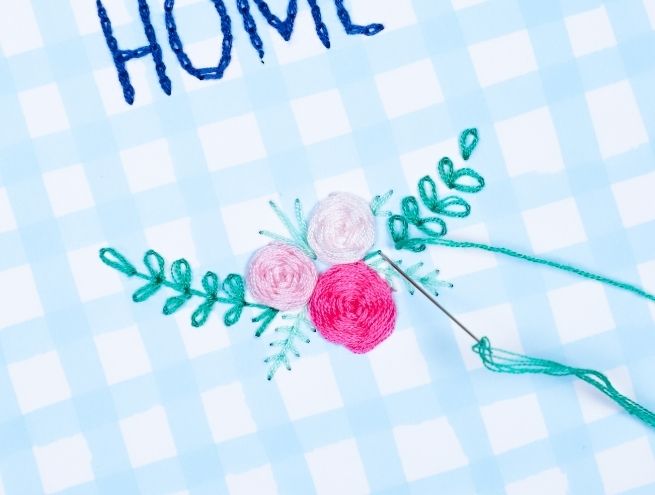
Step 5
- Finally, embroider the stem using a backstitch (stitch a hole further back and stitch a hole back) all the way along.
We hope you enjoyed this tutorial.
Don't hesitate to share your achievements on social networks by tagging us #salonCSF!