
TUTO : CREATE A COUNTRY WEDDING ANNOUNCEMENT
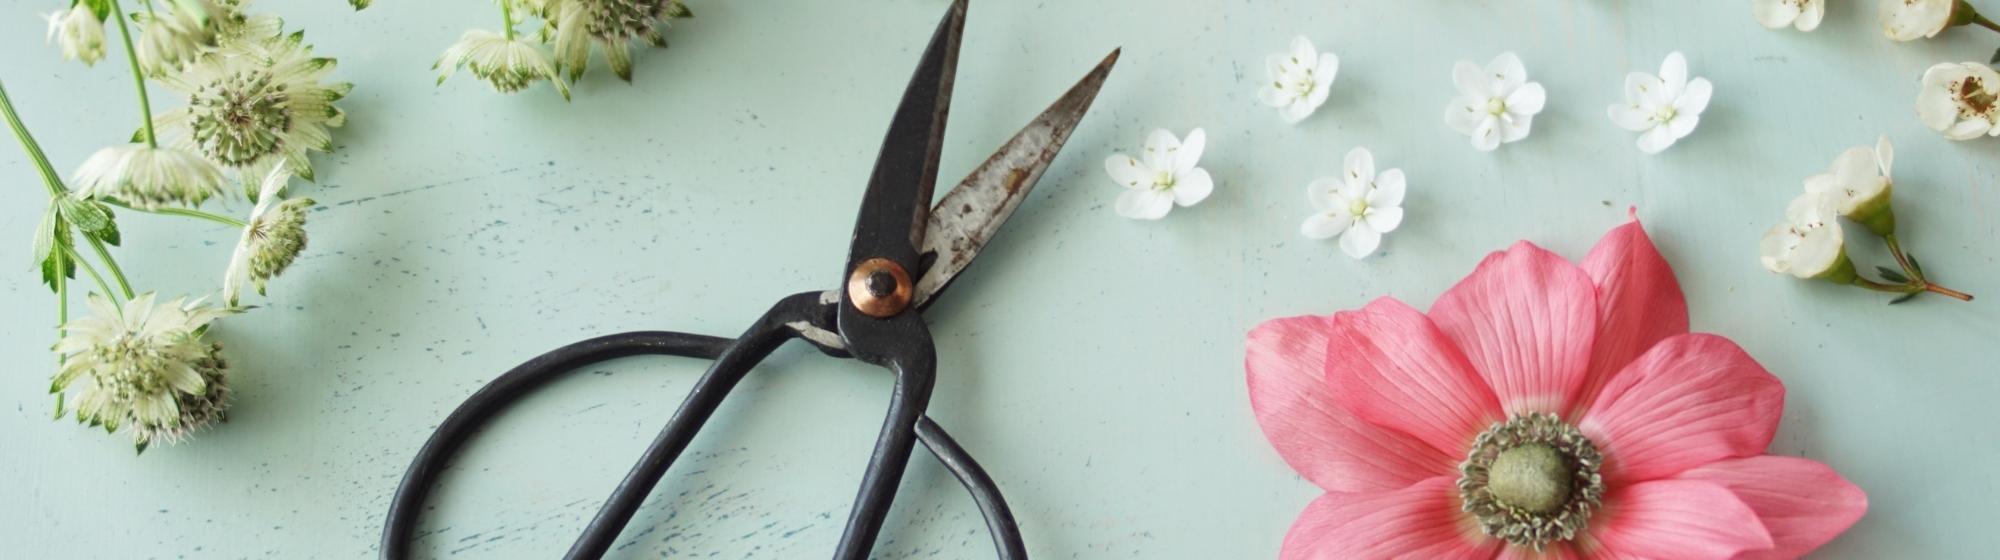
Create a tailor-made wedding invitation that reflects your personality! You don't need to be an artist to do this - here's an easy idea for taking pretty photos with cut flowers, which can then be used as the basis for your invitation.
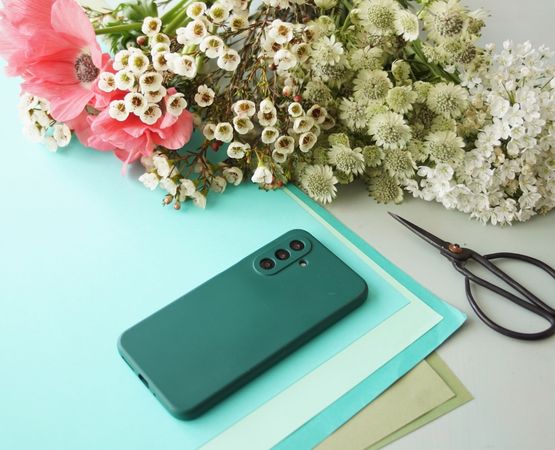
Hardware
- Fresh flowers
- Large sheets of coloured paper
- Garden shears
- A camera or smartphone
- A photo stand (optional)
Directed by
Stage 1
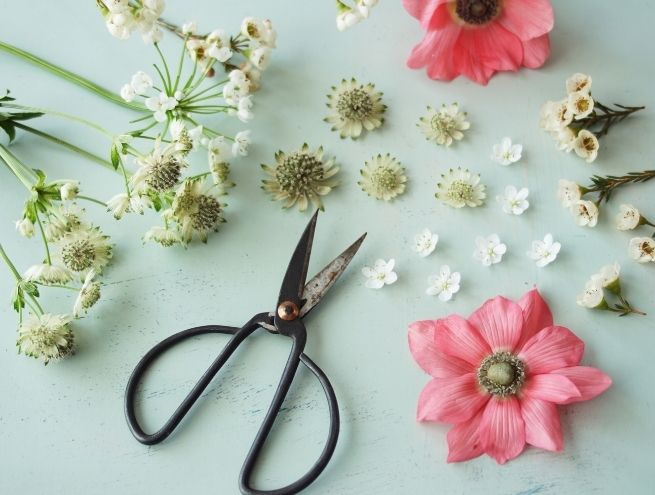
- Cut the plant stems as close as possible to the flowers so that they lie flat.
Step 2
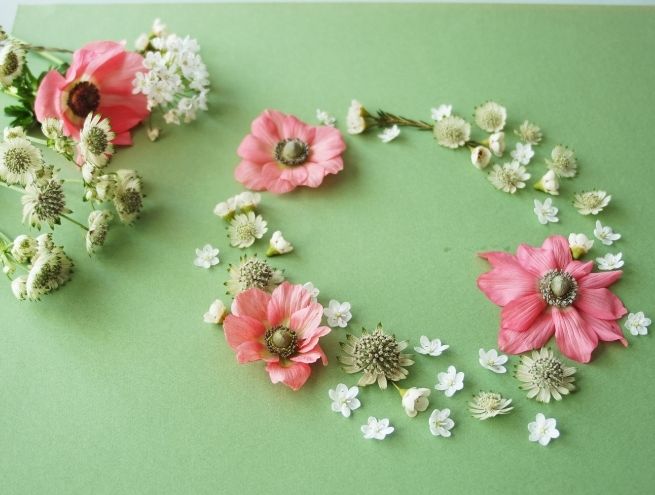
- Design your visual on the coloured sheet of your choice. Don't hesitate to play on the contrasts between the colour of the paper and those of your flowers. Think about the format of your future announcement: square, rectangular...
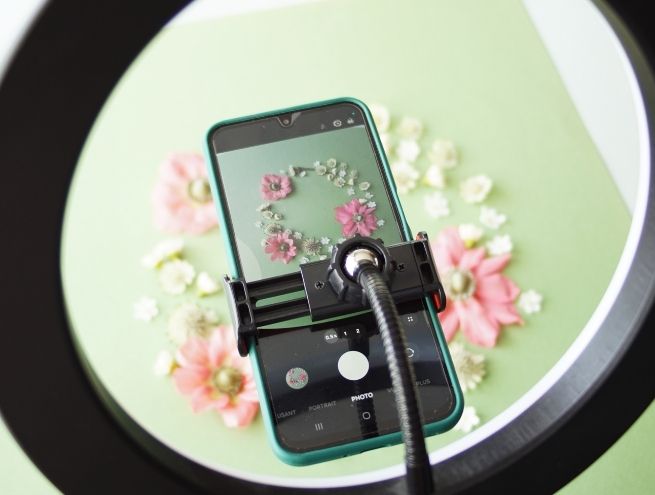
Step 3
- Take a photo of your composition from above. Don't hesitate to use a photo tripod for greater stability and sharpness.
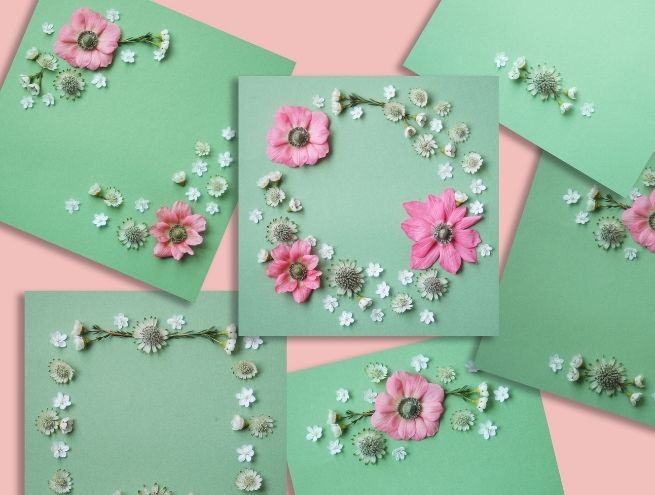
Step 4
- Have fun creating different compositions: a crown, opposite angles, a line, an arch.
These different compositions will give you plenty of choice when designing your invitations. You can also use them as menus, thank-you cards, place cards, etc.
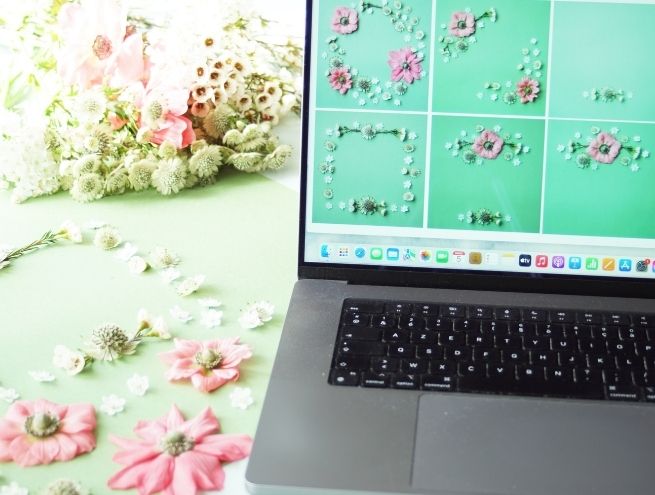
Step 5
Download your visuals onto your computer. There are several options available to you:
- create your own page layout using the software of your choice (photoshop, indesign, illustrator, canva...) then print the invitations yourself or have them printed by a printer.
- Use online announcement sites to create your own by inserting your photo.
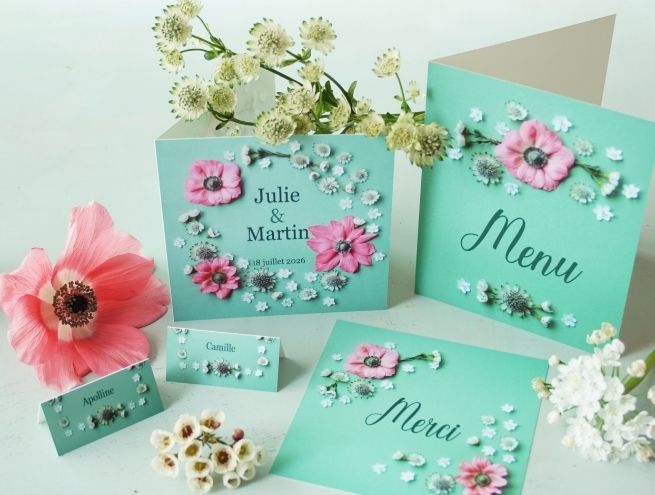
Step 6
- Use the other visuals to create your menus, thank-you cards, place cards for your guests, etc.
We hope you enjoyed this tutorial.
Don't hesitate to share your achievements on social networks by tagging us #salonCSF!